Cautions
7
142
EN
Wireless remote control ash photography (# RC Mode)
You can take wireless ash photographs using the built-in ash and a special ash with
a remote control function. The camera can separately control each of three groups of
remote ash units, and the internal ash. See the instruction manuals provided with the
external ash units for details.
1
Set the remote ash units to RC mode and place them as desired.
• Turn the external ash units on, press the MODE button, and select RC mode.
• Select a channel and group for each external ash unit.
2
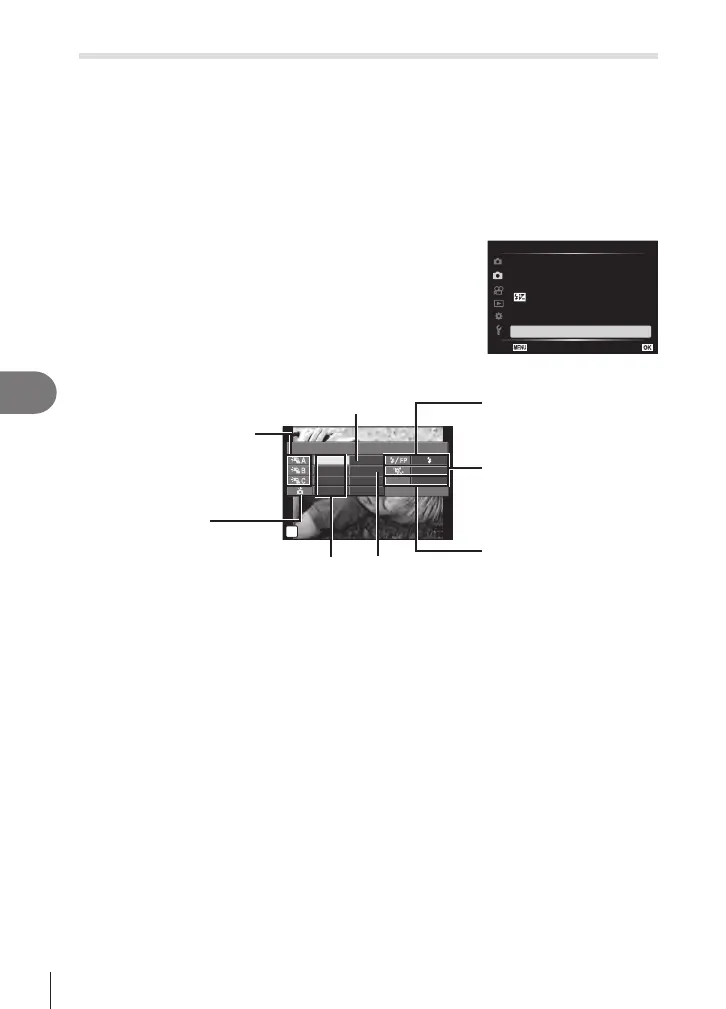
Select [On] for [# RC Mode] in X Shooting Menu 2.
• Press the Q button to exit to the RC mode display.
Press the INFO button to cycle between LV super
controls or live controls and the RC mode display.
• Select a ash mode (note that red-eye reduction is not
available in RC mode).
• q is displayed on the monitor.
2
1
Shooting Menu 2
AF Illuminator
K
Elec. Zoom Speed
Normal
On
S-IS On
±0.0
K
Image Stabilizer
Intrvl. Sh./Time Lapse
Off
#RC Mode Off
SilentsSettings
2
3
Adjust the settings for each group in the RC mode display.
250
A Mode
TTL
Manual
Off
+5.0
TTL +3.0
1/8
–
Low
1
Ch
F5.6250
P
1:02:03
Flash intensity value
Group
• Select the ash control
mode and adjust the ash
intensity separately for
each group. For MANUAL,
select the ash intensity.
Normal ash/Super FP ash
• Switch between normal
ash and Super FP ash.
Communication light level
• Set the communication
light level to [HI], [MID],
or [LO].
Channel
• Set the communication
channel to the same
channel used on the ash.
Flash intensityFlash control
mode
Adjust settings for the
camera ash unit.
4
Rotate the ON/OFF lever to #UP to raise the ash.
• After conrming that the ash has charged, take a test shot.
 Loading...