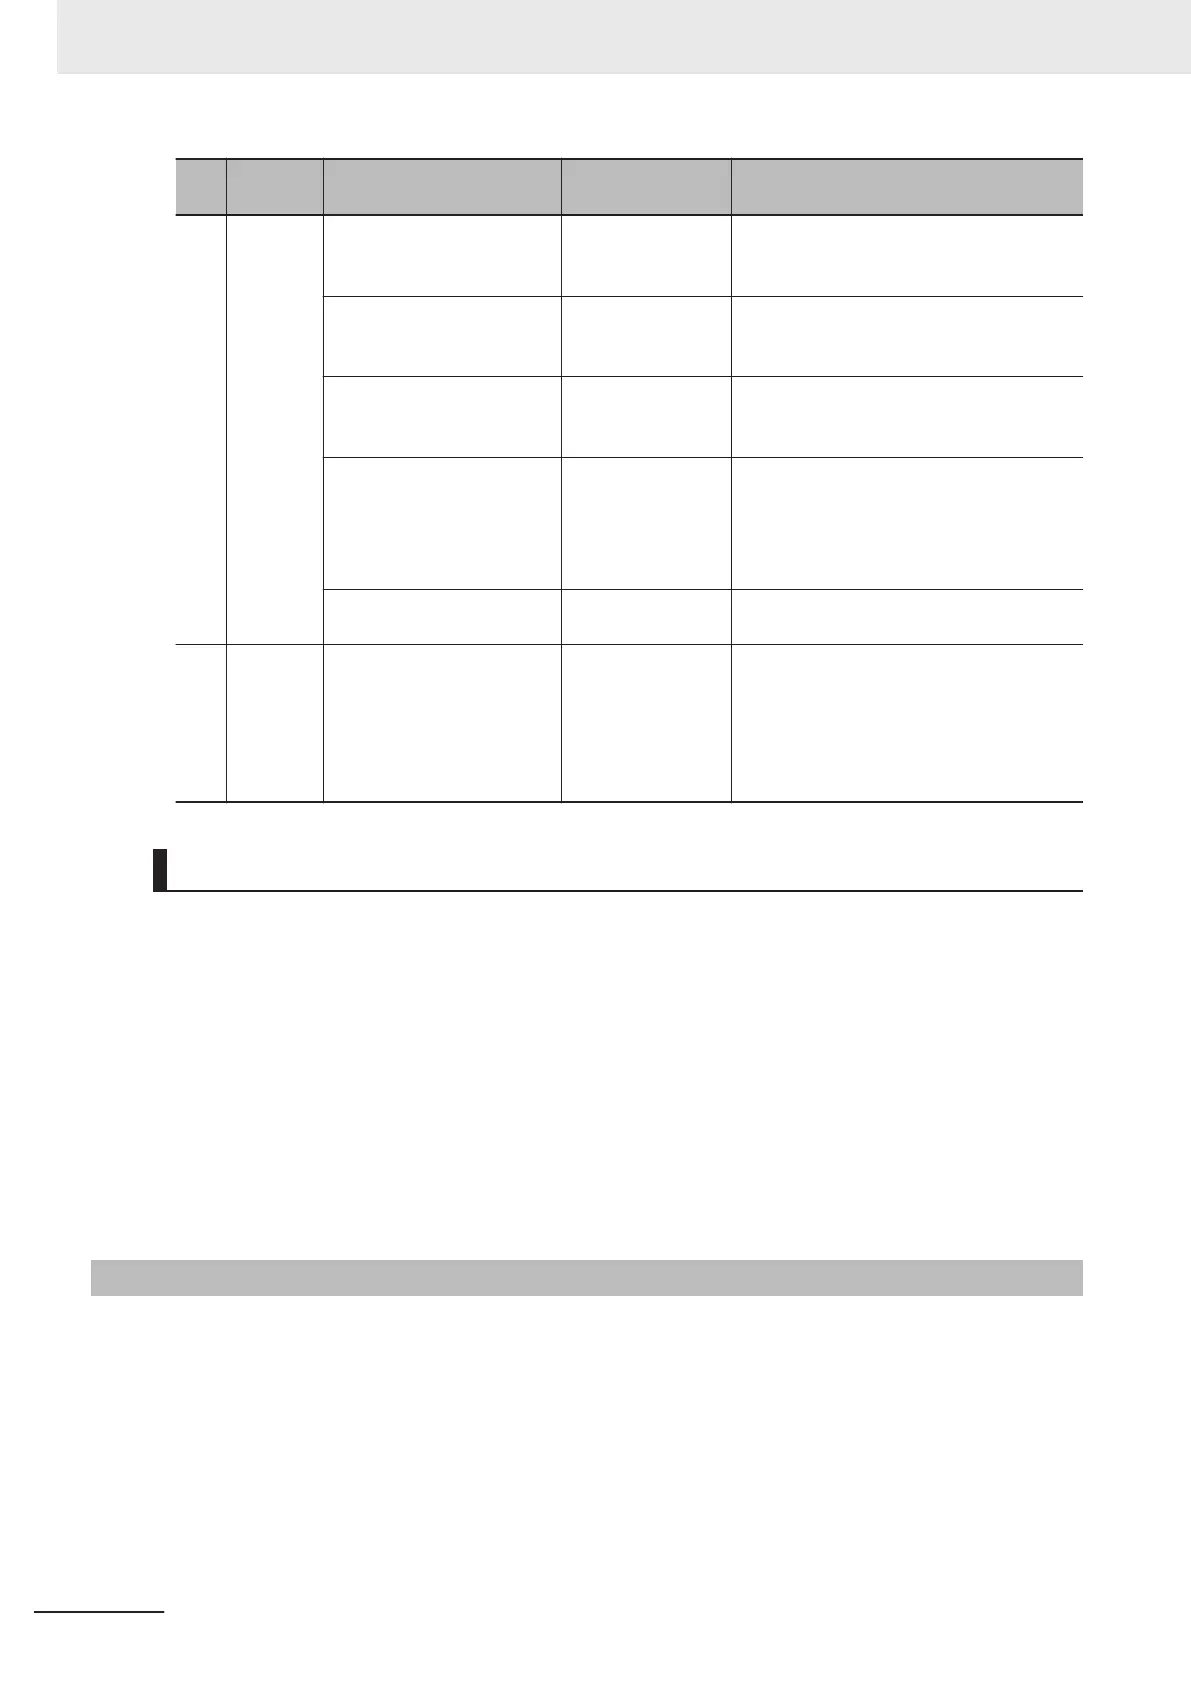
No.
Inspec-
tion item
Inspection details Criteria Correction
4 Installa-
tion and
wiring
Check that the DIN Track
mounting hooks on all
Units are securely locked.
No looseness Securely lock the DIN Track mounting
hooks.
Check that cable connec-
tors are fully inserted and
locked.
No looseness Correct any improperly installed connec-
tors.
Check that the screws on
the End Plates (PFP-M) are
tight.
No looseness Tighten loose screws with a Phillips-head
screwdriver
.
Check that each Unit is
connected along the hook-
up guides, and fully insert-
ed until it contacts the DIN
Track.
The Units must be
connected and se-
curely in place on
the DIN Track.
Connect each Unit along the hookup
guides, and insert each Units until it con-
tacts the DIN Track.
Check for damaged exter-
nal wiring cables.
No visible damage Check visually and replace cables if nec-
essary.
5
User-
servicea-
ble parts
Battery Set
CJ1W-BA
T01
Check whether the battery
has reached its service life.
Service life expect-
ancy is 5 years at
25°C.
Depending on
model and ambi-
ent temperature.
Replace the battery when its service life
has passed even if a battery error has not
occurred. (Battery life depends upon the
model, and ambient conditions.) Refer to
7-2 Replacing the Battery on page 7-6
for the service life of individual model.
Tools Required for Inspections
l
Required Tools
• Flat-blade screwdriver
• Phillips screwdriver
•
Voltage tester or digital multimeter
• Industrial alcohol and pure cotton cloth
• Antistatic gas duster
l
Tools Required Occasionally
• Oscilloscope
• Thermometer and hygrometer
7-1-3
Unit Replacement Precautions
If you find any faulty Unit after check, replace the Unit according to the following points.
• Do not replace a Unit until the power is turned OFF
.
• Check the new Unit to make sure that there are no errors.
• If you return a faulty Unit for repair, describe the problem in as much detail as possible, enclose this
description with the Unit before returning it.
• For poor contact, take a clean cotton cloth, soak the cloth in industrial alcohol, and carefully wipe the
contacts clean. Be sure to remove any lint prior to remounting the Unit.
7 Inspection and Maintenance
7-4
NX-series NX1P2 CPU Unit Hardware User’s Manual (W578)
 Loading...