67
Advanced Setup
This section explains how to check the speaker settings
and how to set them manually, which is useful if you
change a speaker after performing the automatic speaker
setup.
Some of the speaker settings are set automatically by the
Automatic Speaker Setup function (see page 36).
Speaker Configuration
This section explains how to specify which speakers are
connected and their sizes.
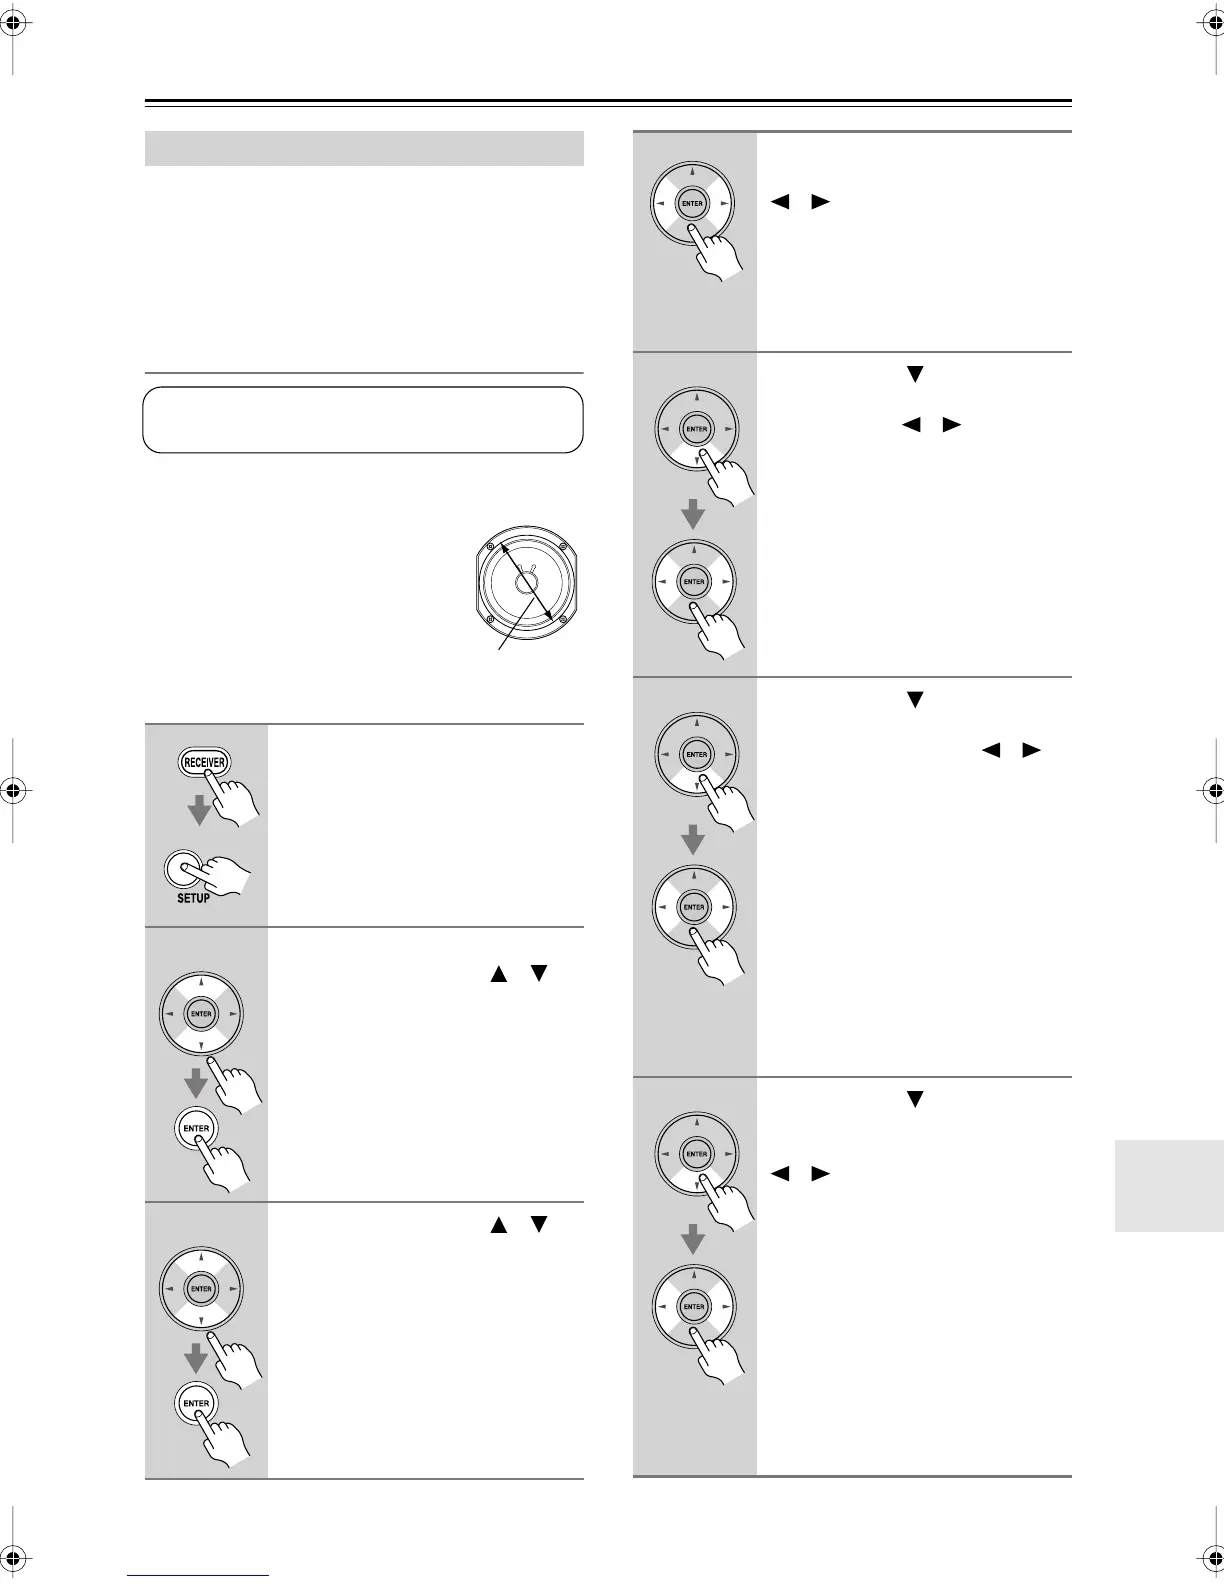
For speakers with a cone diameter
larger than 6-1/2 inches (16 cm),
specify
Large
(full band)
.
For those
with a smaller diameter, specify
Small
(default crossover 100Hz)
.
The crossover frequency can be
changed on page 68.
Speaker Setup
1
Press the [RECEIVER] button fol-
lowed by the [SETUP] button.
If you have a TX-SR506, proceed to
step 3.
2
(TX-SR576 only)
Use the Up and Down [ ]/[ ]
buttons to select “2.Speaker
Setup,” and then press the
[ENTER] button.
3
Use the Up and Down [ ]/[ ]
buttons to select “Sp Config,”
and then press the [ENTER] but-
ton.
These settings are set automatically by the Automatic
Speaker Setup function (see page 36).
Cone diameter
4
While the “Subwoofer” setting is
selected, use the Left and Right
[ ]/[ ] buttons to select
Yes
or
No
.
Yes:
Select if a subwoofer is con-
nected.
No:
Select if no subwoofer is con-
nected.
5
Use the Down [ ] button to
select “Front,” and then use the
Left and Right [ ]/[ ] buttons to
select
Small
or
Large
.
Small:
Select if the front speakers are
small.
Large:
Select if the front speakers are
large.
Note:
• If the Subwoofer setting in step 4 is
set to No, this setting is fixed at Large
and does not appear.
6
Use the Down [ ] button to
select “Center (Cntr),” and then
use the Left and Right [ ]/[ ]
buttons to select
Small
,
Large
,
or
None
.
Small:
Select if the center speaker is
small.
Large:
Select if the center speaker is
large.
None:
Select if no center speaker is
connected.
Note:
• If the Front setting in step 5 is set to
Small, the Large option cannot be
selected.
7
Use the Down [ ] button to
select “Surround (Surr),” and
then use the Left and Right
[ ]/[ ] buttons to select
Small
,
Large
, or
None
.
Small:
Select if the surround speak-
ers are small.
Large:
Select if the surround speak-
ers are large.
None:
Select if no surround speakers
are connected.
Note:
• If the Front setting in step 5 is set to
Small, the Large option cannot be
selected.
TX-SR506En.book Page 67 Friday, February 29, 2008 5:31 PM
 Loading...