“Policy Setup” button. If you select low sensitivity such as 0, only
when there are great motion detection, DVR can response. On the
other side, for high sensitivity such as 5, DVR will response with small
motion detection.
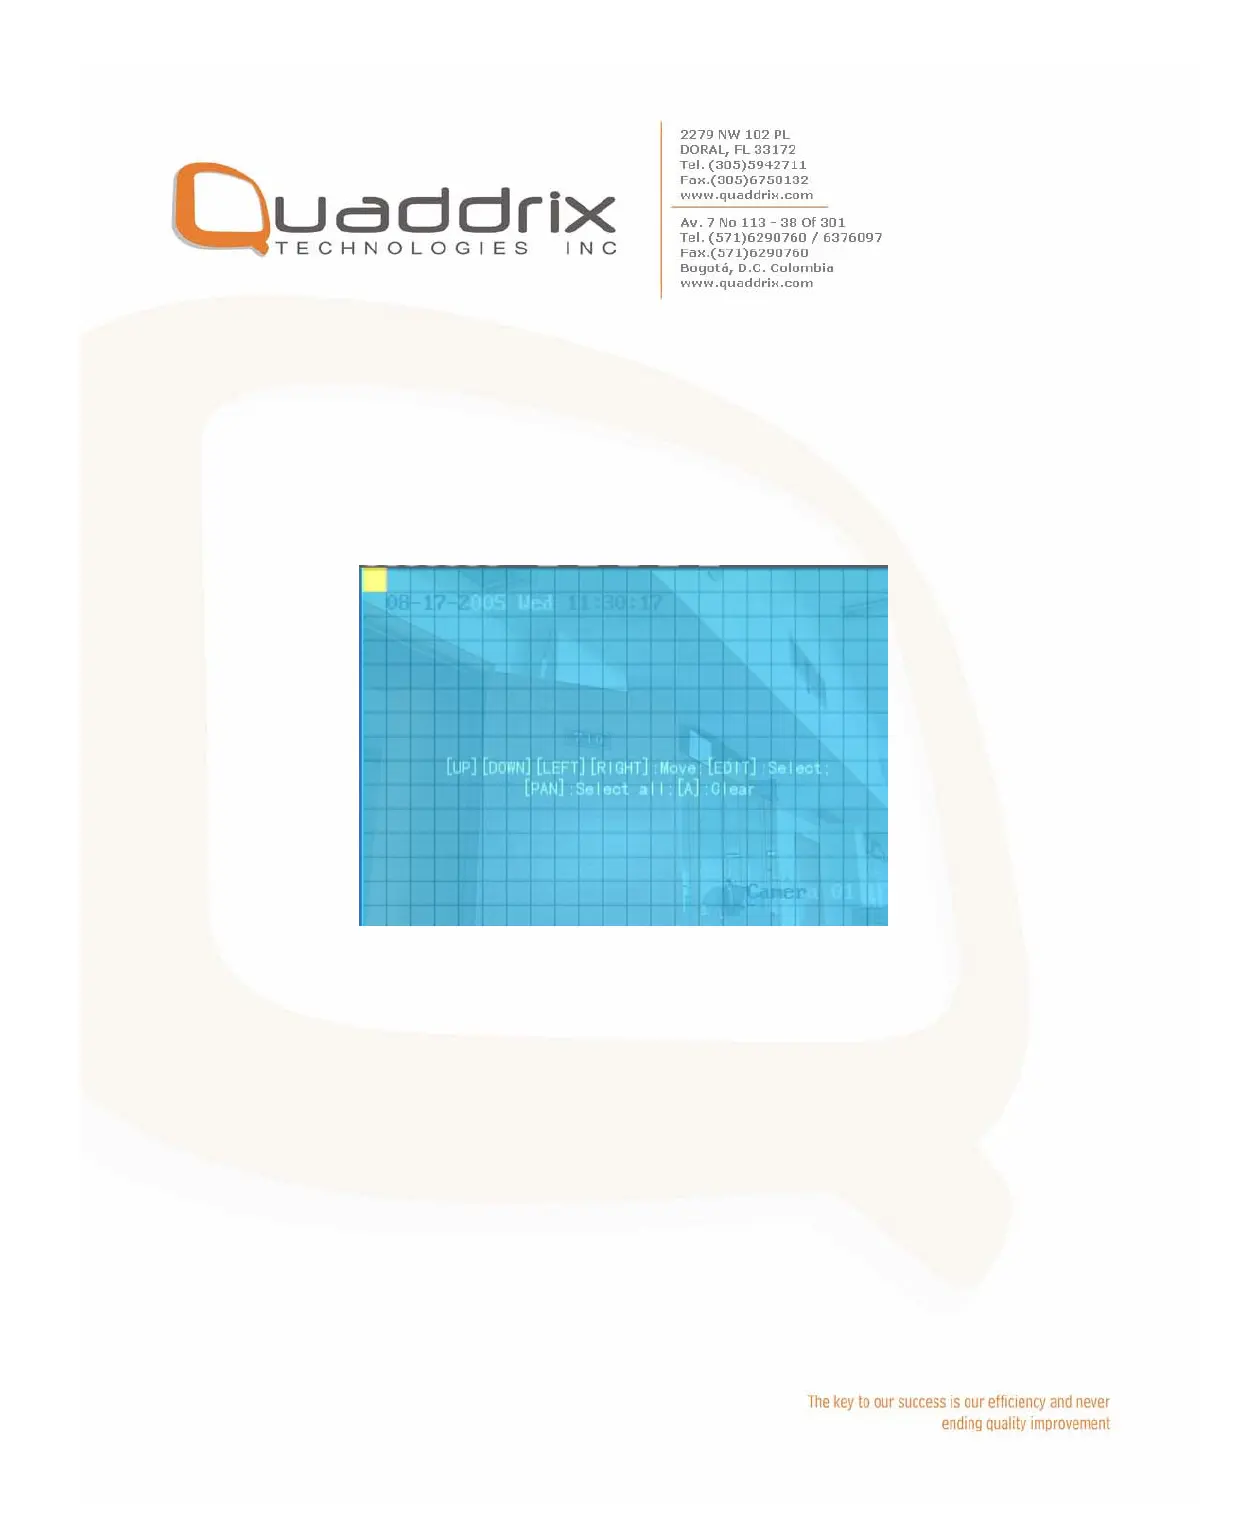
Step 4: Motion area setup: You must define motion areas so that
DVR will response when there is motion in those areas. Move “Active
Frame” to “Area” button on the right side of sensitivity list box, press
[ENTER] key, you can enter into “Motion Area Setup” interface.
The whole screen is divided into 22*18 panes (NTSC: 22*15). There is
one yellow panel on the upper left side. The motion area setup steps
are the same as that of mask area setup (refer to chapter 5.7). The
only differences are that you can use [PTZ] key to set the whole
screen as motion area, and multi motion areas can be defined. Press
[A] key to clear all motion areas.
Setup multi areas: After you setup one motion area, press [EDIT]
key, the yellow pane will appear again, then you can setup another
motion area.
Clear motion area:
Clear part of motion area: Move the yellow pane to the start clear
position of motion area, press [EDIT] , you will find the yellow pane is
turned into black pane. You can use [Ç] or [È] key to enlarge or
shrink the black area. Press [EDIT] key to clear this part motion area.
 Loading...