-How to Power Your
Camcorder
Your Camcorder is designed to be
used with any of thre€ different
power sources. When videotaping in
locations away from conventional AC
power sources, you may power your
Camcorder by using the battery, or
power it from the cigarette lighter
socket in your car with RCA's
optional DCC012 DC car cord. The
Camcorder may also be powered by
household current (120 volts, 60 Hz
only) when using the supplied AC
adapter/charger.
CAUTION: Do not attempt to use a
"power converter" to use your AC
Adapter/Charger on a power source
other than 120 volts, 60 Hz or the
Adapter/Charger may be damaged.
If you plan to travel to a foreign
country that does not use 120 volt,
60 Hz power, an optional CPS04
Adapter/Charger may be purchased
from your RCA dealer. The CPS04 is
designed for use on 100-240 volts,
50/60 Hz,
These two pages will tell you how to
charge and attach the battery to your
Camcorder as well as how to power
the Camcorder from AC power or
from the cigarette lighter socket of a
car.
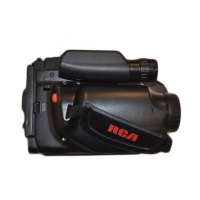
-Using the Battery to Power --
Your Camcorder
Battery
(Better/)
Eject Lever
Be sure the Camcorder's
Connector Cover is in the Up
position. (See page 7 for
location.)
Align the tabs on the battery
with the notches on the back of
the Camcorder.
Slide the battery in the direction
of the arrow, as shown.
Slide the Camcorder's POWER
button to ON. If the battery is
properly connected, the Power
Indicator should light.
To remove the battery, hold the
Battery Eject Lever (,Bat) Down,
while sliding the battery Up.
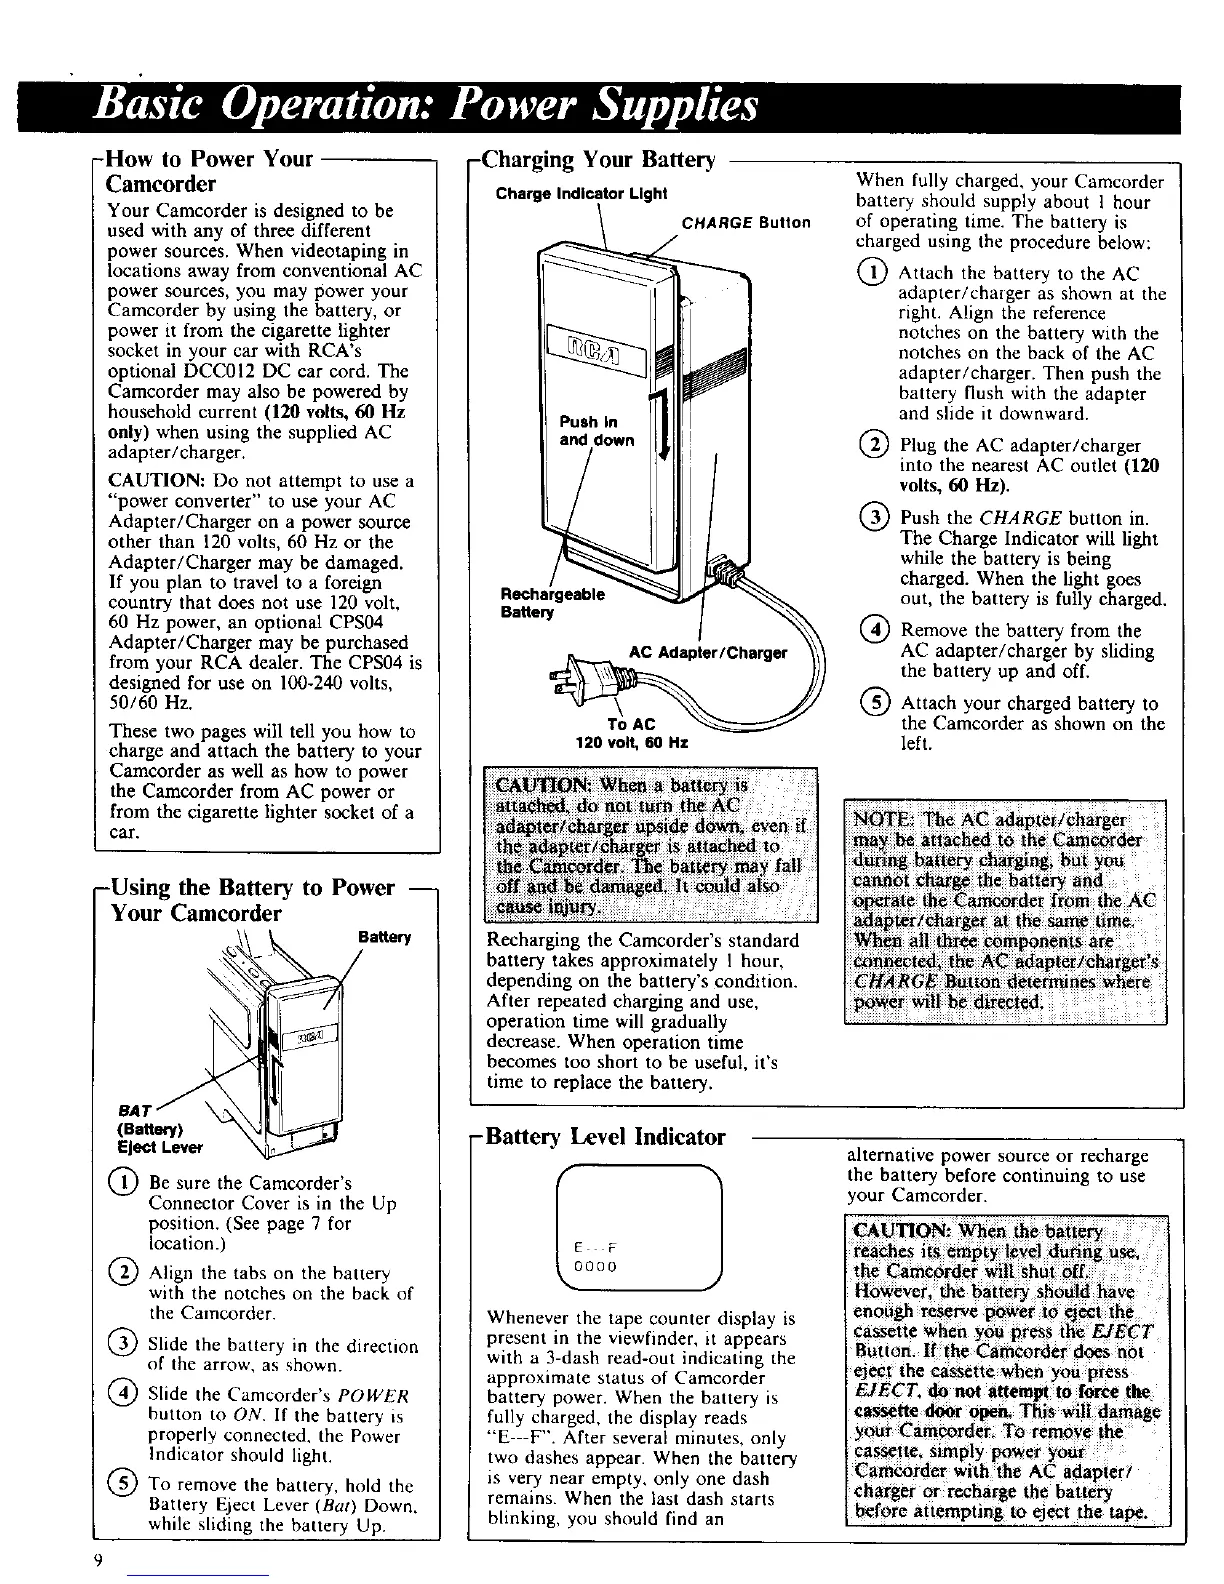
-Charging Your Battery
Charge Indicator Light
CHARGE Button
Rechargeable
Battery
When fully charged, your Camcorder
battery should supply about 1 hour
of operating time. The battery is
charged using the procedure below:
Attach the battery to the AC
adapter/chaiger as shown at the
right. Align the reference
notches on the battery with the
notches on the back of the AC
adapter/charger. Then push the
battery flush with the adapter
and slide it downward.
@
®
®
®
Plug the AC adapter/charger
mto the nearest AC outlet (120
volts, 60 Hz).
Push the CHARGE button in.
The Charge Indicator wiU light
while the battery is being
charged. When the light goes
out, the battery is fully charged.
Remove the battery from the
AC adapter/charger by sliding
the battery up and off.
To AC
120 volt, 60 Hz left.
Attach your charged battery to
the Camcorder as shown on the
_ng _ery _hargi_
....................................... _pera_e :ih_ _corde_ (ro_ th_ AC
adapte¢(_arge_ :_ _ same _e
Recharging the Camcorder's standard ;
battery takes approximately I hour,
depending on the battery's condition.
After repeated charging and use, [ _owe_ will _ directed
operation time will gradually
decrease. When operation time
becomes too short to be useful, it's
time to replace the battery,
-Battery Level Indicator
E F
000
Whenever the tape counter display is
present in the viewfinder, it appears
with a 3-dash read-out indicating the
approximate status of Camcorder
battery power. When the battery is
fully charged, the display reads
"E---F'. After several minutes, only
two dashes appear. When the battery
is very near empty, only one dash
remains. When the last dash starts
blinking, you should find an
alternative power source or recharge
the battery before continuing to use
our Camcorder.
CAUTION: When the battery
reaches its empty level during use
the Camcorder ,_itl shut off,
However, the battery should have
enough reserve power to eject the
cassette when you press the EJECT
Button. If the Camcorder does not
eject the cassette when you press
EJECT. do not attempt to force tile,
cassette door open. This will damage
your Cameorder_ To remove the
cass_te, simply power your
Camcorder with the AC adapter/
charger or recharge the battery
before attempting to eject the tape.
9
 Loading...