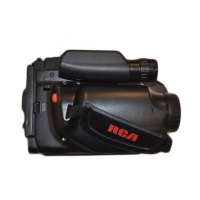
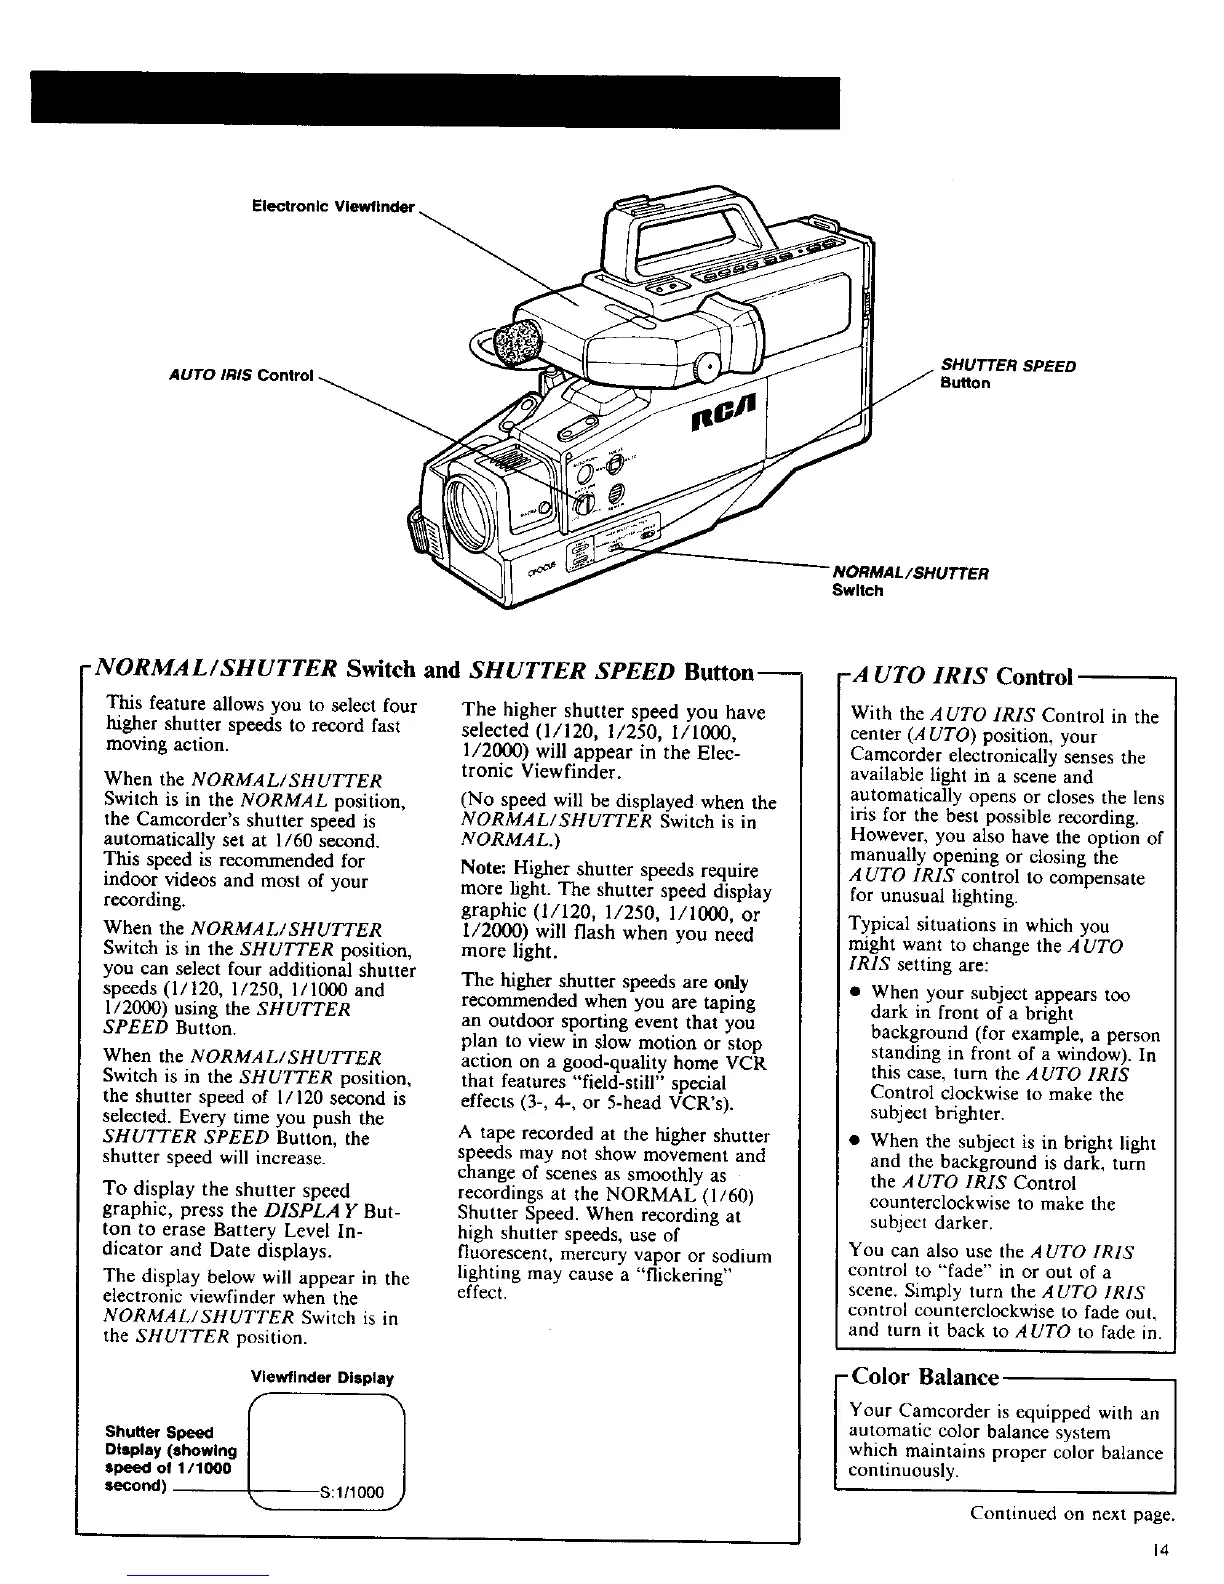
Electronic Vlewflnder
AUTO IRIS Control
SHUTTER SPEED
Bu_on
NORMAL/SHUTTER
Switch
-NORMAL/SHUTTER Switch and SHUTTER SPEED Button--
This feature allows you to select four
higher shutter speeds to record fast
moving action.
When the NORMAL/SHUTTER
Switch is in the NORMAL position,
the Camcorder's shutter speed is
automatically set at 1/60 second.
This speed is recommended for
indoor videos and most of your
recording.
When the NORMAL/SHUTTER
Switch is in the SHUTTER position,
you can select four additional shutter
speeds (1/120, 1/250, 1/1000 and
1/2000) using the SHUTTER
SPEED Button.
When the NORMAL/SHUTTER
Switch is in the SHUTTER position,
the shutter speed of 1/120 second is
selected. Every time you push the
SHUTTER SPEED Button, the
shutter speed win increase.
To display the shutter speed
graphic, press the DISPLAY But-
ton to erase Battery Level In-
dicator and Date displays.
The display below will appear in the
electronic viewfinder when the
NORMAL/SHUTTER Switch is in
the SHUTTER position.
The higher shutter speed you have
selected (1/120, 1/250, 1/1000,
1/2000) will appear in the Elec-
tronic Viewfinder.
(No speed wiU be displayed when the
NORMAL/SHUTTER Switch is in
NORMAL.)
Note: Higher shutter speeds require
more light. The shutter speed display
graphic (1/120, 1/250, 1/11300, or
1/2000) will flash when you need
more light.
The higher shutter speeds are only
recommended when you are taping
an outdoor sporting event that you
plan to view in slow motion or stop
action on a good-quality home VCR
that features "field-still" special
effects (3-, 4-, or 5-head VCR's).
A tape recorded at the higher shutter
speeds may not show movement and
change of scenes as smoothly as
recordings at the NORMAL (1/60)
Shutter Speed. When recording at
high shutter speeds, use of
fluorescent, mercury vapor or sodium
lighting may cause a "flickering"
effect.
Vlewflnder Display
Display (showing
speed of t/1000
-A UTO IRIS Control
With the AUTO IRIS Control in the
center (A UTO) position, your
Camcorder electronically senses the
available light in a scene and
automatically opens or closes the lens
iris for the best possible recording.
However, you also have the option of
manually opening or closing the
AUTO IRIS control to compensate
for unusual lighting.
Typical situations in which you
might want to change the AUTO
IRIS setting are:
• When your subject appears too
dark in front of a bright
background (for example, a person
standing in front of a window). In
this case, turn the AUTO IRIS
Control clockwise to make the
subject brighter.
• When the subject is in bright light
and the background is dark, turn
the AUTO IRIS Control
counterclockwise to make the
subject darker.
You can also use the AUTO IRIS
control to "fade" in or out of a
scene. Simply turn the AUTO IRIS
control counterclockwise to fade out,
and turn it back to AUTO to fade in.
Color Balance
Your Camcorder is equipped with an
automatic color balance system
which maintains proper color balance
continuously.
Continued on next page.
14
 Loading...