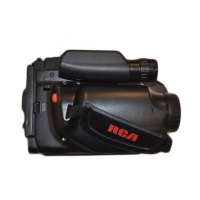
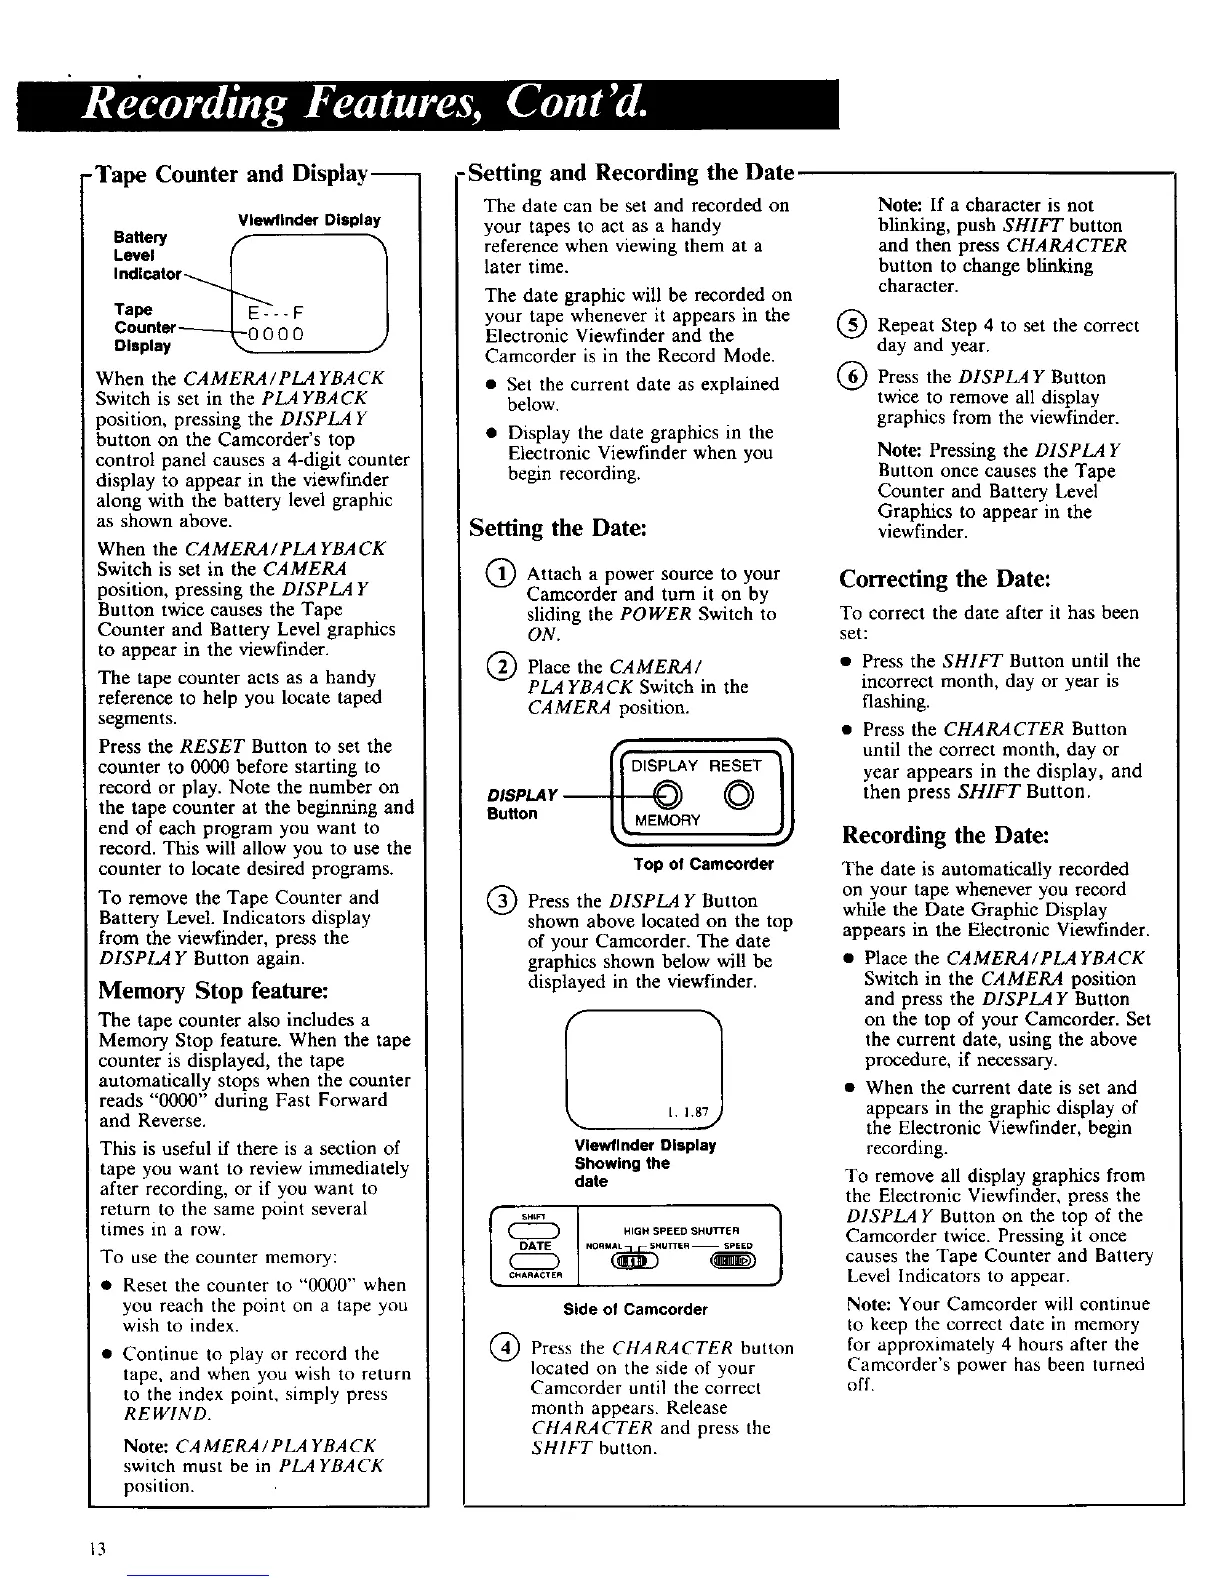
-Tape Counter and Display--
Vlew/InderDIsplay
BaUery f- 1
Level
Indicator -_._
Tape - - - F
Counter-_-_ 0 0 0
Display "_
When the CAMERA/PLA YBACK
Switch is set in the PLAYBACK
position, pressing the DISPLAY
button on the Camcorder's top
control panel causes a 4-digit counter
display to appear in the viewfinder
along with the battery level graphic
as shown above.
When the CAMERA / PLA YBA CK
Switch is set in the CAMERA
position, pressing the DISPLAY
Button twice causes the Tape
Counter and Battery Level graphics
to appear in the viewfinder.
The tape counter acts as a handy
reference to help you locate taped
segments.
Press the RESET Button to set the
counter to 0000 before starting to
record or play. Note the number on
the tape counter at the beginning and
end of each program you want to
record. This will allow you to use the
counter to locate desired programs.
To remove the Tape Counter and
Battery Level. Indicators display
from the viewfinder, press the
D1SPLA Y Button again.
Memory Stop feature:
The tape counter also includes a
Memory Stop feature. When the tape
counter is displayed, the tape
automatically stops when the counter
reads "0000" during East Forward
and Reverse.
This is useful if there is a section of
tape you want to review immediately
after recording, or if you want to
return to the same point several
times in a row.
To use the counter memory:
• Reset the counter to "0000" when
you reach the point on a tape you
wish to index.
• Continue to play or record the
tape, and when you wish to return
to the index point, simply press
REWIND.
Note: CA MERA / PLA YBA CK
switch must be in PLAYBACK
position.
•Setting and Recording the Date
The date can be set and recorded on
your tapes to act as a handy
reference when _ewing them at a
later time.
The date graphic will be recorded on
your tape whenever it appears in the
Electronic Viewfinder and the
Camcorder is in the Record Mode.
• Set the current date as explained
below.
• Display the date graphics in the
Electronic Viewfinder when you
begin recording.
Setting the Date:
Q Attach a power source to your
Camcorder and turn it on by
sliding the POWER Switch to
ON.
Q Place the CAMERA/
PLA YBACK Switch in the
CAMERA position.
Top of Camcorder
(_) Press the D1SPLA Y Button
shown above located on the top
of your Camcorder. The date
graphics shown below will be
displayed in the viewfinder.
l, 1.87j
Vlewflnder Display
Showing the
date
CHAnACTEA I
Side of Camcorder
Press the CHARACTER button
located on the side of your
Camcorder until the correct
month appears. Release
CHARACTER and press the
SHIFT button.
Note: If a character is not
blinking, push SHIFT button
and then press CHARACTER
button to change blinking
character.
(_ Repeat Step 4 to set the correct
day and year.
(_) Press the DISPLAY Button
twice to remove all display
graphics from the viewfinder.
Note: Pressing the D1SPLA Y
Button once causes the Tape
Counter and Battery Level
Graphics to appear in the
view finder.
Correcting the Date:
To correct the date after it has been
set:
• Press the SHIFT Button until the
incorrect month, day or year is
flashing.
• Press the CHARACTER Button
until the correct month, day or
year appears in the display, and
then press SHIFT Button.
Recording the Date:
The date is automatically recorded
on your tape whenever you record
while the Date Graphic Display
appears in the Electronic Viewfinder.
• Place the CAMERA/PLA YBACK
Switch in the CAMERA position
and press the DISPLAY Button
on the top of your Camcorder. Set
the current date, using the above
procedure, if necessary.
• When the current date is set and
appears in the graphic display of
the Electronic Viewfinder, begin
recording.
To remove all display graphics from
the Electronic Viewfinder, press the
DISPLAY Button on the top of the
Camcorder twice. Pressing it once
causes the Tape Counter and Battery
Level Indicators to appear.
Note: Your Camcorder will continue
to keep the correct date in memory
for approximately 4 hours after the
Camcorder's power has been turned
off.
13
 Loading...