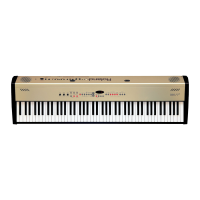
Recording Your Performances
Erasing a recorded performance
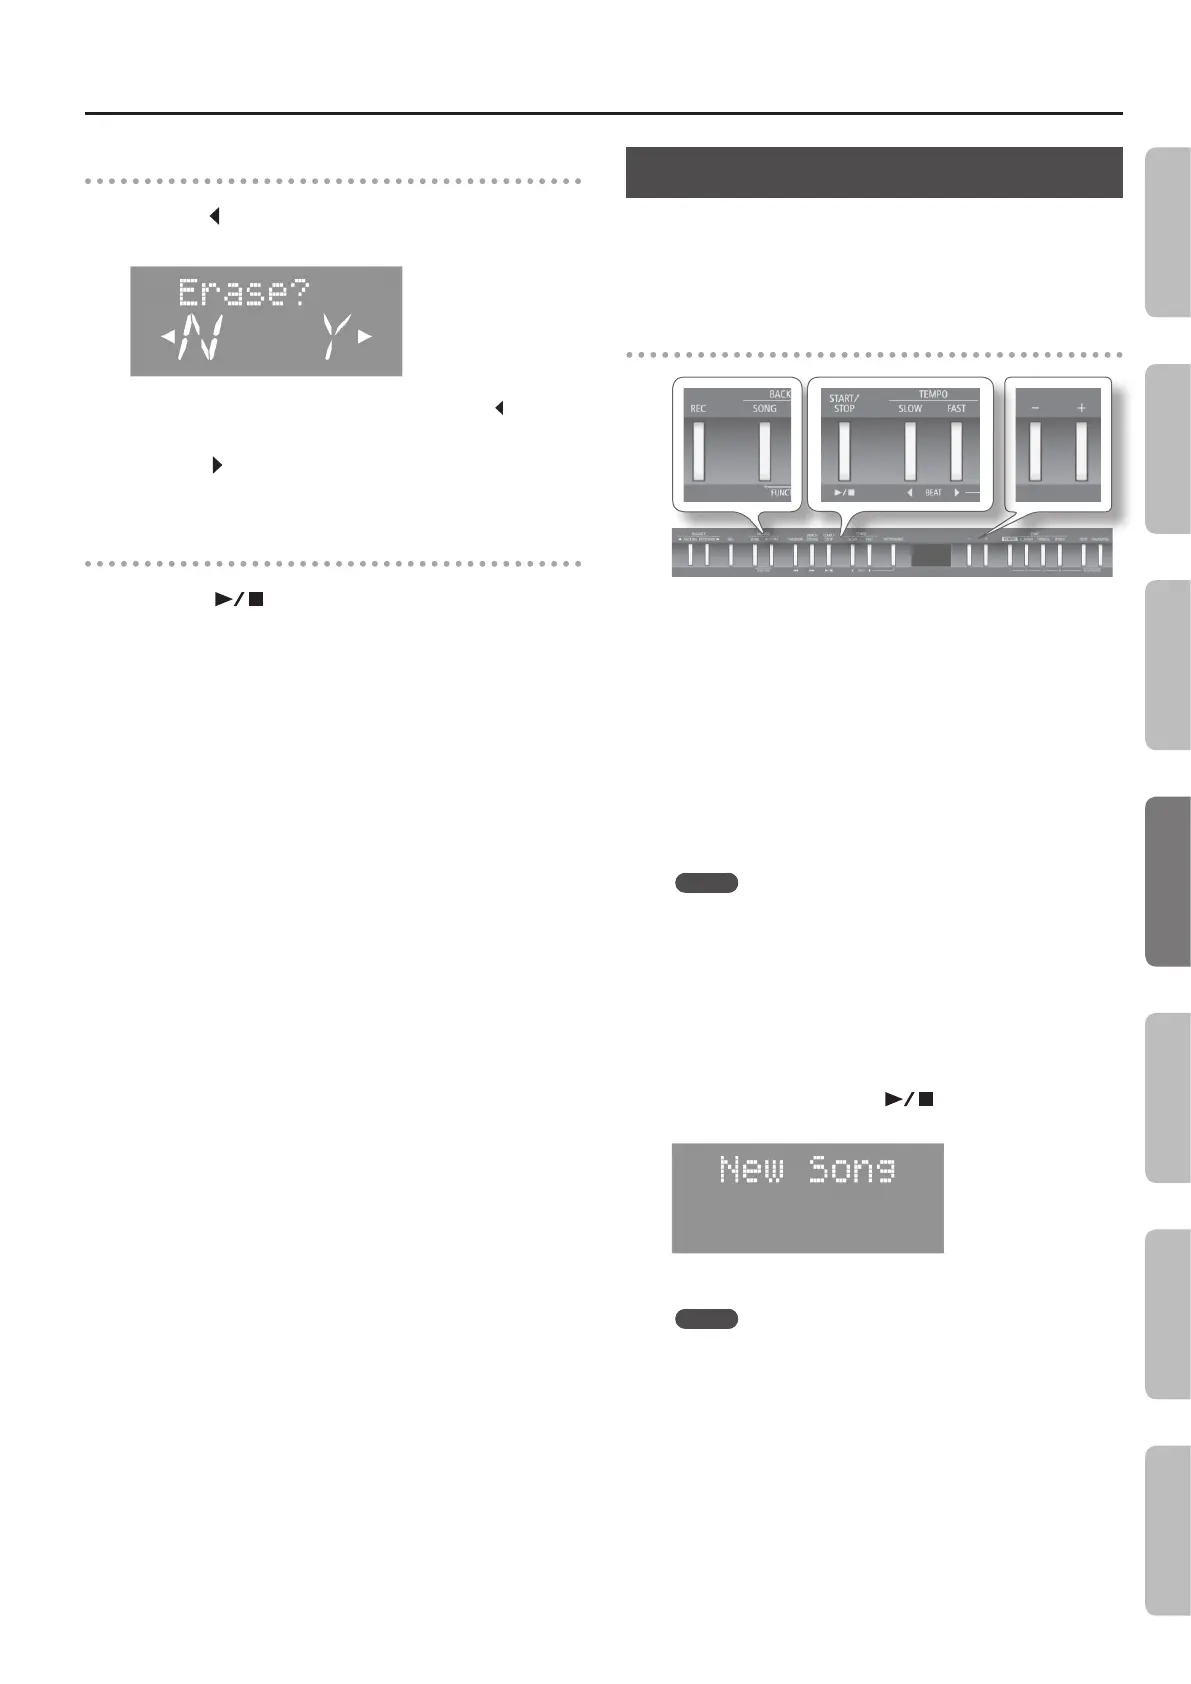
1. Press the [ ] (SLOW) button.
A conrmation message appears.
If you decide not to delete the performance, press the [ ] (SLOW)
button once again.
2. Press the [ ] (FAST) button.
The recording is erased.
Listening to a recorded performance
1. Press the [ ] button.
Playback starts from the beginning of the recorded performance.
Audio Recording
Here’s how to record your performance as audio data. The recorded
song can be used on your computer.
* In order to use audio recording, you must connect a USB ash
drive (sold separately) to the USB MEMORY port (p. 10).
Preparing to record
1. Connect a USB ash drive (sold separately) to the USB
MEMORY port (p. 10).
* Audio data cannot be saved into internal memory.
2. Hold down the [REC] button and press the [–] [+] buttons
to select “Audio.”
3. Select the tone that you want to play on the keyboard.
(p. 14)
4. If desired, you can select an accompaniment to be played
while you’re recording.
MEMO
Refer to “Selecting and Playing a Song” (p. 22) if you want to select
a song, or “Selecting and Playing a Rhythm” (p. 19) if you want to
select a rhythm.
* You cannot record an audio le as an accompaniment.
5. Start the metronome if desired (p. 16).
6. Press the [REC] button.
The display shows the message “New Song.”
The [REC] button lights up, the [
] button blinks, and the
FP-50 enters recording-standby mode.
If you decide not to record, press the [REC] button once again.
MEMO
If you select a song in step 4 that has already been recorded,
press the [+] button.
25
Operation Guide Getting Ready Performing Recording Registrations Settings
Appendix
 Loading...