About the Wireless LAN Function
Wireless LAN Function Settings
You can view and change your wireless settings.
MEMO
These settings are automatically retained in memory.
Basic operation
1. Press the [SONG] and [RHYTHM] buttons simultaneously.
2. Press the [ ] [ ] (SLOW/FAST) buttons to select “Wireless.”
3. Press the [METRONOME] button.
4. Press the [ ] [ ] (SLOW/FAST) buttons to select the
desired menu, and then press the [METRONOME] button.
Menu Explanation
Status This shows the wireless LAN status.
Connect Connect to a wireless LAN access point.
Option Make setting for wireless ID or Ad-Hoc mode (p. 45).
In the explanations below, arrows indicate the selection
sequence (For example: “Wireless” ¦ “Status”).
Status Indication
This shows the wireless LAN status.
1. Select “Wireless” ¦ “Status.”
The status screen appears.
Display Explanation
_ o 0
Signal level:
Strong
Currently connected to the wireless LAN access
point.
Three bars are used to indicate the signal level
(the strength of the connected wireless LAN
access point’s radio signal).
The identier (name) of the connected wireless
LAN access point is shown.
_ o o
Signal level:
Middle
_ _ _
Signal level:
Weak
Not Conn
The wireless USB adapter is inserted, but not
connected to a wireless LAN access point.
NotAvail The wireless USB adapter is not inserted.
FP-50
SSID
Ad-Hoc mode (p. 45)
The Ad-Hoc SSID is shown. Press the [
] (Fast)
button to display the Ad-Hoc key.
For details, refer to “Connecting in Ad-Hoc Mode”
(p. 45).
2. Press the [ ] (FAST) button to display the IP address.
Connecting to a Wireless LAN Access
Point That You Select (Select AP)
This method lets you connect by choosing a wireless LAN access
point from the list that is displayed.
* Wireless standards 802.11g/n (2.4 GHz) and authentication
methods WPA/WPA2 are supported.
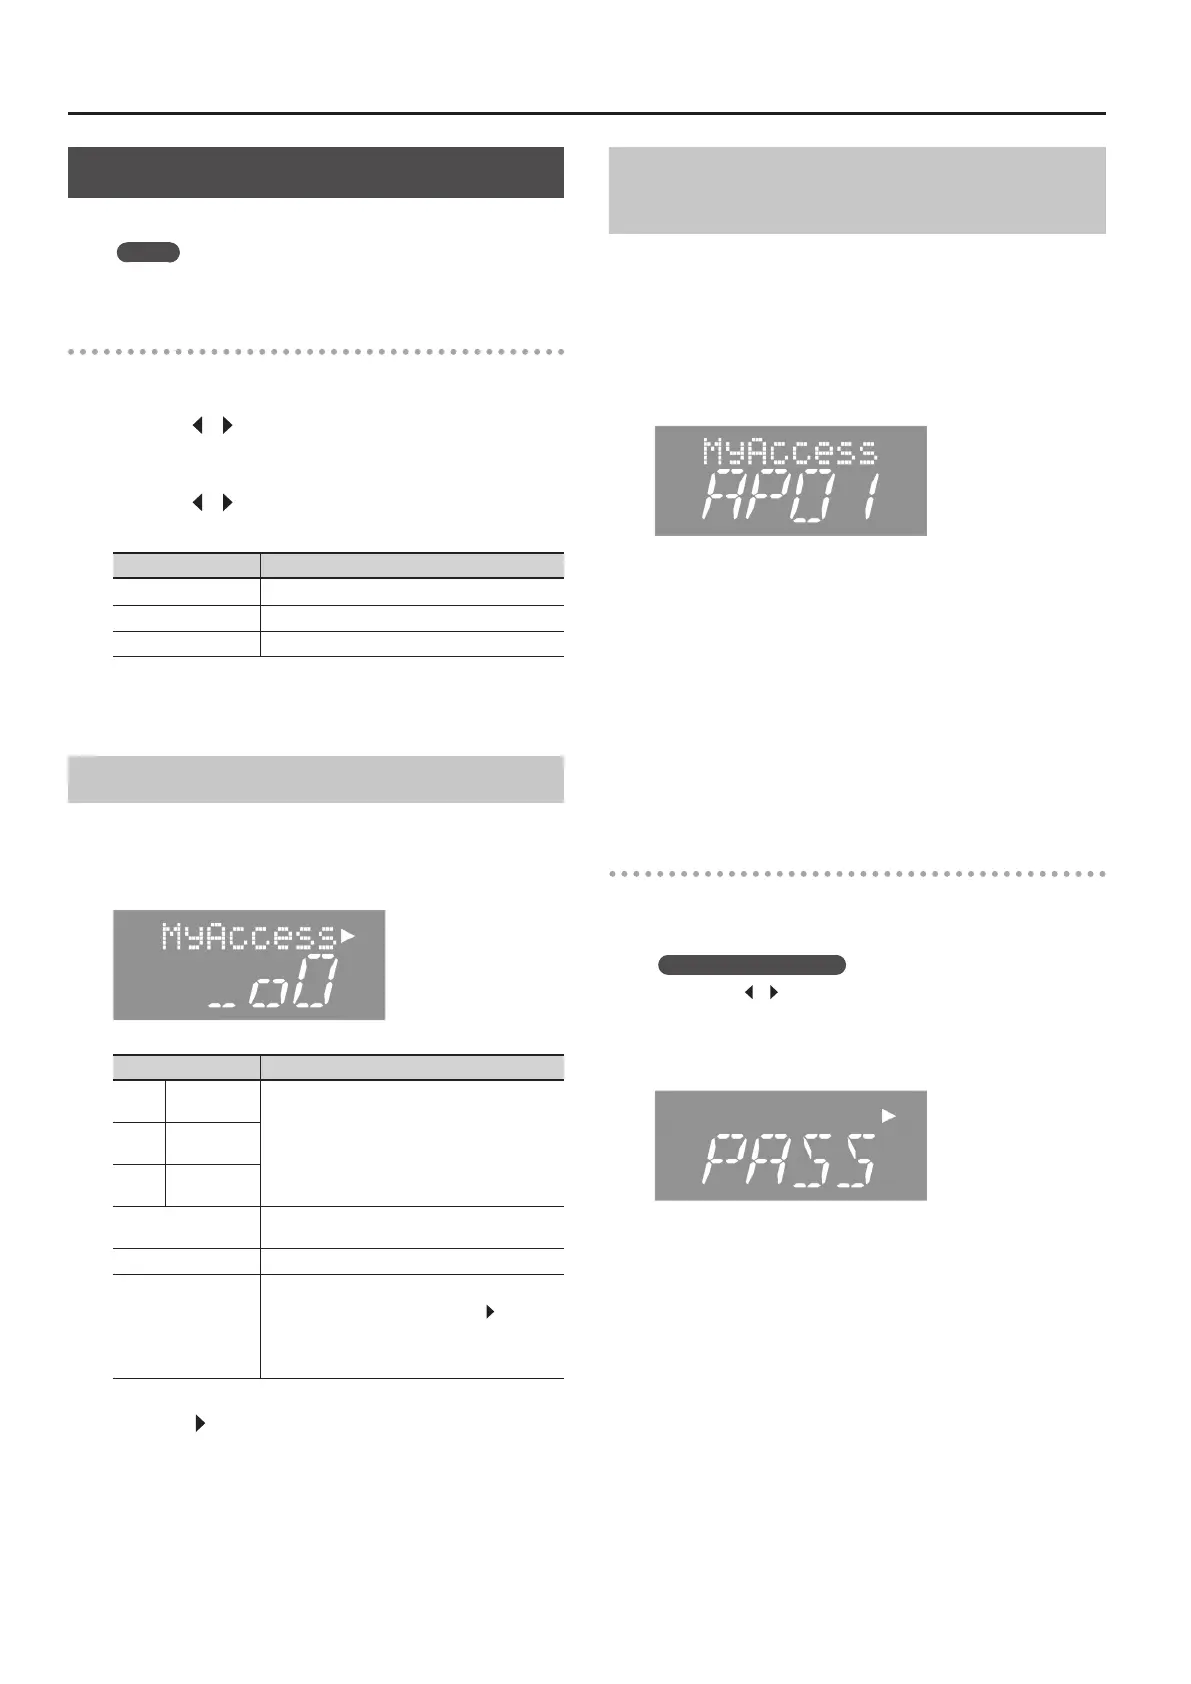
1. Select “Wireless” ¦ “Connect” ¦ “Select AP,” and then
press the [METRONOME] button.
The select access point screen appears.
• An asterisk (*) marks the currently connected access point.
2. Press the [–] [+] buttons to select the wireless LAN
access point you want to connect to, and then press the
[METRONOME] button.
• You will be connected to the selected wireless LAN access point.
• If you’re using this wireless LAN access point for the rst time,
you’ll proceed to the Passphrase screen.
• If this is a wireless LAN access point to which you have
connected in the past, just press the [METRONOME] button and
you’ll be connected. Once successfully connected, “Success”
appears.
Passphrase screen (PASS)
3. Enter your passphrase for this wireless LAN, and then
press the [METRONOME] button.
Entering the passphrase
Press the [
] [ ] (SLOW/FAST) buttons to select the desired
character position. Press the [–] [+] buttons to change the
character.
* Do NOT insert a space at the end of the passphrase.
If connection is successful, “Success” appears on the screen.
If not successful, please refer to “Problems when connecting to a
wireless LAN” (p. 48).
4. Press the [REC] button to return to function mode.
44
 Loading...