Chapter 4: Performing Cutting
36
4-1 Practicing Cutting Using the Test-use Material
Now let's learn basic cutting operations while creating a sticker like the one shown in the figure below, using the
included test-use material and CutStudio cutting program. Follow the procedure below to carry out the operations.
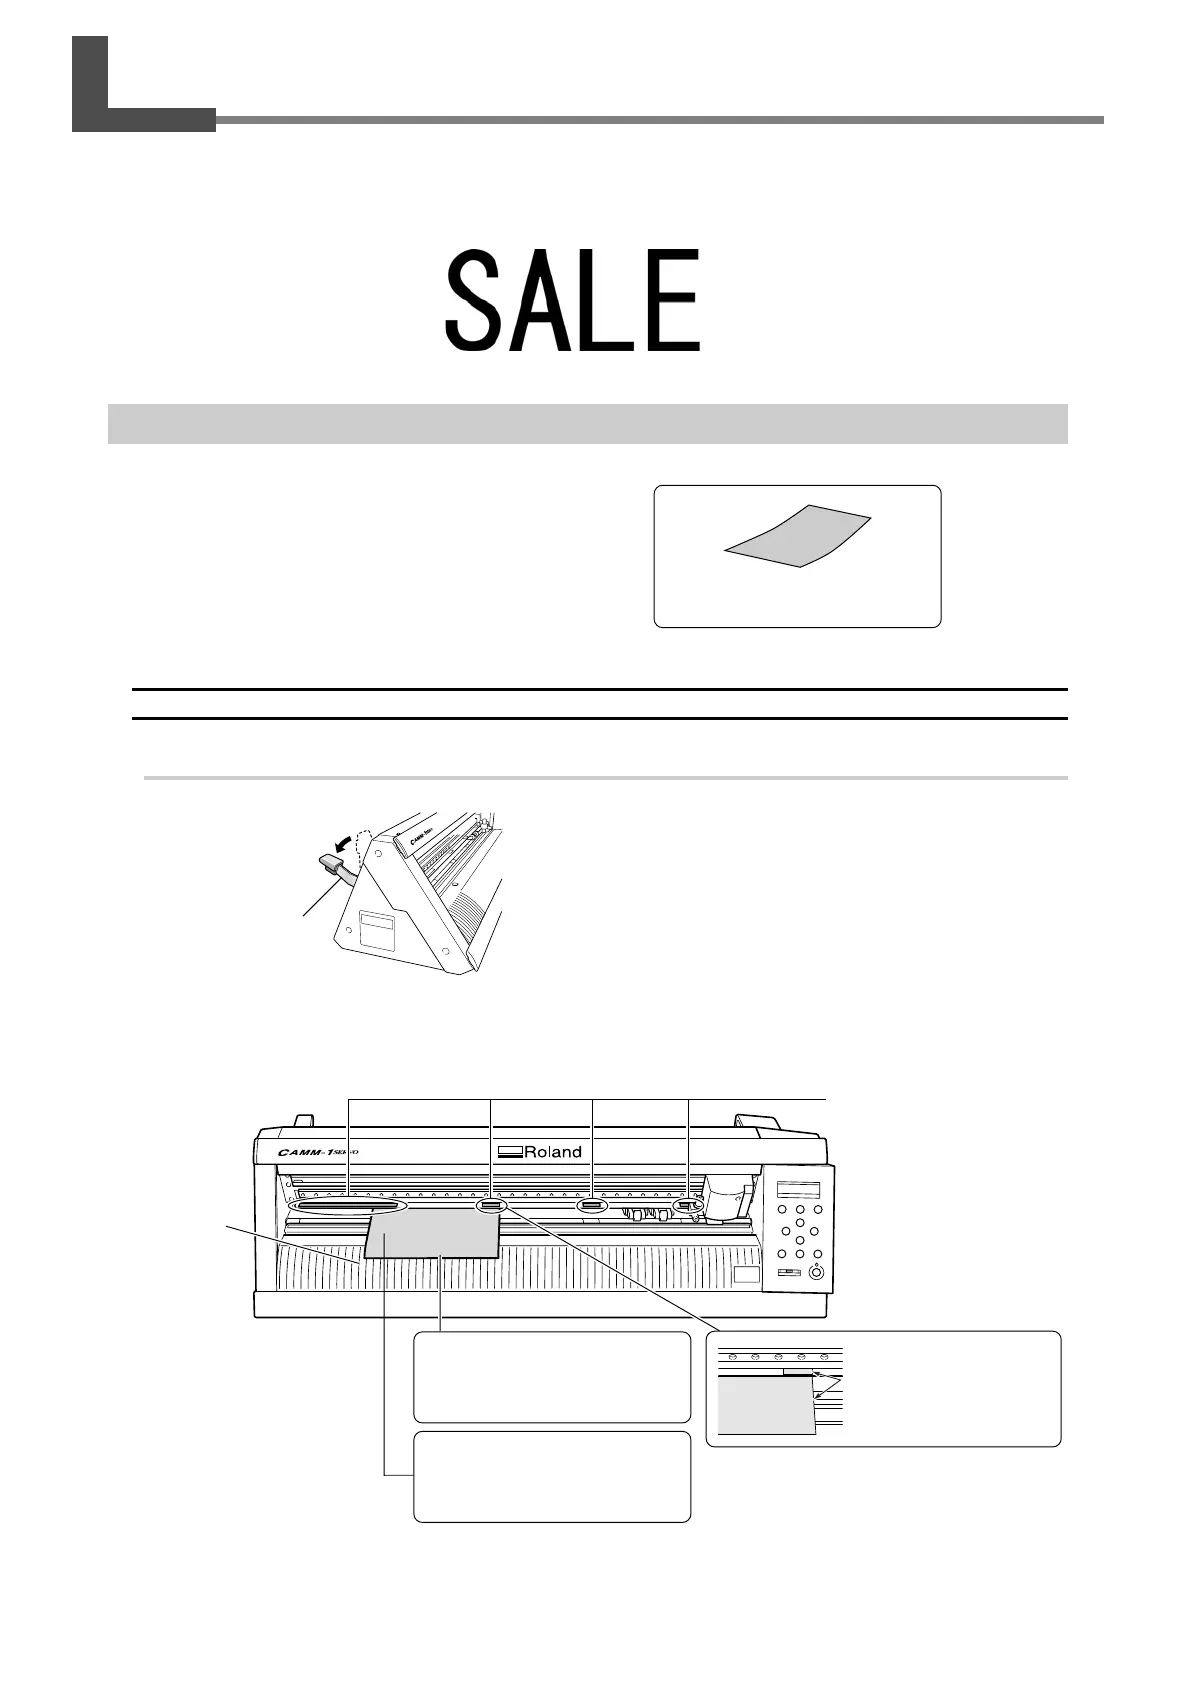
Step 1: Load Material
Load the included test-use material on the machine.
Procedure
1.
Load the material.
➊
Make sure the loading lever is lowered.
➋
Pass the test-use material through the machine as shown in the figure below.
Pass the material through so that its short side is at the front, toward you.
Loading lever
Pinch-roller position-
verification marks
Test-use material
(Colored material)
Å
Pull out the material until its
leading edge is positioned over the
guide lines.
Ç
Align the right edge of the
material with the right
edge of the second
indicator from the left.
Guide lines
É
Make sure the left edge of the
material is within the boundaries of
the wide indicator at the far left.
 Loading...
