31
Assigning an Imported User Sample to an Instrument
Deleting a User Sample (SAMPLE Delete)
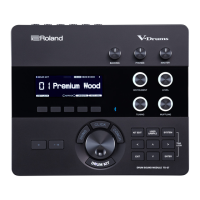
1. Press the [UTILITY] button to make it light.
2. Use the [VALUE] knob to select “SAMPLE:Delete,”
and then press the [VALUE] knob.
3. Use the [VALUE] knob to select the user sample
that you want to delete, and then press the [VALUE]
knob to apply a check mark.
4. Use the [VALUE] knob to select “Delete.”
“Delete” appears after the last sample.
5. Press the [VALUE] knob.
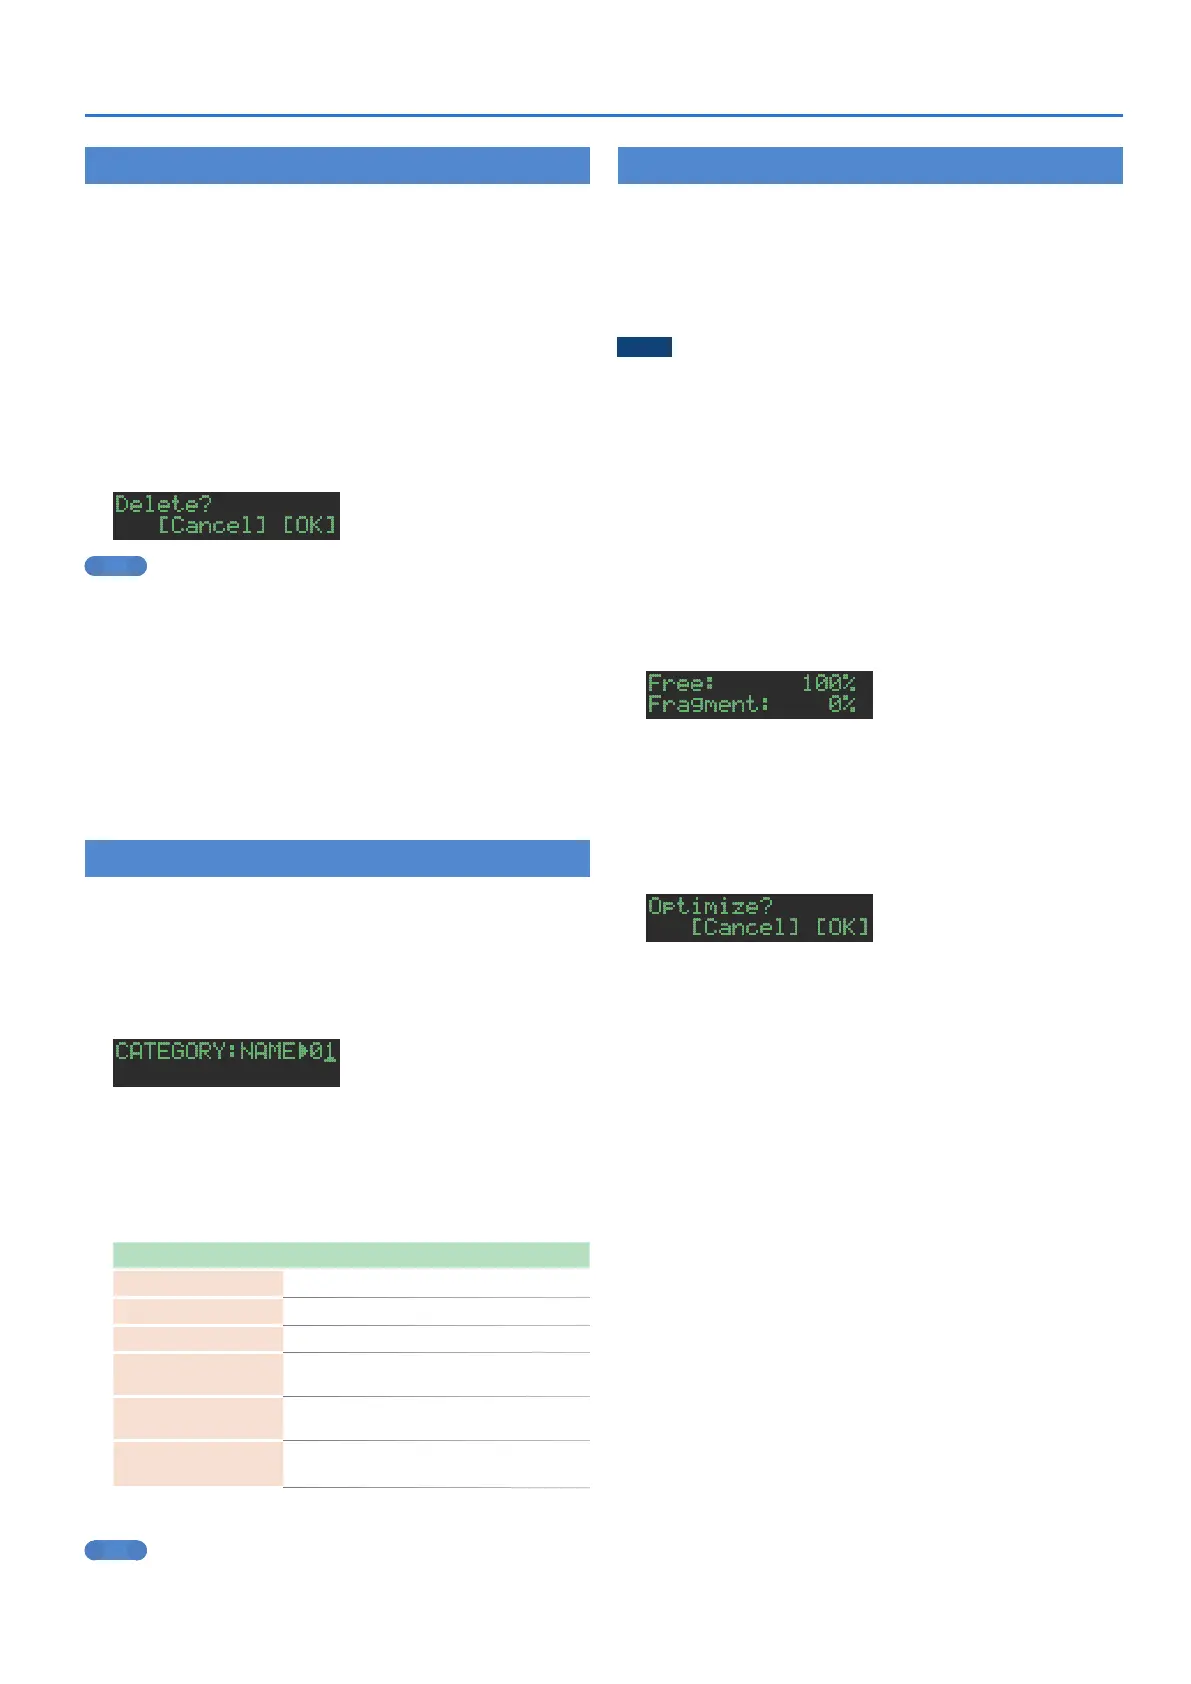
A confirmation message appears.
MEMO
5 After applying a check mark in step 3, you can also move to the
confirmation message by holding down the [SHIFT] button and
pressing the [VALUE] knob.
5 Preset samples cannot be deleted.
6. To execute, use the [VALUE] knob to select “O K ,”
and press the [VALUE] knob.
If you decide to cancel, use the [VALUE] knob to select “Cancel,” and
then press the [VALUE] knob.
When the delete is completed, the display indicates “Completed!”
and you exit the UTILITY screen.
Renaming a User Category (Category Name)
Here’s how to rename a user category.
1. Press the [UTILITY] button to make it light.
2. Use the [VALUE] knob to select “SAMPLE: Category
Name,” and then press the [VALUE] knob.
The user category select screen appears.
3. Use the [VALUE] knob to select the user category
number (01–32) whose name you want to edit, and
then press the [VALUE] knob to access the character
input screen.
4. Edit the name.
Controller Explanation
[VALUE] knob
Change the character.
[UTILITY] button
Moves to the right.
[COPY] button
Moves to the left.
[SHIFT] button
+ [COPY] button
Deletes one character
(Erase)
.
[SHIFT] button
+ [UTILITY] button
Inserts one character
(Insert)
.
[SHIFT] button
+ [VALUE] knob
Switches between uppercase/lowercase/
numerals.
5. When you finish editing, press the [VALUE] knob.
MEMO
To save your edits, go to the SYSTEM settings and execute the
WRITE operation (p. 24).
Optimizing the User Sample Area (OPTIMIZE)
Here’s how to optimize the user sample area.
If you repeatedly import and delete user samples, the user sample
area might become fragmented, reducing the number of samples
that can be loaded.
This function lets you take full advantage of the user sample area
when importing samples.
NOTE
5 Be sure to back up before executing this operation.
5 This process might take several tens of minutes (the required
time depends on the number and size of user samples).
5 Never turn off the power during this process. User samples
might be lost if you do so.
5 In some cases, optimization might not have an effect.
1. Press the [UTILITY] button to make it light.
2. Use the [VALUE] knob to select “SAMPLE:Optimize,”
and then press the [VALUE] knob.
The free area (Free) and the fragmented proportion (Fragment) are
shown.
If the Fragment (fragmentation) value is other than 0%,
fragmentation has occurred.
If you decide to choose, press the [UTILITY] button to exit the
UTILITY screen.
3. Press the [VALUE] knob.
A confirmation message appears.
4. To execute, use the [VALUE] knob to select “O K ,”
and press the [VALUE] knob.
If you decide to cancel, use the [VALUE] knob to select “Cancel,” and
then press the [VALUE] knob.
When optimization is completed, the display indicates
“Completed!” and you exit the UTILITY screen.
 Loading...