73-00-00
page 28
May 01/2007
Effectivity 912/914 Series
Edition 1 / Rev. 0
d02623
BRP-Rotax
Maintenance Manual
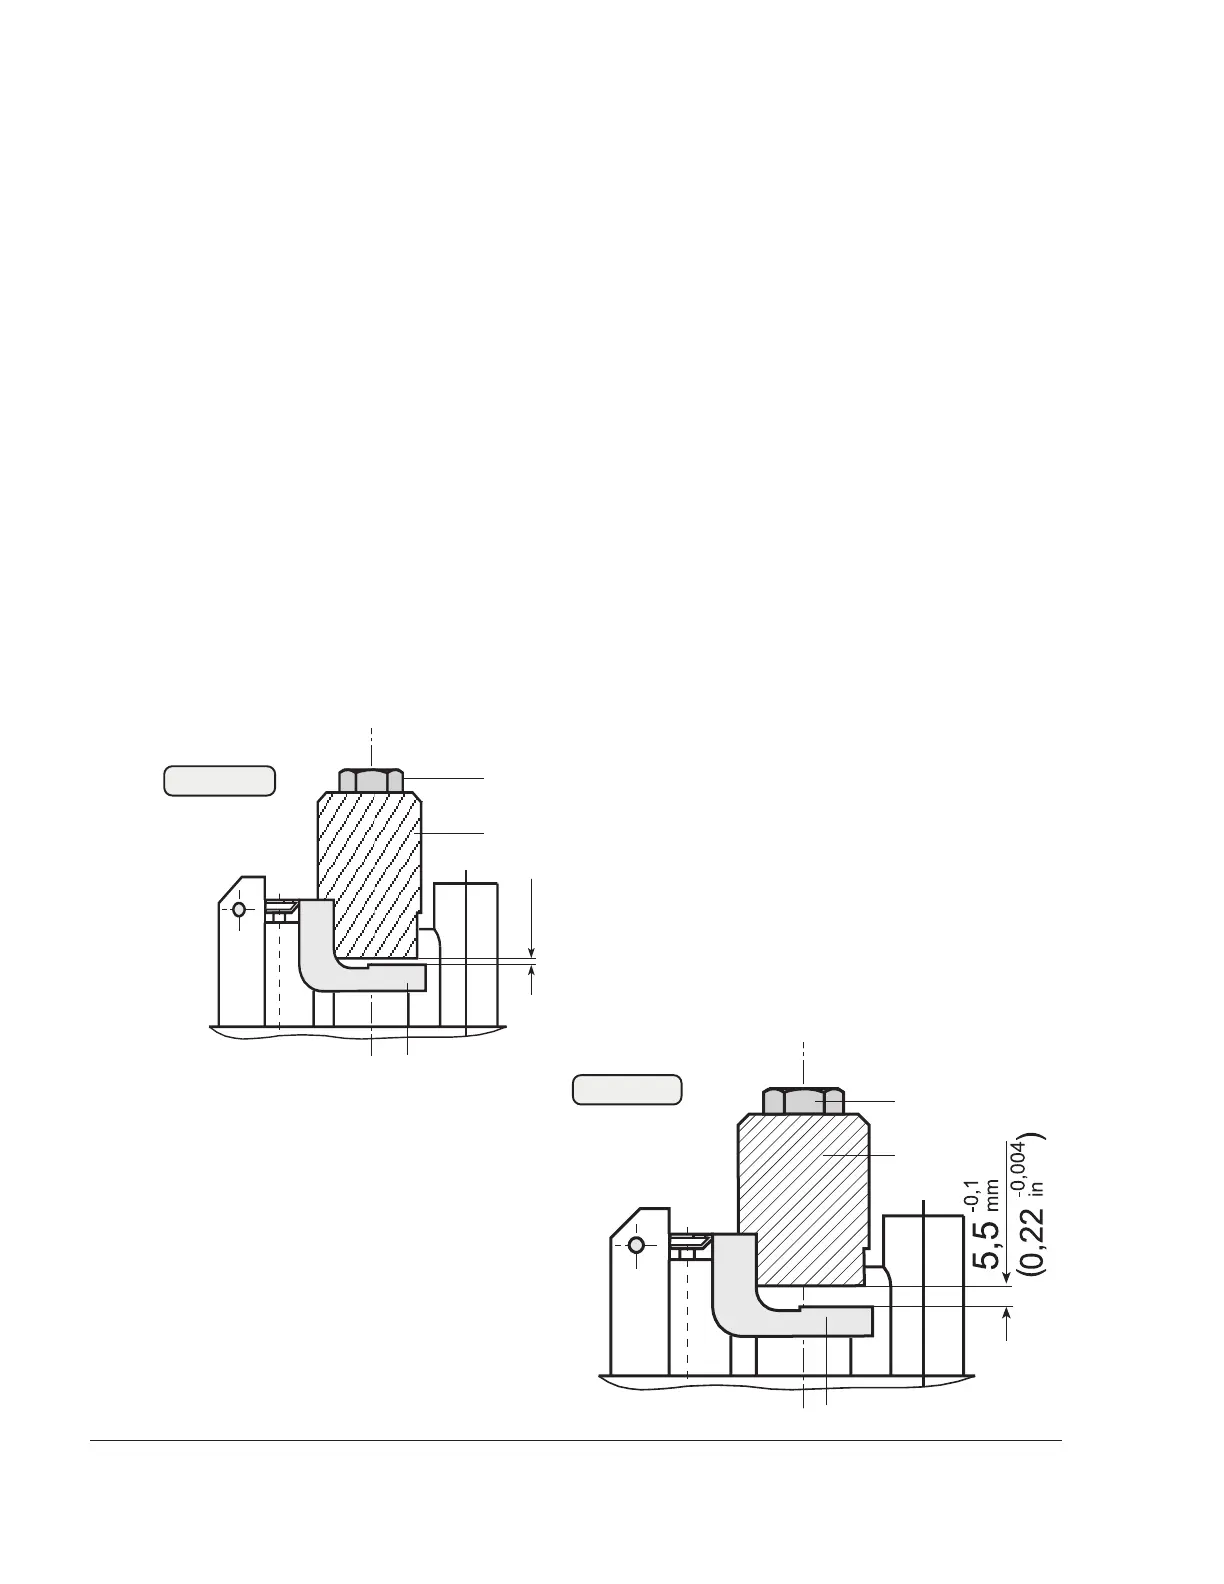
3.3.8) Float brackets
See Figs. 73-18, 73-19 and 73-20.
Check that the float suspension brackets (8) are parallel. To do so,
remove main jet and attach the gauge (13) to the mixing tube with a hex.
screw (14). When the needle valve is closed, the two arms (15) of the
float bracket must be evenly spaced.
Spacing:
On the 912 Series: 0.4 to 0.5 mm (.016 to .02 in.)
On the 914 Series: 5.4 to 5.5 mm (.21 to .22 in.)
Always replace float brackets together with the float needle valve.
If there is a noticeable fault, the float bracket can be bent for correction
or be replaced. After the check, remove the gauge and refit the main
jet.
08209
04927
0,5
mm
-0,1
0,02
in
-0,004
(
(
15
13
14
15
13
14
Fig. 73-19
Fig. 73-20