73-00-00
page 44
May 01/2007
Effectivity 914 Series
Edition 1 / Rev. 0
d02623
BRP-Rotax
Maintenance Manual
3.4.6) Fuel pressure regulator (only on 914 Series)
See Figs. 73-37 and 73-38.
Carry out a visual inspection of the fuel pressure regulator (2).
◆ NOTE: All new fuel pressure regulators are calibrated by the
engine manufacturer and should not need further
adjustment.
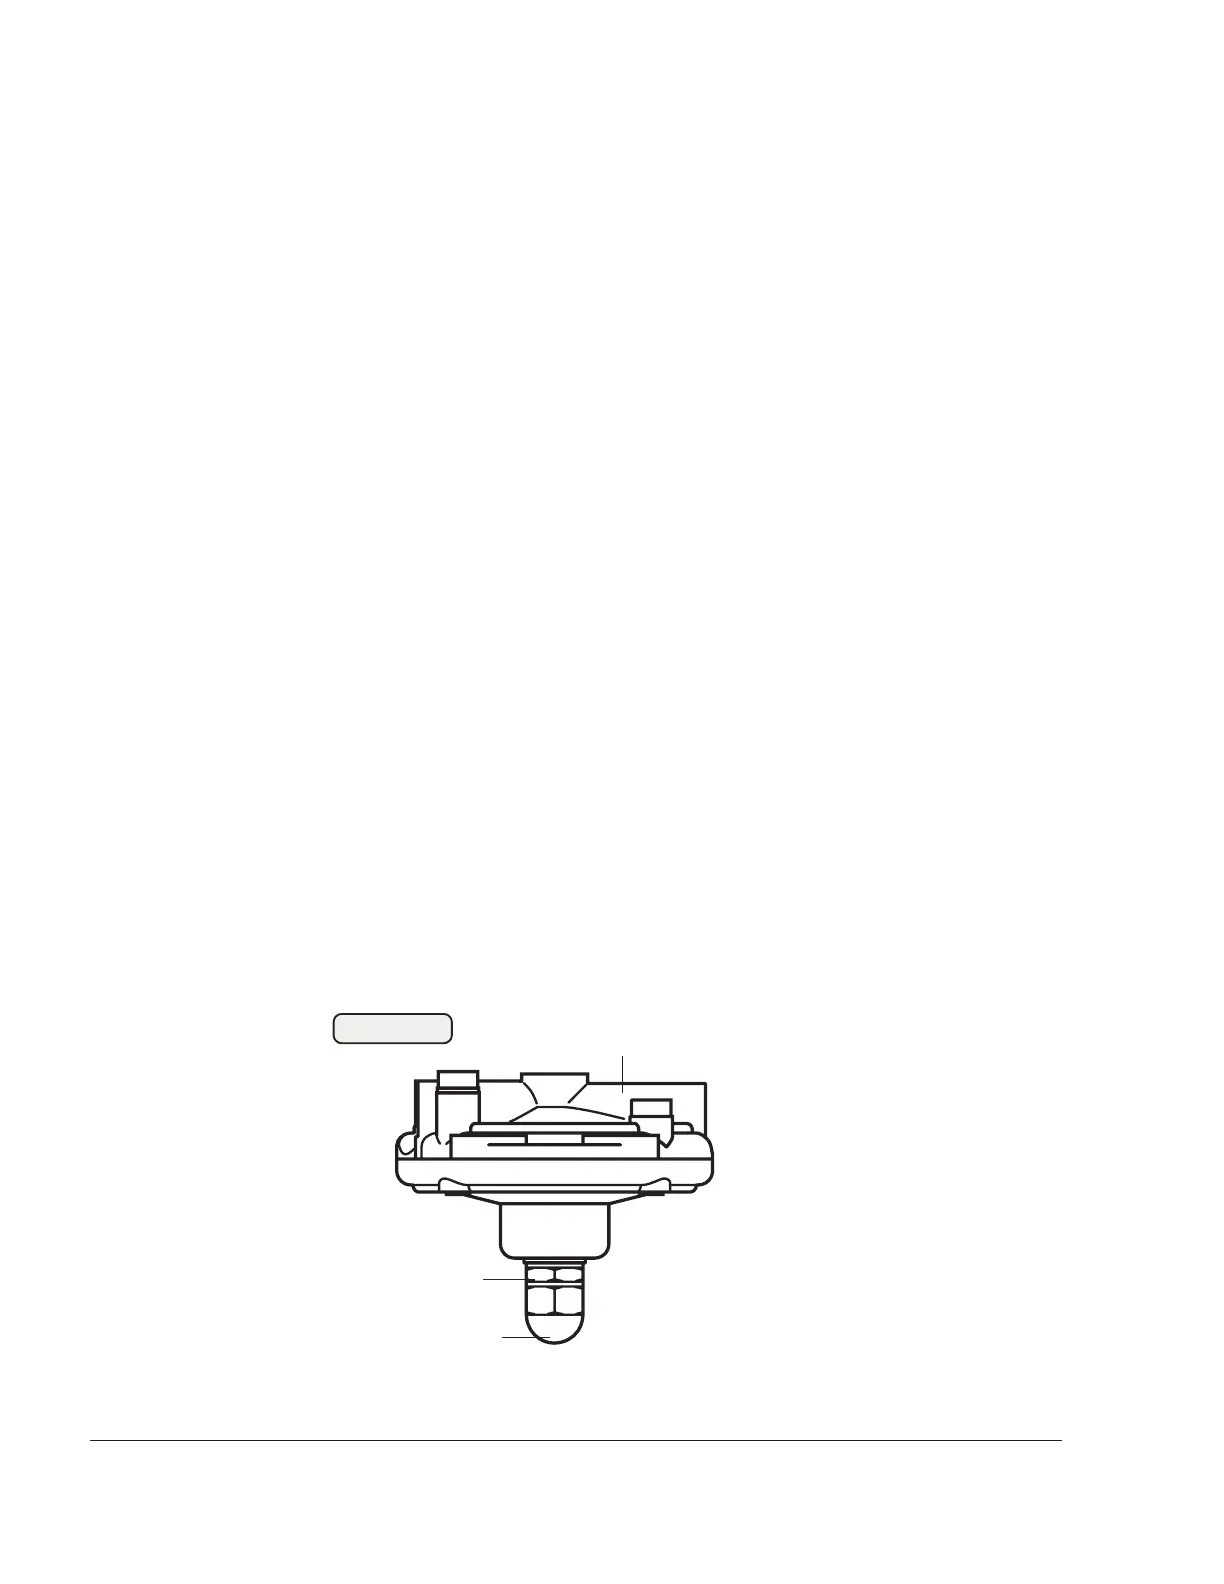
However, if this should become necessary, there is an adjustment
screw (4) on the bottom side of the regulator.
Set ignition switch for both ignition circuits to “OFF” position. Switch on
the electric fuel pump, set to the correct fuel pressure (approx. 250 hPa
above the airbox pressure) using the adjuster screw (4) and tighten with
the cap nut (5) to a tightening torque of 5 Nm (45 in.lb).
◆ NOTE: Apply LOCTITE 243 to the thread.
■ CAUTION: The fuel pressure regulator must not be disassembled,
as there are no spare parts available. If necessary,
replace the complete regulator.
The fuel pressure regulator is attached to the airbox with hex. screws
M6x16 and lock washers. Tightening torque 8 Nm (70 in.lb).
■ CAUTION: Failure to tighten the cap nut will result in a pressure
drop in the fuel system, which can cause engine
damage.
00044
Fig. 73-38
2
4
5