Segway Personal Transporter SE Service Manual
9–8
AC Input Filter (cont.)
Installation
Tools Required: T-10 6-lobe wrench
T-20 6-lobe wrench
4 mm hex wrench
Torque wrench
1. Fold the tabs of the insulator and place the insulator
in the Console Base. Fold the tabs under the
insulator to act as springs holding the insulator
against the board. See Figure 9–8.
2. Orient the AC Input Filter in the Console Base. Orient
the AC Input Socket against the hole in the rear of
the Console Base.
NOTICE
Make sure the AC Socket is oriented correctly. Check
orientation by plugging in a power cord.
3. Using a T-10 6-lobe wrench, install the five fasteners
that hold the AC Input Filter in place. Torque to 1.6
N-m (14 in-lbf).
NOTICE
Original fasteners are self-tapping. Replace with
non-tapping fasteners.
4. Using a T-20 6-lobe wrench, install the two fasteners
that secure the AC Input Socket. Torque to 1.0 N-m
(9 in-lbf).
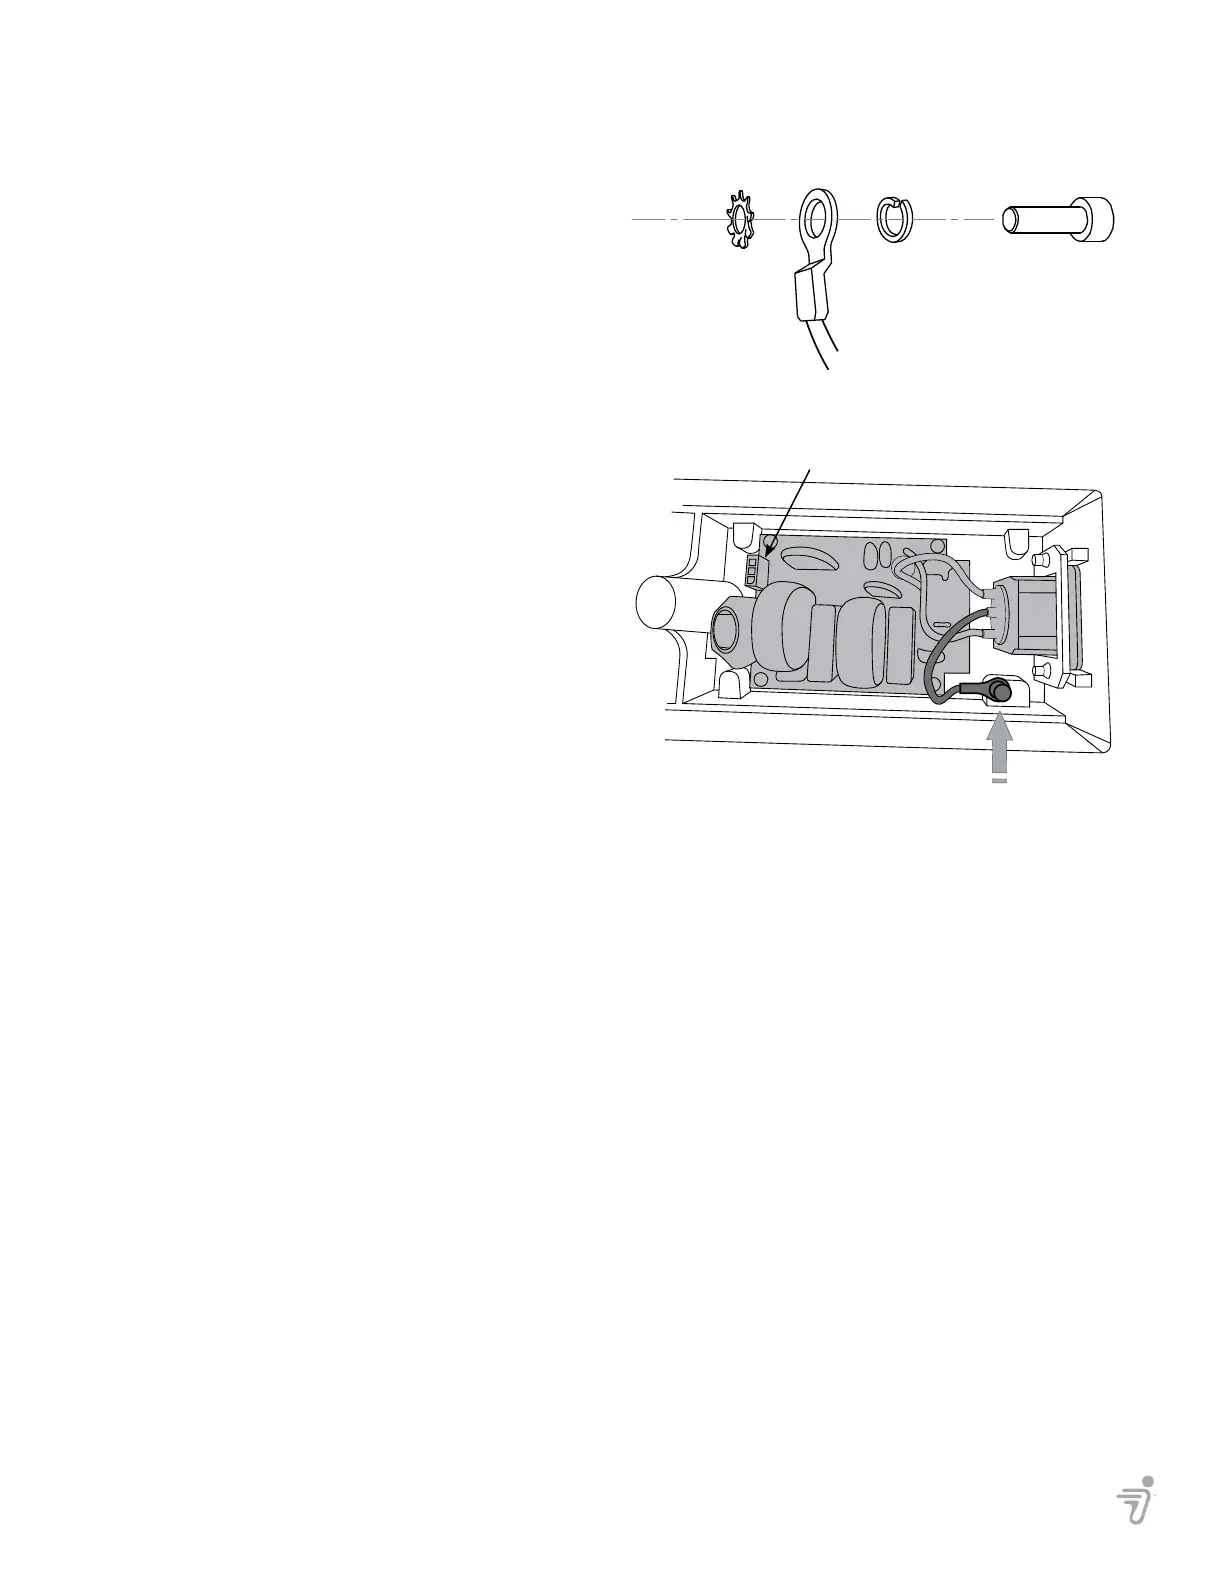
5. Assemble the ground lug and fastener as shown in
Figure 9–9.
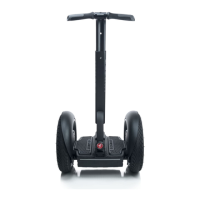
6. Using a 4 mm hex wrench, fasten the ground lug to
the Console Base. Orient the ground lug as shown in
Figure 9–10. Torque to 3.0 N-m (27 in-lbf).
7. Connect the Power Supply Harness. See
Figure 9–10.
8. Install the Console onto the Powerbase
(page 9–4).
9. Install the Radio Board (page 9–3).
10. Reassemble the PT from the Serviceable Powerbase
(page 8–2).
11. Perform post-service tests (page A–1).
Figure 9–9: Ground Lug
Figure 9–10: Ground Lug Orientation
Power Supply Harness Socket
Console