MENTOR 12 USER’S MANUAL SECTION 3: ADVANCED CONTROL – Page 83
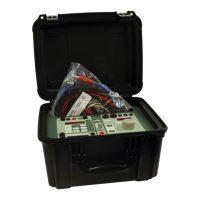
The keys closest to the aforementioned (Erase) key that contain an arrow pointing
upward, are used to INSERT a new state exactly where it indicates. These are the
buttons highlighted in red in the following picture.
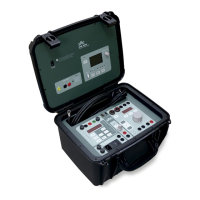
The next keys, with a horizontal arrow, the one on the right pointing to the right and the
one on the left pointing to the left, are used to move the visible states on the window in
one direction or another and, at the same time, select the state to be edited, by placing
the EDIT button on each state. Buttons highlighted in red
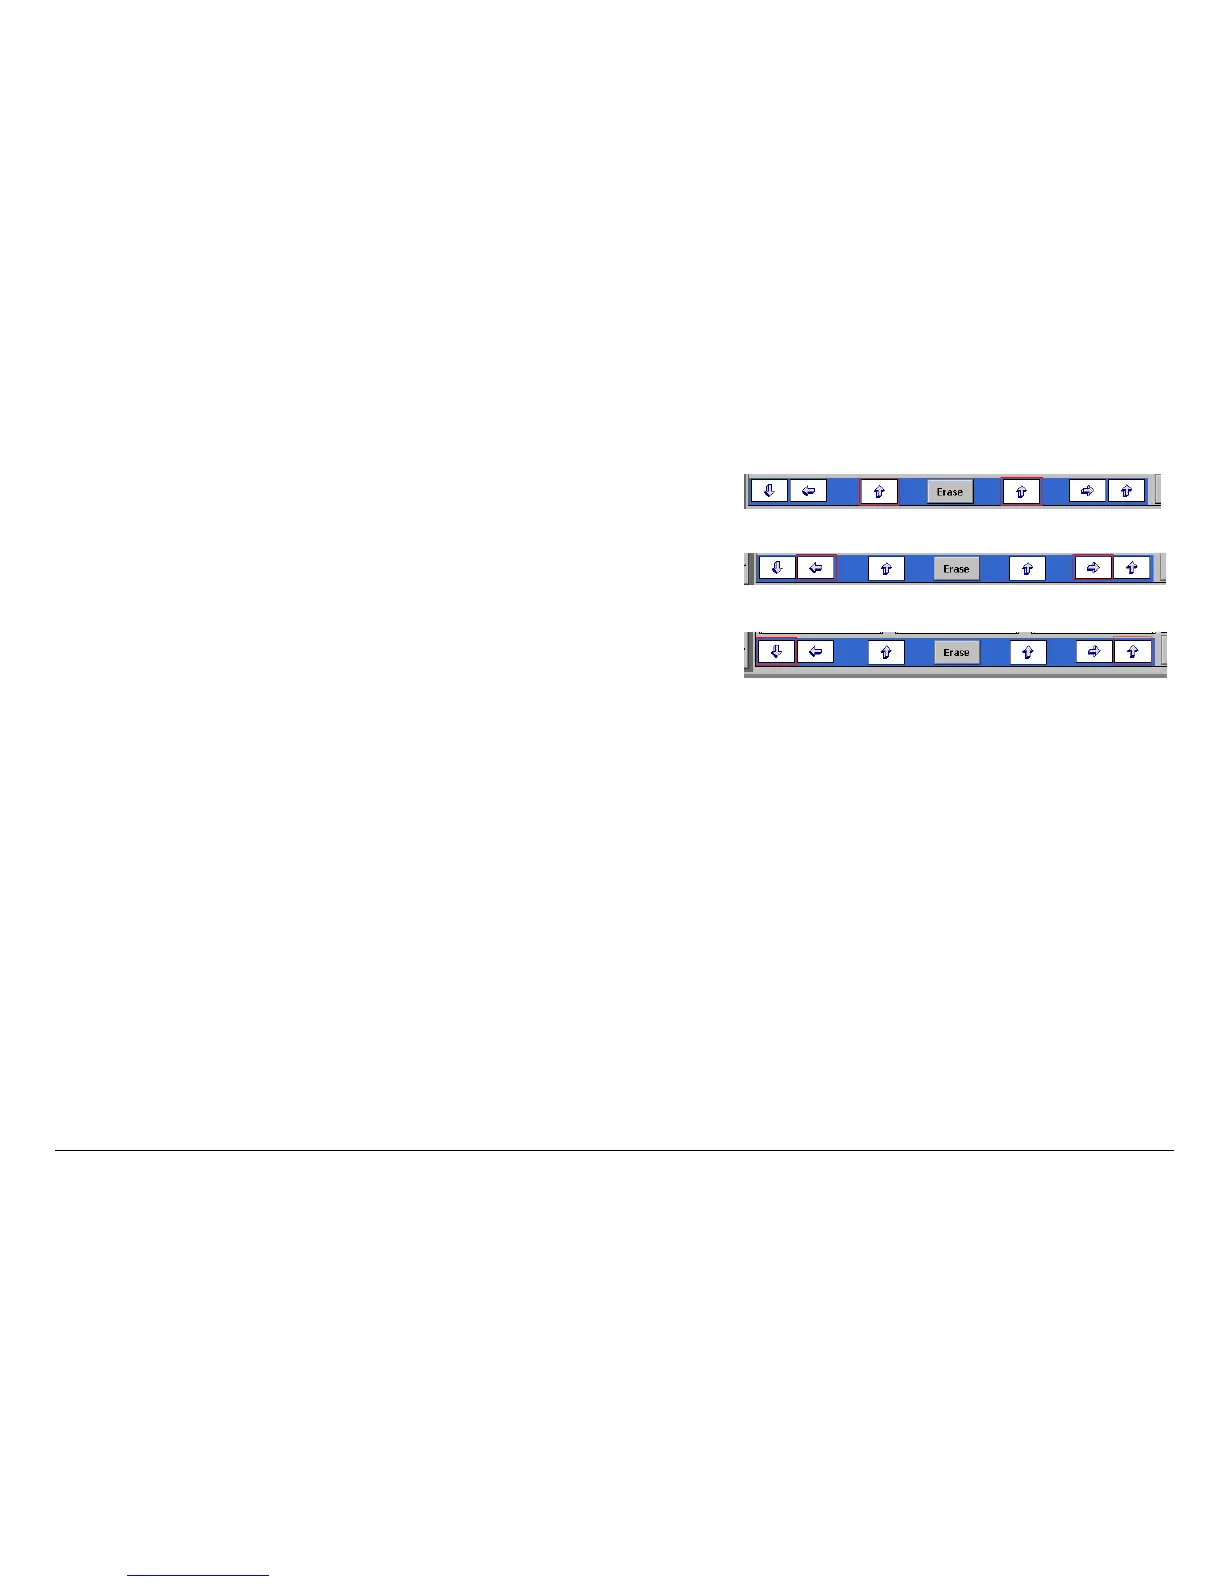
The other two keys, furthest away from the centre, with vertical arrows, the one on the
left pointing down and the one on the right pointing up, are used to go to the start or end
of the state sequence, respectively,.
If you wish to edit the information of a specific state, use the arrows mentioned to place
the button marked EDIT on this state. This button will appear in the upper right-hand
corner of the summary window of the state to be edited.
Press the EDIT button and the standard configuration screen will appear, which will
enable you to change values of all the parameters, state of the power outputs and
states of the binary outputs. Once you have made the changes, press OK to return to
the state window where you should see the summary of the configuration made.
On the same state summary window, if you press on the bottom window where the
summary of the state change conditions appears, the configuration window will appear
where you can determine and parameterise them. Proceed as follows:
• Press the button marked TIME. This will activate the state change for this
parameter. The indicator associated with the button will change to red.
• Select the desired time value on the adjacent window using the rotary knob
and the left and right arrows on the same screen.
• If you press the button marked KEY you will activate the manual state change
to be carried out by the operator. The indicator associated with the button will
 Loading...