Raptor
20
HOW TO CONNECT THE SYSTEM
The Raptor system will be composed of at least one Console (Raptor-HH) and one
Master unit (Raptor-MS). Depending on the configuration that you have acquired, you
can also align up to 4 slave units (Raptor-SL).
To connect the system, you must first set up a power supply line with sufficient power/
cross-section to cover the power that your load requires, plus the losses of the generator.
Even though this is difficult to know in advance, you can take into account the maximum
admissible consumption per unit:
Raptor-MS: 18 A permanently, 36 A for 3 minutes and 72 A for 3 seconds.
Raptor-SL: 26 A permanently, 52 A for 3 minutes and 104 A for 3 seconds.
You must keep in mind that the Raptor gives maximum power when fed at 240 VAC,
measured at the start of the supplied power supply cable. To the extent that this voltage is
less or drops during the test, the maximum current or maximum voltage will also drop.
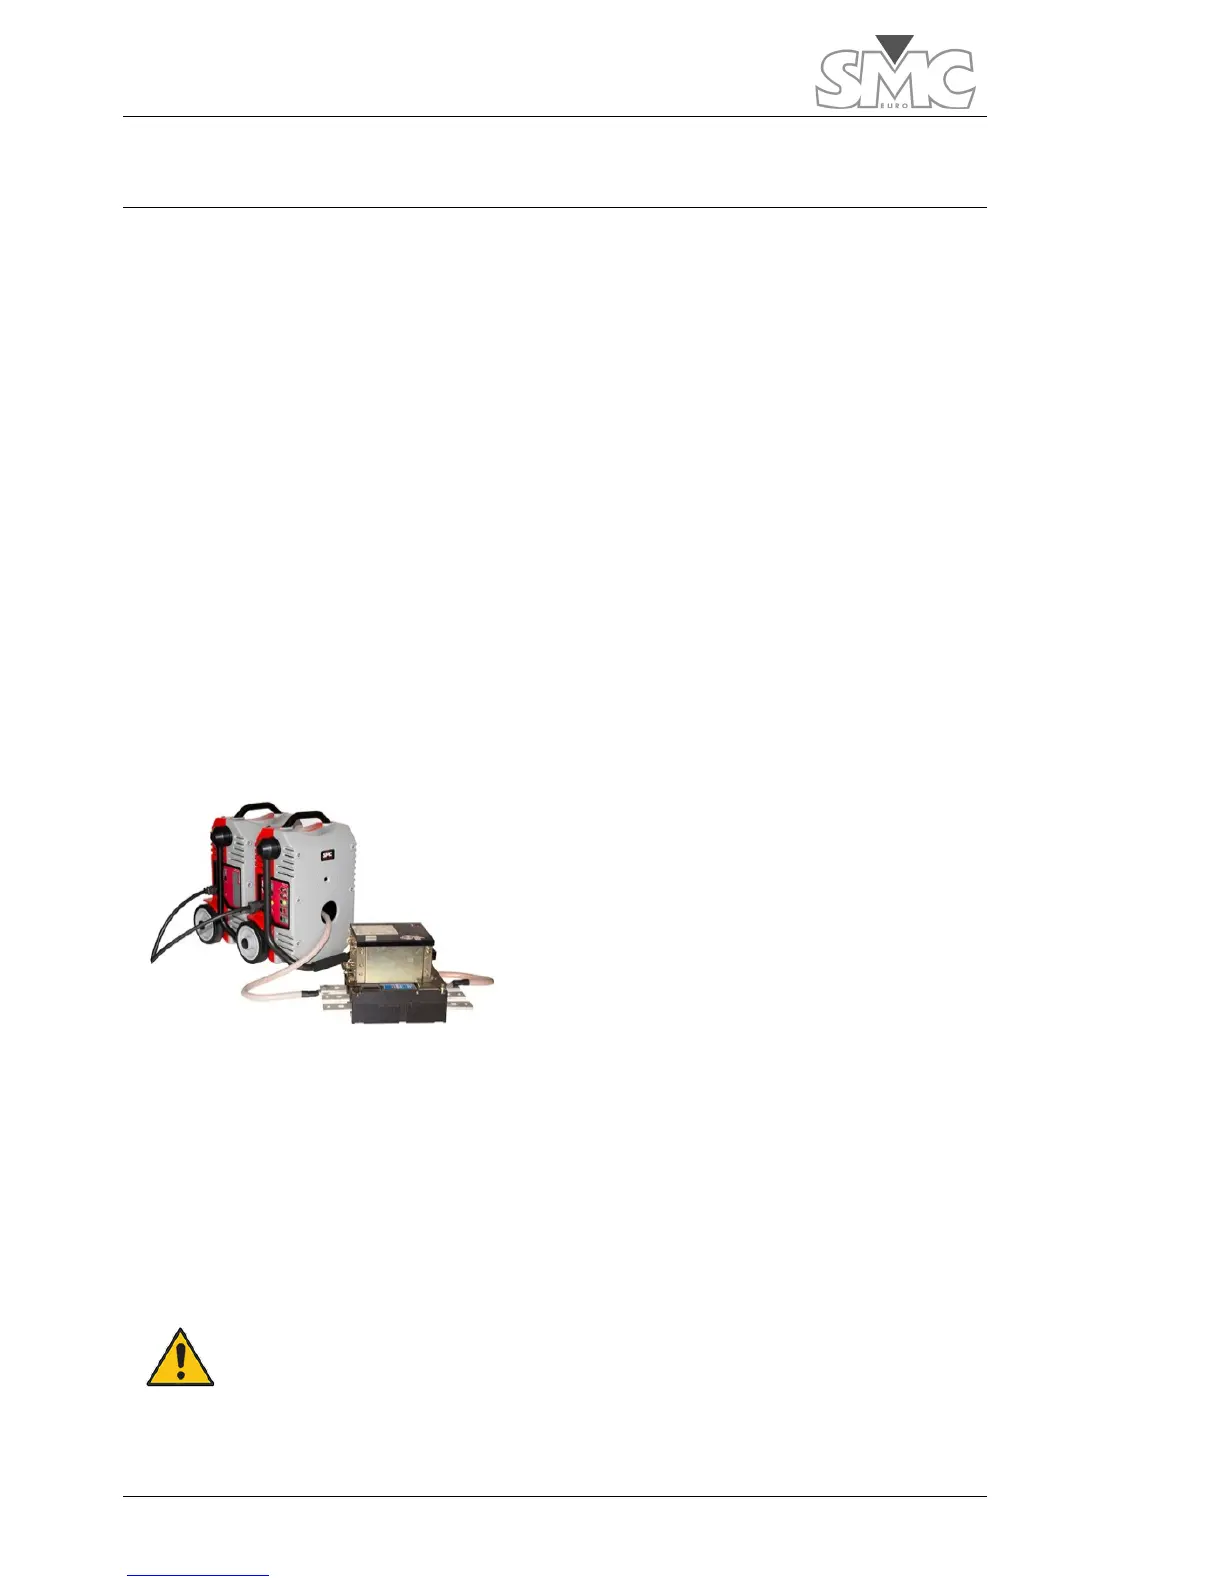
Positioning of the equipment
When preparing to inject current using the ‘pass-through turn’, you must align the Master
case with the Slaves.
This makes it easier to pass the cable through the hole of each unit and allows the
infrared communications channel of the Raptor units to work correctly (this
communication, in both sides of units, is designed for being viewed directly and at a
distance of less than 1 meter).
Conversely, if you are going to use the auxiliary Voltage/Current output, be sure that
there is no closed pass-through turn.
Do not use the auxiliary output at the same time as injection by
pass-through turns.

 Loading...