Walkup Screen Setting 125
Walkup Screen Setting
This section describes how to set the screen when the power of the equipment is turned ON. In
the initial screen set at the time of shipping, the "copy mode” main screen is displayed.
1
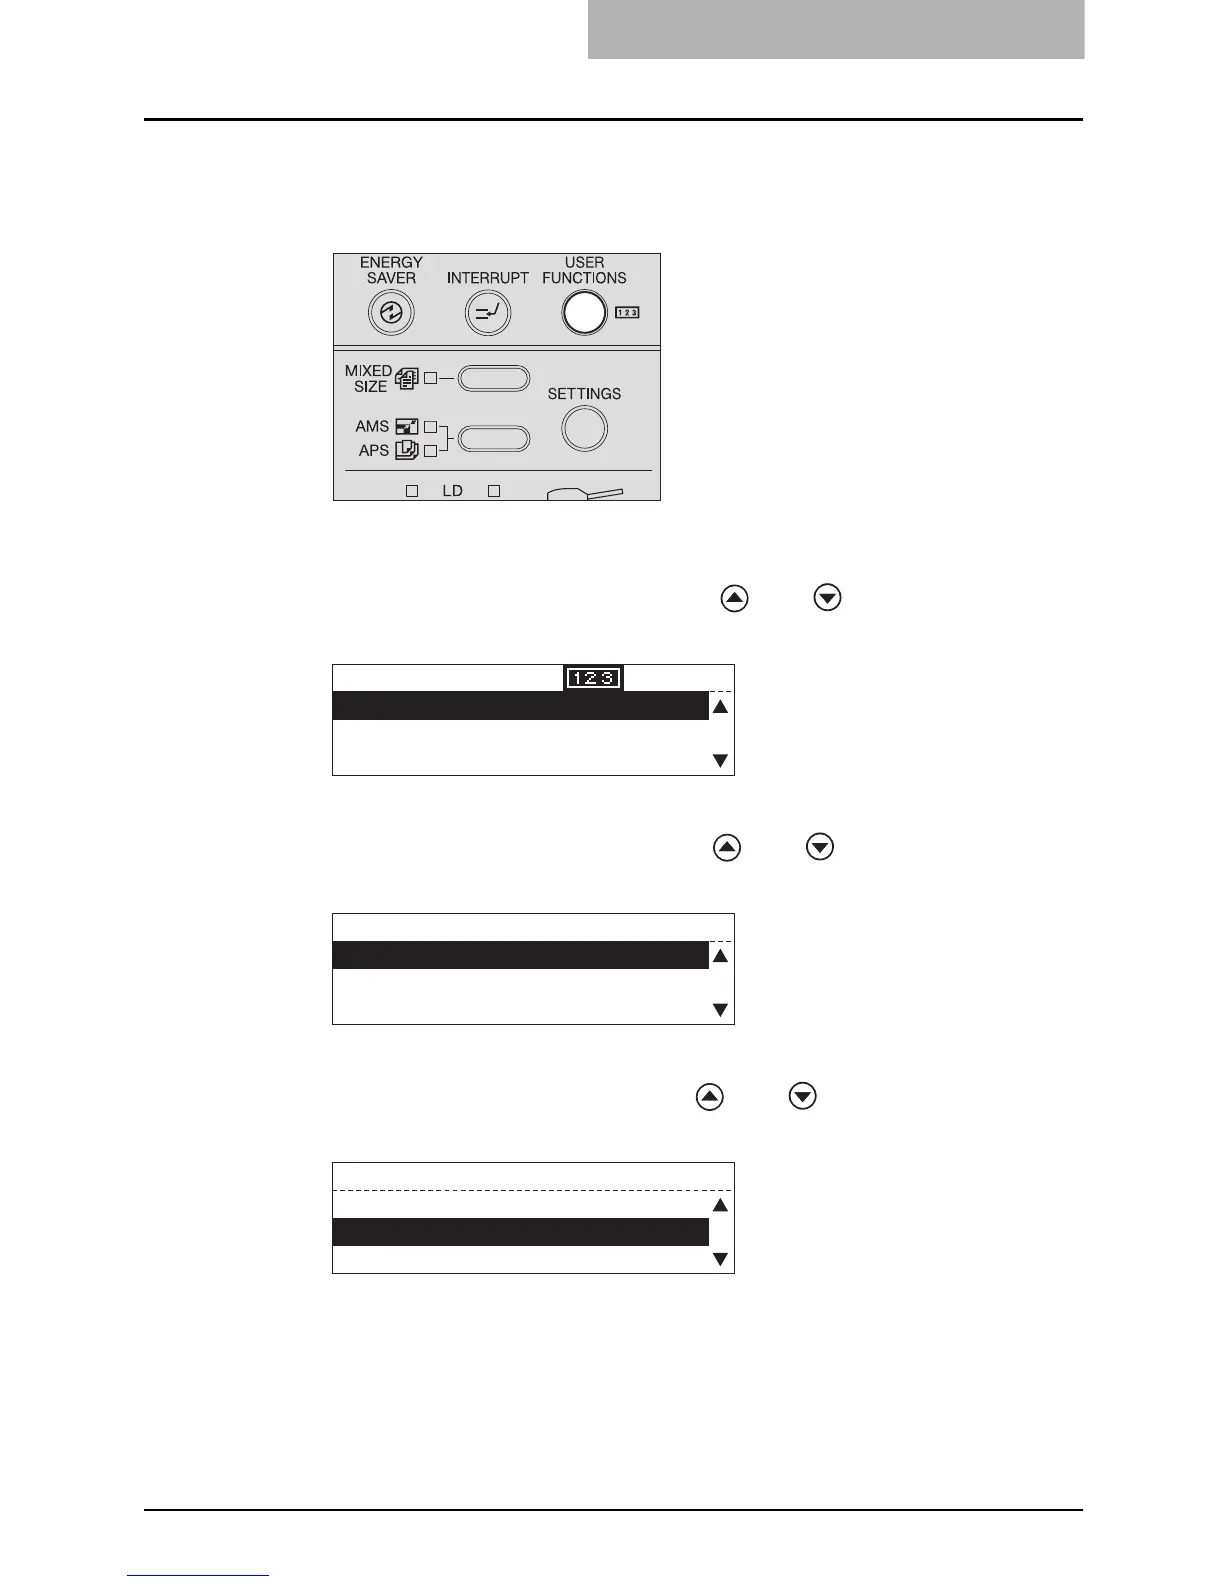
Press the [USER FUNCTIONS] button.
The “user functions mode” main screen is displayed.
2
Select “DEFAULT SETTINGS” with and buttons, and then
press the [ENTER] button.
3
Select “GENERAL SETTING” with and buttons, and then
press the [ENTER] button.
4
Select “WALKUP SCREEN” with and buttons, and then
press the [ENTER] button.
USER FUNCTIONS
1216
01.DEFAULT SETTINGS
02.LISTS
03.INITIAL SETUP
DEFAULT SETTINGS
01.GENERAL SETTING
02.COPY SETUP
03.FAX SETUP
GENERAL SETTING
01.DRAWER SIZE
02.WALKUP SCREEN
03.TIMERS

 Loading...