Making Copies 57
Making Copies
Follow the procedure below to make copies.
Various copying functions are available. See the following page for the details:
P.65 “COPYING FUNCTIONS”
P.79 “ADVANCED COPYING FUNCTIONS”
1
Check if paper is placed in the drawer.
For the acceptable types and sizes of paper, see the following pages:
P.38 “Acceptable media types”
P.40 “Placing paper in drawers”
P.44 “Placing paper in the drawers of Paper Feed Pedestal (optional)”
2
Place the original.
For acceptable originals or how to place originals, see the following pages:
P.52 “Acceptable originals”
P.56 “Placing originals on Reversing Automatic Document Feeder (optional) /
Automatic Document Feeder (optional)”
P.53 “Placing originals on the original glass”
P.54 “Placing booklet-type originals such as books or catalogs”
3
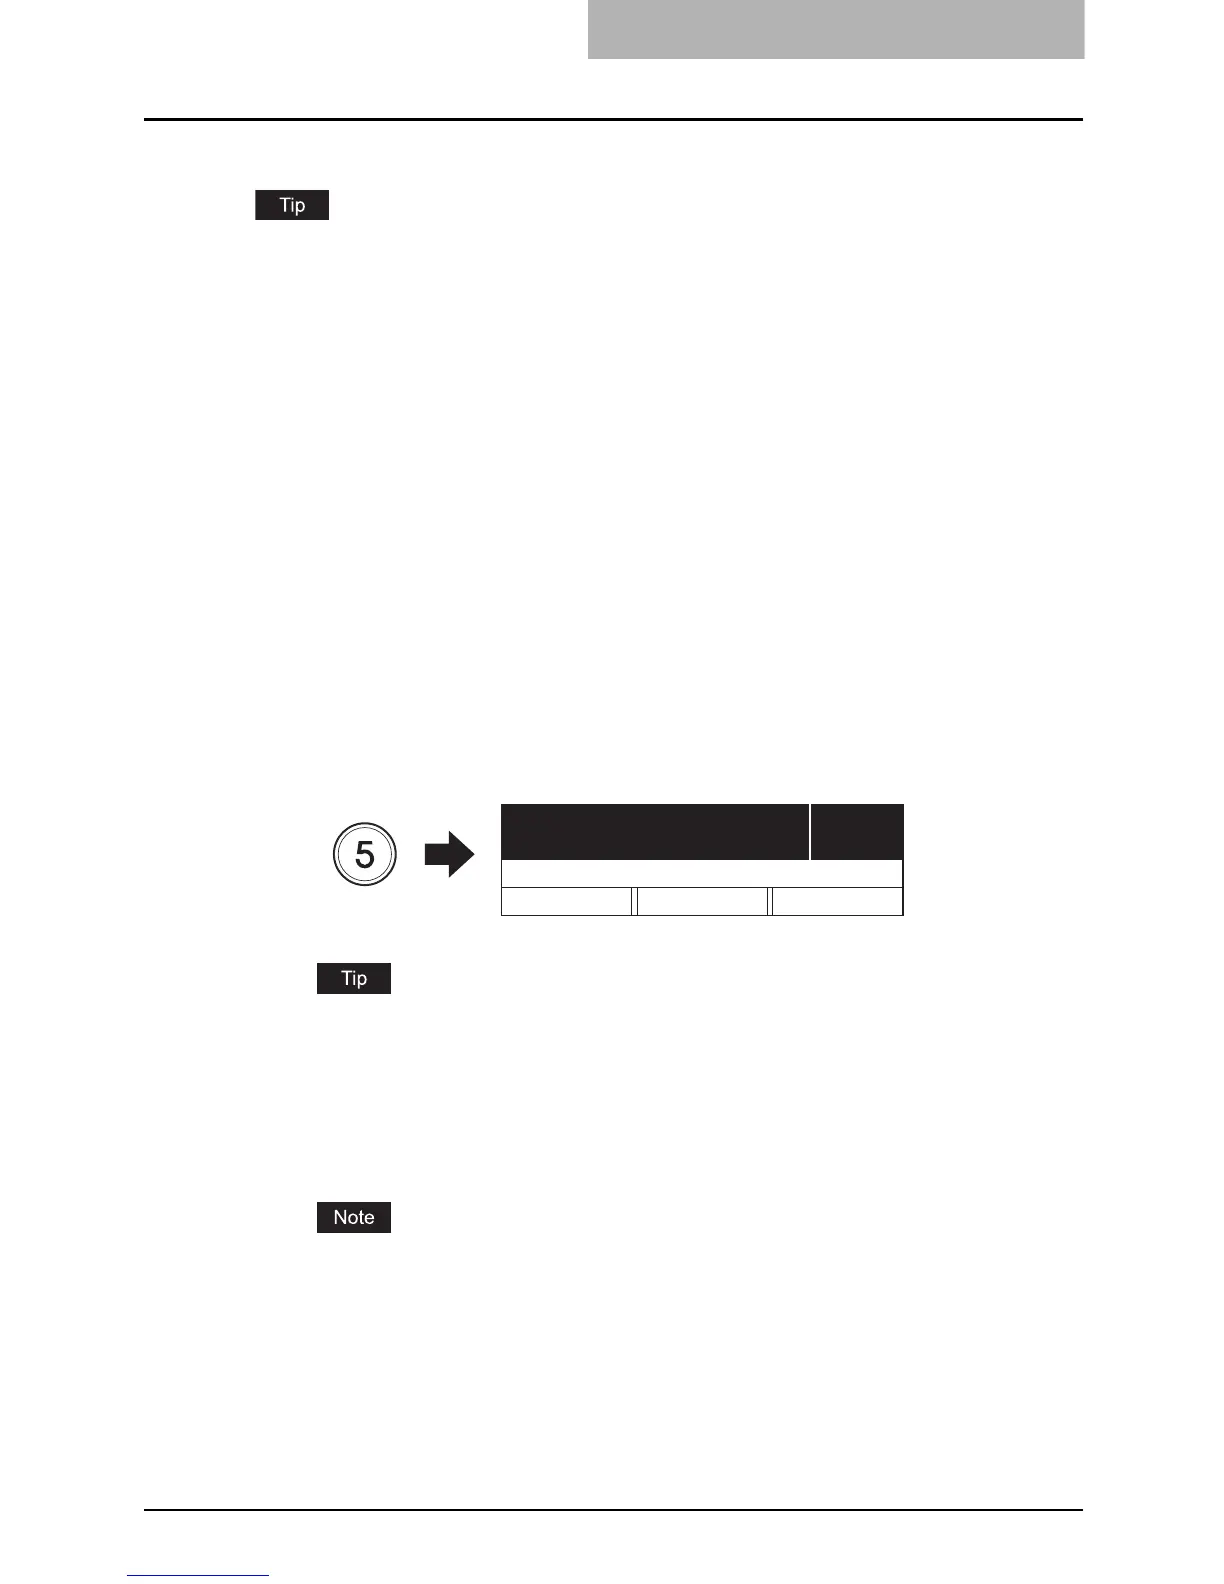
Key in the desired number of copies (= copy quantity) when you
copy more than one set.
e.g.) 5 sets
If you want to correct the copy quantity keyed in, press the [CLEAR/STOP] button, and
then key in the correct number.
4
Select the copy modes as required.
P.65 “COPYING FUNCTIONS”
P.79 “ADVANCED COPYING FUNCTIONS”
Some functions may not be used together with other functions. For the details, see the
following page.
P.213 “Copying Function Combination Matrix”
5
Press the [START] button.
Copying starts. The paper will exit with its copied side down.
5
100% NONSORT
ZOOM FINISHING EDIT
READY

 Loading...