32
Installing the appliance
Before installation, read “Preparing for in-
stallation” on page27 and the following.
Sharp edges can cause cuts and injury!
• Always wear protective gloves to avoid in-
juries from sharp edges during installation
work and while handling the appliance.
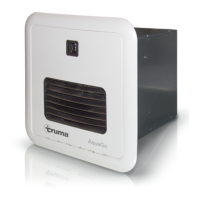
• Slide the appliance carefully into the installa-
tion space until the installation frame makes
contact.
• Damage to the appliance and/
or the RV! Do not use adhesive sealing ma-
terial (e.g. silicone) for the watertight seal.
Otherwise damage may occur when the ap-
pliance is moved during servicing.
• The appliance must be installed with a wa-
tertight seal with the outer skin of the ve-
hicle.
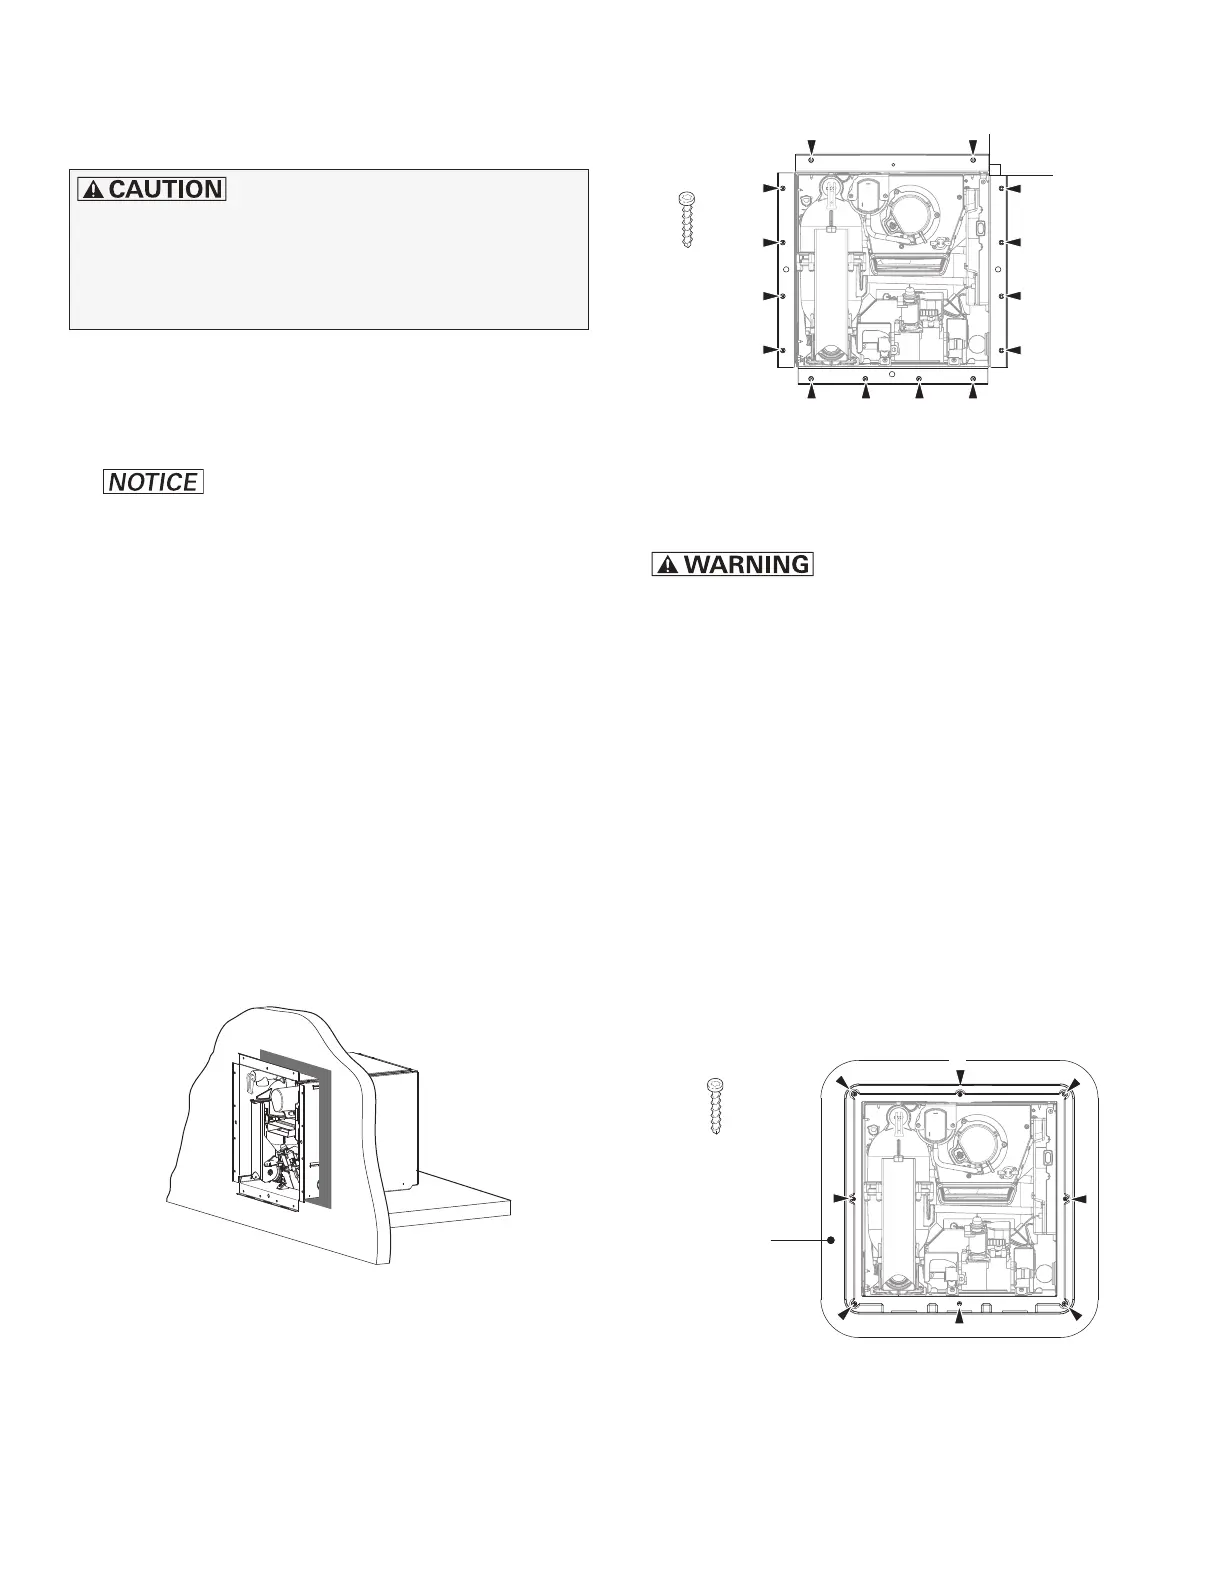
To achieve the watertight seal:
– Pull the appliance out ≈ 2 in. (5 cm).
– Apply an adequate amount of watertight
sealing material to the entire flange area
of the installation frame and at the cor-
ners, see gray marking in Fig.21.
– Slide the appliance carefully into the
installation space until the installation
frame makes contact.
Fig. 21
• Screw the appliance into the vehicle’s frame
with the prepared 14 screws. See 5. “Make
sure you have suitable screws ready:” on
page27.
• Make sure that the unit casing corners are
90 degrees square so that the cover plate/ac-
cess door fits properly.
14 x
90 degrees
Fig. 22
• Immediately remove all excess sealing mate-
rial.
• Risk of death from poison-
ing and significant damage to the RV
due to exhaust gas and leaking water!
– Make sure that there is a tight seal and
that no exhaust gas or water can enter
the RV.
• Check and make sure that there is a tight seal.
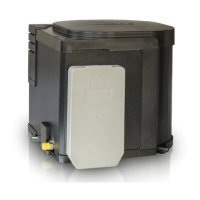
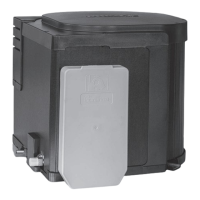
• Fasten the cover plate to the appliance (see
Fig.23):
– Position the cover plate.
– Screw the cover plate only loosely.
Start with screw 1.
– Align the cover plate.
– Evenly tighten all 8 screws.
8 x
Cover plate
1
Fig. 23
 Loading...