32 Air/flue pipe installation manual 0020308120_02
5.10.4 Connecting the product
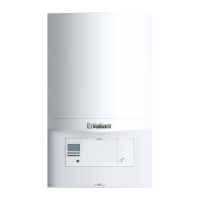
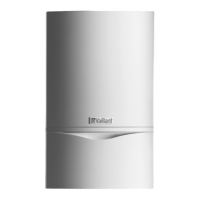
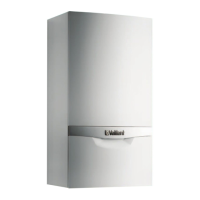
1. Install the product (4) – see the installation instructions
for the product.
2. If required, replace the connector for the air/flue pipe
(3), see the installation instructions for the product.
3. Connect the connection elbow (2) to the connector for
the air/flue pipe (3).
4. Insert the sliding sleeve (5) with the sleeve as far as it
will go in the wall/roof duct (7) or the extension (6).
5. If required, install the extensions .
6. Connect the sliding sleeve to the connection elbow.
7. Install the air pipe clamp (1) for the sliding sleeve.
8.
Alternatives 1:
Condition: Wall/roof duct without extension
▶ Install the sliding sleeve. (→ Page 46)
8.
Alternatives 2:
Condition: Wall/roof duct with extension
▶ Install the extensions. (→ Page 46)
▶ Install the elbows (→ Page 49).
▶ Install the sliding sleeve. (→ Page 46)
▶ Connect all of the pipe joints with air pipe clamps.
(→ Page 54)
5.11 Installing the vertical roof duct
5.11.1 Installing the vertical roof duct, 60/100 mm
diameter
5.11.1.1 Assembling the vertical roof duct
Note
In its as-delivered condition, the lower pipe of the
vertical roof duct is pushed into the upper pipe.
1. Remove the clamp fitting (3) from the inside of the flue
pipe (2) (step A).
2. Separate the flue pipe (2) from the terminal piece (1)
by pulling them apart (step B).
3. Turn the terminal piece over and set it on the floor
(step C).
4. Slide the flue pipe (2) downwards onto the terminal
piece (1) until all four fastenings click into place (step
D).
5.11.1.2 Scope of delivery article number
0020223472 (black, with collar)
1 Vertical roof duct
2 Fixing bracket
3 48 mm air pipe clamp
4 Cover plate
 Loading...
