53
Cylinder block, renovation
Piston and connecting rod,
removal
(Cylinder head and sump removed)
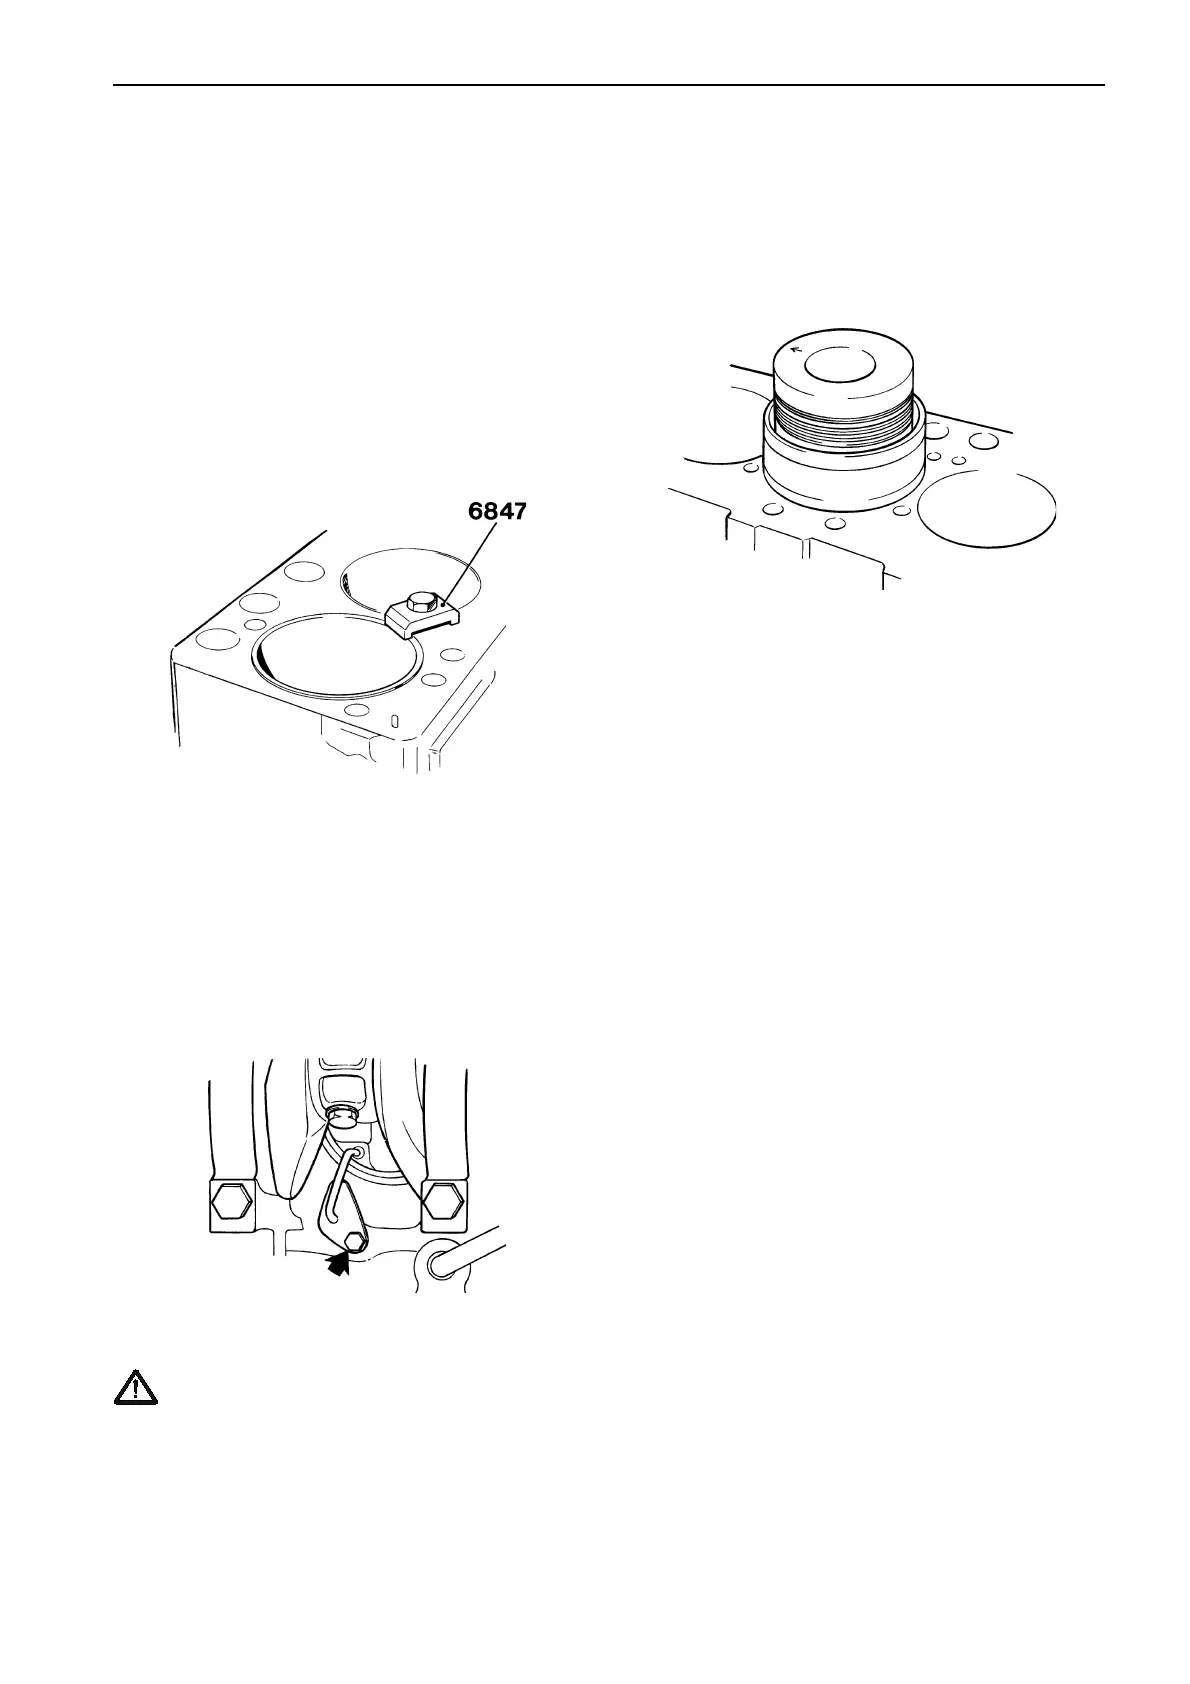
Special tool: 9996847.
Please refer to “Cylinder head, removal” on pages 32
and 33 for the method of removing the cylinder head.
Repair instructions
4
Carefully tap the con rod and piston up until the piston
rings come free of the cylinder liner.
Lift off the piston together with the con rod.
5
Remove the piston rings with piston ring pliers.
Please refer to page 54 for inspection of the piston
rings.
Install retainers 9996847 for the cylinder liners, before
removing the pistons.
If a cylinder liner should slide up during piston re-
moval, the cylinder liner must also be removed since
there is a major risk that contamination will fall down
between the lining and the block, and cause leakage.
2
1
Remove the piston cooling nozzle.
IMPORTANT! The piston cooling nozzle must
always be removed even if the work could “theo-
retically” be done with the nozzle in place. There
is a considerable risk that you could knock and
bend the nozzle, which would cause an engine
failure. The lock nuts must not be re-used.
3
Turn the engine round until the relevant piston is at
BDC. Remove the big end bearing cap with the lower
bearing shell.
 Loading...