55
Repair instructions
3
5
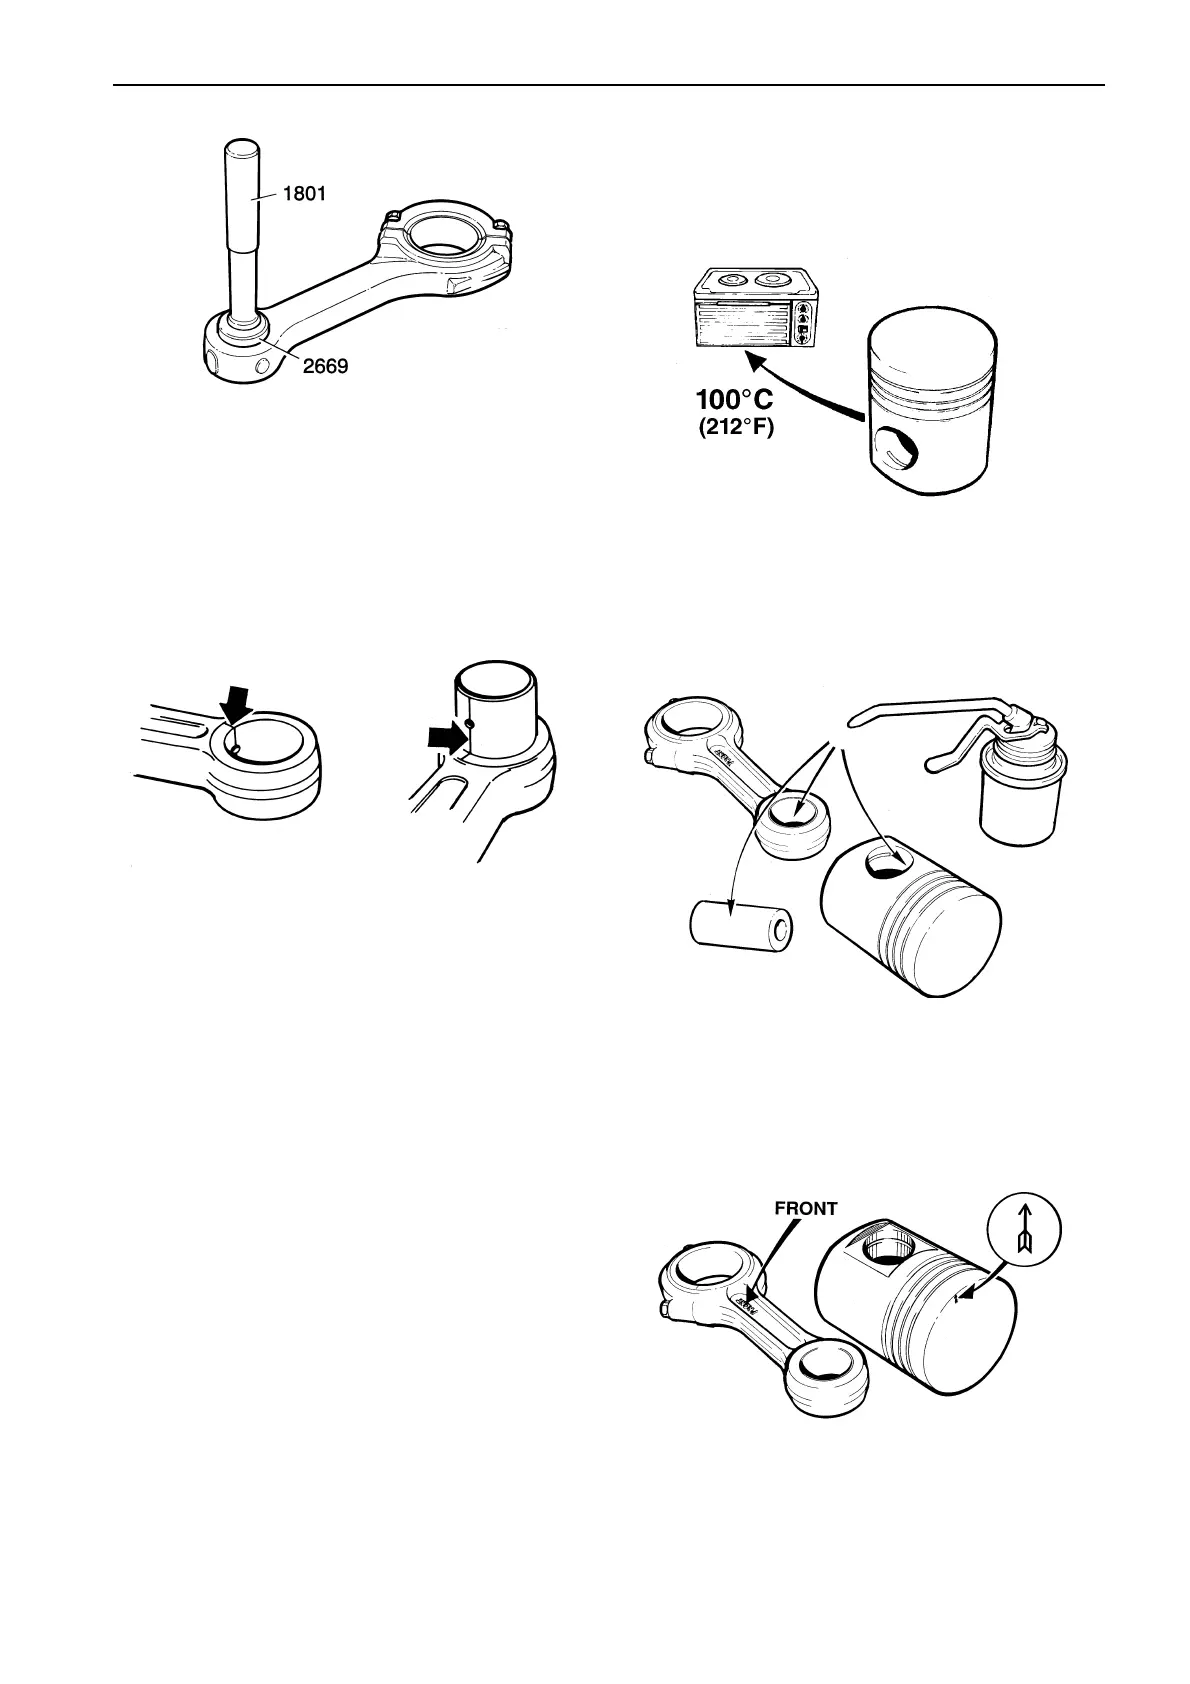
Press in the new bush, using the same tool as was
used for extracting the old one. Make sure that the oil
hole in the new bush coincides with the oil duct in the
con rod. Draw a guide line on the bushing hole and the
con rod with a felt tip pen. Check after pressing the
new bush in, that the oil duct is open.
6
After pressing, the bush for the
6(x) series should be broached
7(x) series should be bored
When the correct fit is achieved, an oiled gudgeon pin
should slowly slide down through the bush under its
own weight (at room temperature).
Finish off by checking the con rod in the jig again, to
ensure that the oil hole is correctly aligned.
Piston assembly
Special tool: 9992071
1
Install one circlip on the piston. Heat the piston up to
about 100°C.
3
Place the piston and con rod so that both the front
marks are aligned in the same direction.
2
Oil the piston, gudgeon pin and small end bush with
engine oil.
Press the old bush out, using mandrel no. 9992669
(6x series) or 9992479 (7x series). and shaft no.
9991801.
4
Heat the con rod up to about 100°C.
 Loading...