Installation
12 Xerox Scanner User’s Guide
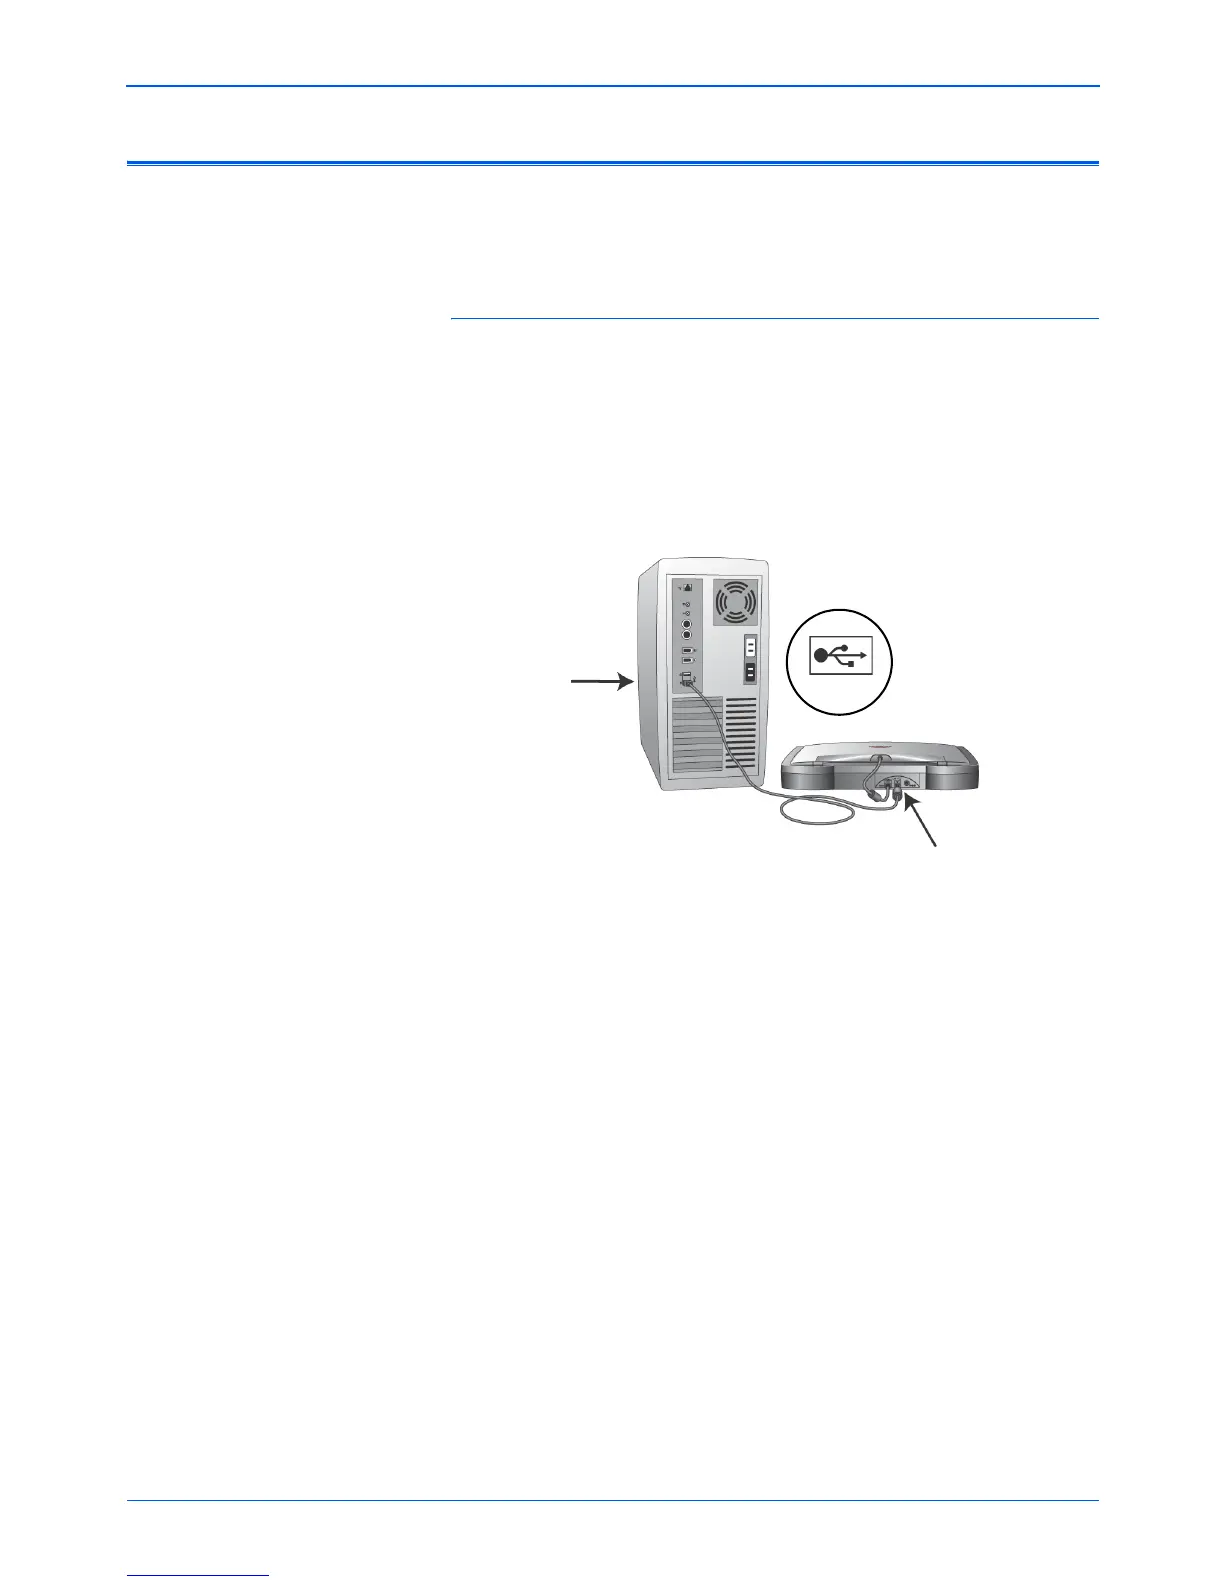
Step 3: Connect and Power On the Scanner
To connect your Xerox scanner:
1. Make sure the locking tab on the underside of the scanner is
unlocked.
2. Remove any tape from the USB cable.
3. Plug the USB cable into the USB port on the scanner then into
a USB port on the computer. Check your computer’s manual
for USB port locations.
If the plug does not attach easily, make sure that you are
plugging it in correctly. Do not force the plug into either
connection.
You can also connect the scanner to a USB hub. If you use a
USB hub, it must have its own power supply already plugged
into an electrical outlet.
NOTE: You can connect the scanner to your computer while the
computer is running.
NOTE: Scanner models 4800 and 4800TA are fully USB 2.0
compliant for Hi-Speed transfer, and they can plug into any USB
1.1 or USB 2.0 port on the computer. Plug the scanner into a
USB 2.0 port to get the full scanning speed available. Scanner
Model 2400 is USB 1.1 compliant only. Please see your
computer’s manual for the location and types of ports available.
NOTE: If you have not installed the software yet, unplug the
USB cable from the computer and install the software now.
When the software installation is complete, a message tells you
to connect the scanner.
USB
 Loading...