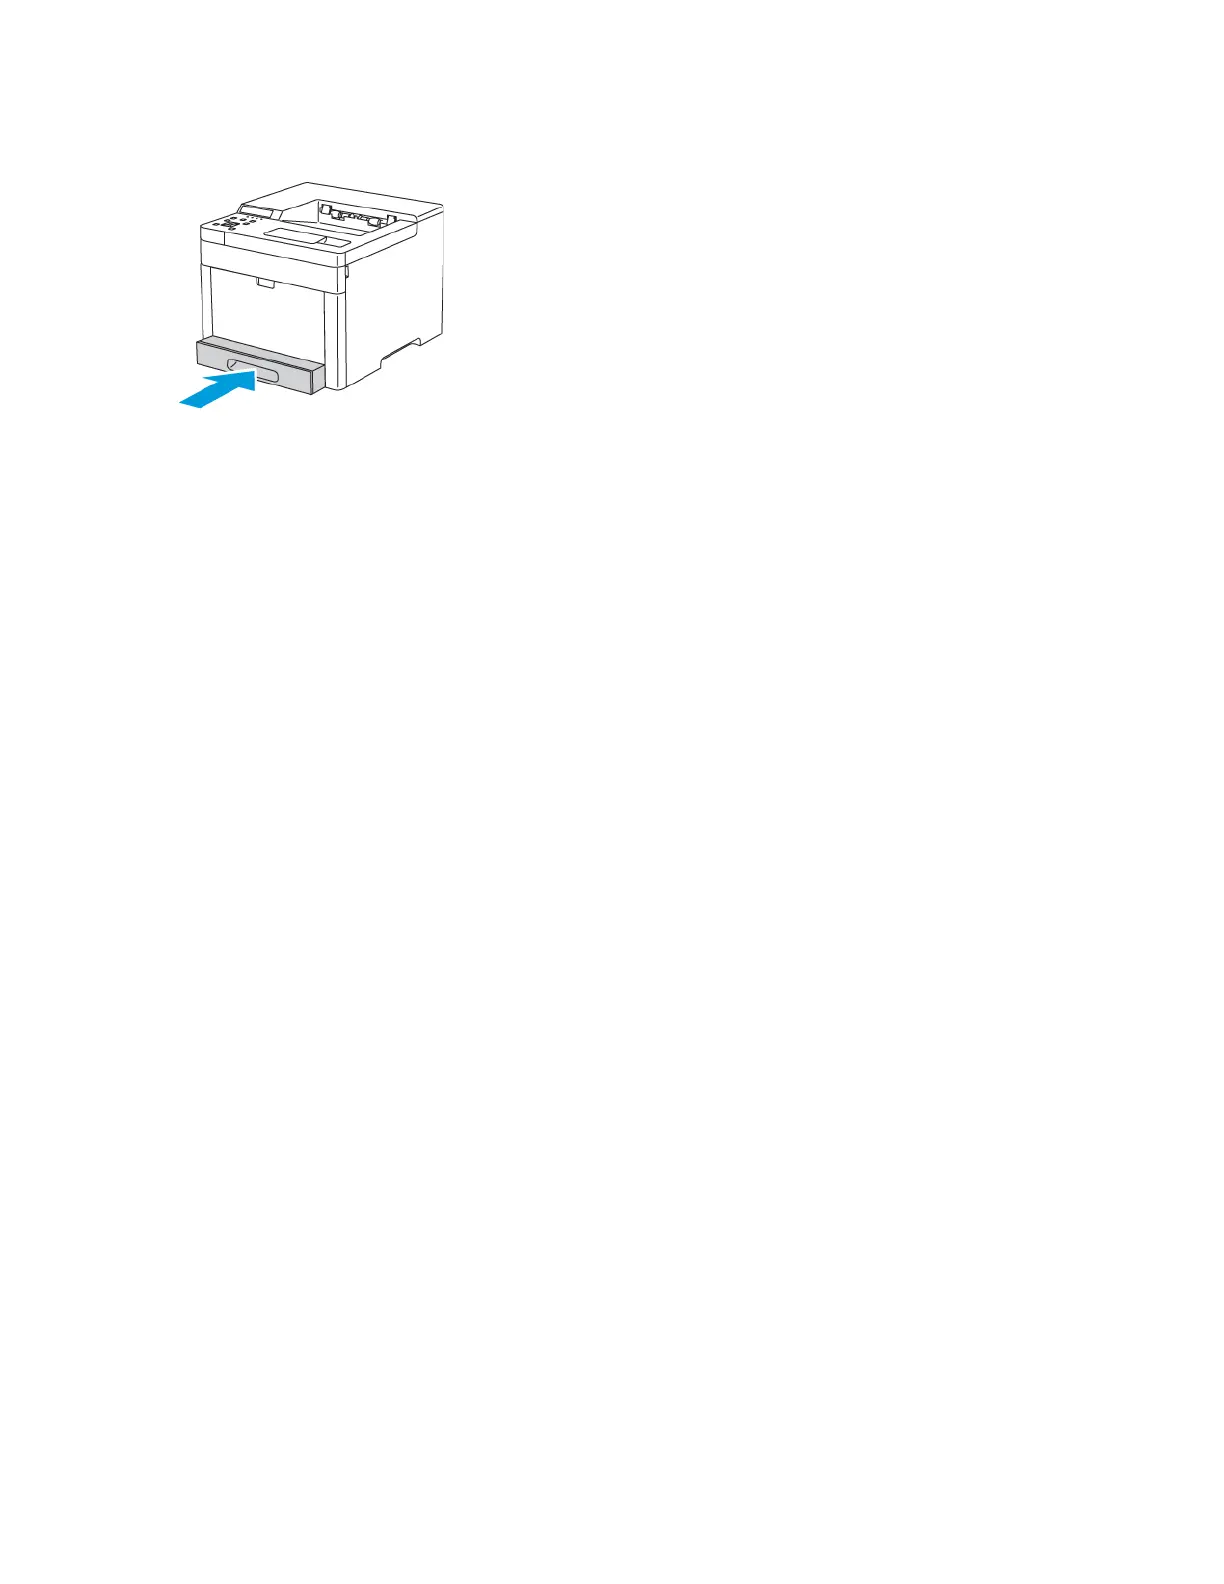
4. Slide the tray back into the printer.
5. Push the tray in all the way.
6. The printer prompts you to verify the label-sheet size and type.
a. Touch Paper Size and select the size of the label-sheet. Select OK.
b. Touch Paper Type and select Label. Select OK.
c. Navigate to Printer Settings, then press OK.
d. To select the paper type, navigate to Paper Type, then press OK.
e. Navigate to Tray 1, then press OK.
f. Navigate to Labels, then press OK.
g. To return to the Printer Settings menu, press the Left arrow button twice.
h. To select a paper-size setting, navigate to Paper Size Settings, then press OK.
i. Navigate to Tray 1, then press OK.
j. To select a paper-size setting, press the arrow buttons, select the setting, then press OK.
7. To return the printer to Ready, press Menu.
GGlloossssyy CCaarrddssttoocckk
You can print Cardstock and Glossy Cardstock up to 220 g/m² from any tray. For 2-Sided printing on
cardstock, refer to Supported Paper Types and Weights for Automatic 2-Sided Printing.
Xerox
®
Phaser
®
6510 Printer
User Guide
79
Paper and Media
 Loading...


