ML505/ML506/ML507 Evaluation Platform www.xilinx.com 57
UG347 (v3.1.1) October 7, 2009
R
Appendix B
Programming the IDT Clock Chip
Overview
The ML50x evaluation boards feature an Integrated Device Technology (IDT) 3.3V
EEPROM Programmable Clock Generator that is pre-programmed at the factory. In the
event the chip programming is changed, the instructions in this appendix show how to
return the clock chip to its factory default settings using the following equipment:
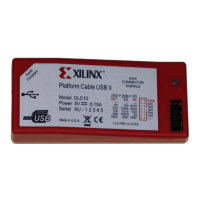
• Xilinx download cable
• JTAG flying wires
Downloading to the ML50x Board
1. Connect a Xilinx download cable to the board using flying leads connected to jumper
J3 (Figure B-1).
2. Click Start → iMPACT.
3. Click Boundary Scan.
4. Right-click Add Xilinx Device…
5. Locate the SVF file (ML50X_clock_setup.svf in the example shown in Figure B-2,
page 58) and click Open.
Note:
The ML50X_clock_setup.svf file is available on the ML50x product page.
6. Right-click on the device and select Execute XSVF/SVF.
Figure B-1: J3 IDT5V9885 JTAG Connector
CLK Prog
TDI
J3
1
TMS
TCK
TDO
3.3V
GND
UG347_apdx_a_02_020807
Downloaded from Elcodis.com electronic components distributor
 Loading...

