Getting Started
17
This chapter provides basic information and installation instructions for Yealink VCS
systems in the following sections:
System Installation
Powering the System On and Off
System Initialization
System Startup
Setup Wizard
Placing a Test Call from the Yealink VCS System
Placing the System
Do not place the camera facing a window or other bright light. Ensure sufficient space to
connect the cables. Ensure all participants are facing both the display device and the
camera at the same time by putting camera and display device together.
System Components Installation
This section introduces the following:
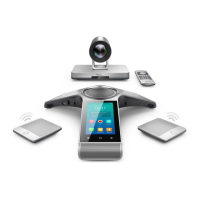
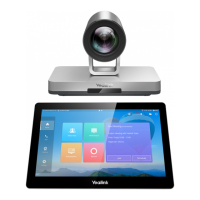
Installing the VC400/VC120 video conferencing system
Mounting the camera on the TV
Mounting the camera on a wall
Installing batteries into the remote control
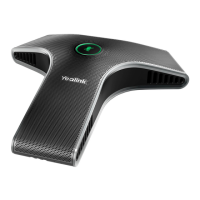
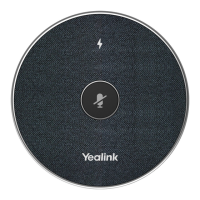
Connecting the CPE80 expansion microphone
Note
display device is not included in the package, you need to purchase it separately if
required. Ensure that the purchased display device supports HDMI input.
When connecting just one display device to the VC400/VC120 codec, Display1 port is the
only available port. If dual screen mode is required, you can connect another display
device to the Display2 port.
Because the DVI cable is tailor-made, please use the Yealink-supplied DVI cable.
To prevent shock damage, do not connect the power adapter and turn on the power
before connecting all system components.
 Loading...