Publication 1763-UM001E-EN-P - June 2015
42 Wiring Your Controller
• Separate wiring by signal type. Bundle wiring with similar electrical
characteristics together.
• Separate input wiring from output wiring.
• Label wiring to all devices in the system. Use tape, shrink-tubing, or
other dependable means for labeling purposes. In addition to labeling,
use colored insulation to identify wiring based on signal characteristics.
For example, you may use blue for DC wiring and red for AC wiring.
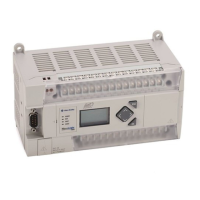
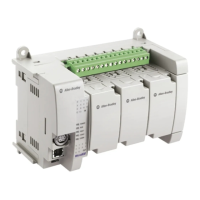
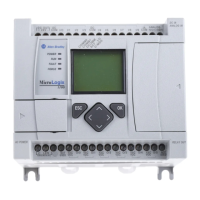
Wiring the Terminal Block
The MicroLogix 1100 controllers have screw-cage clamps on the input and
output terminal blocks. With screw-cage clamp terminal blocks, there is no
need to attach additional hardware such as a spade lug to the wire, or use a
finger-safe cover.
To wire the terminal block:
1. Strip the end of the wire.
The recommended length for the stripped end of the wire is 11.0 mm
(0.440 in.).
2. Insert it into an open clamp.
3. Using a small, flat-blade screwdriver, tighten the terminal screw. To
ensure that the wire conductor is secured inside the clamp, tighten it to
the rated torque, 0.56 Nm (5.0 in-lb).
The diameter of the terminal screw head is 5.5 mm (0.220 in.).
Do not run signal or communications wiring and
power wiring in the same conduit. Wires with
different signal characteristics should be routed by
separate paths.
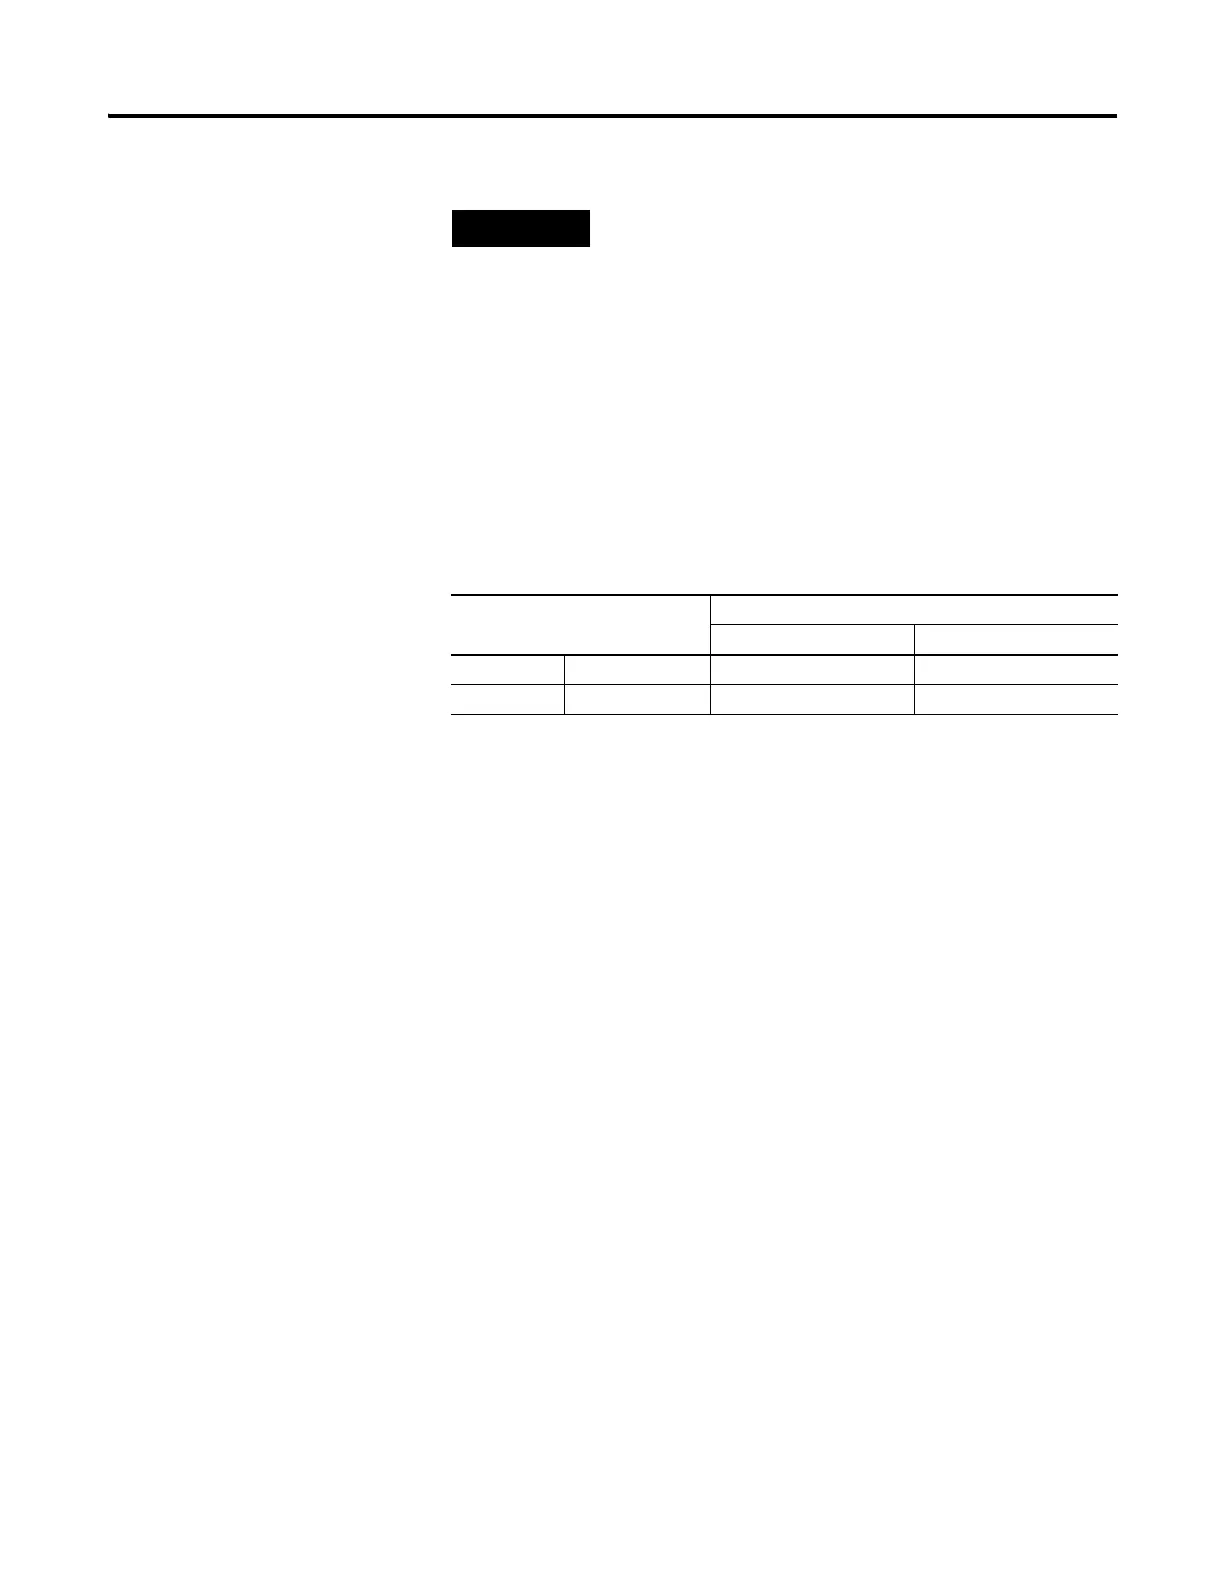
Wire Requirements
Wire Type Wire Size (2 wire maximum per terminal screw)
1 wire per terminal 2 wire per terminal
Solid Cu-90°C (194°F) #12 to #20 AWG #16 to #20 AWG
Stranded Cu-90°C (194°F) #14 to #20 AWG #18 to #20 AWG
Wiring torque = 0.56 Nm (5.0 in-lb) rated
 Loading...