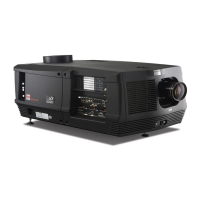
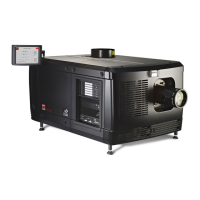
7. Communicator touch panel
3. Place the touch panel interface upon the mounting p late of the swivel a rm and fasten the two wing nuts (W) a s illustrated.
W
Image 7-5
Mount touch panel
4. Connect the circular plug of the multi c able with the circular socket at the rear side of th
e D P2 K C -series projec tor.
Image 7-6
Connections
5. Attach the multi cable to the swivel arm using the two Velcro strips.
6. Connect the DC plug, the RJ45 Ethernet plug and the D -SUB
plug into their respective sock ets on the touch panel interface.
Image 7-7
Connections
7.3 R eposition the to uch pane
linterface
How to reposition the tou
ch panel interface?
1. Hold fast the touch panel interface.
2. Release the central swivel clamp by turning the big black kno b (K) counterclockwise.
R5905050 DP2K C-SERIES 10/07/2012
55
 Loading...
