10. Removal and installation of projector covers
10. R EMOVAL AND INSTALLATION OF PR OJECTOR
COVERS
About this chapter
Most mainten ance and servicing procedures deman d removing one or more of the projec tor covers to gain access to the parts to
maintain or to service. To avoid redundancy, all p rocedures about cover removing or installing are grouped together in this chapter.
The maintenance and servicing procedures also refer to this chapter if required. The procedur
es in this chapter describe, with
detailed s tep by step actions and illustrations, how to remove or install the projector c overs . Note that some cover s ma y only be
removed by qualified service personnel, see remarks above each procedure.
WARNING: Always switch off the projector an d unplug the power cord before removing one of the covers,
unless otherwise stated.
Overview
• Removal of the lamp c over
• Removal of the input cover
• Removal of the front cover
• Removal of the side cover
• Removal of the rear cover
• Removal of the top cover
• Open the sealed co mpartme nt
• Close the sealed c ompa rtment
• Installation of the top cover
• Installation of the rea r cover
• Installation of the side cover
• Installation of the front cover
• Installation of the input cove r
10.1 Removal of the lamp cover
WARNING: This procedure may only be performed by qualified technical service personnel.
Necessary tools
Flat screw driver.
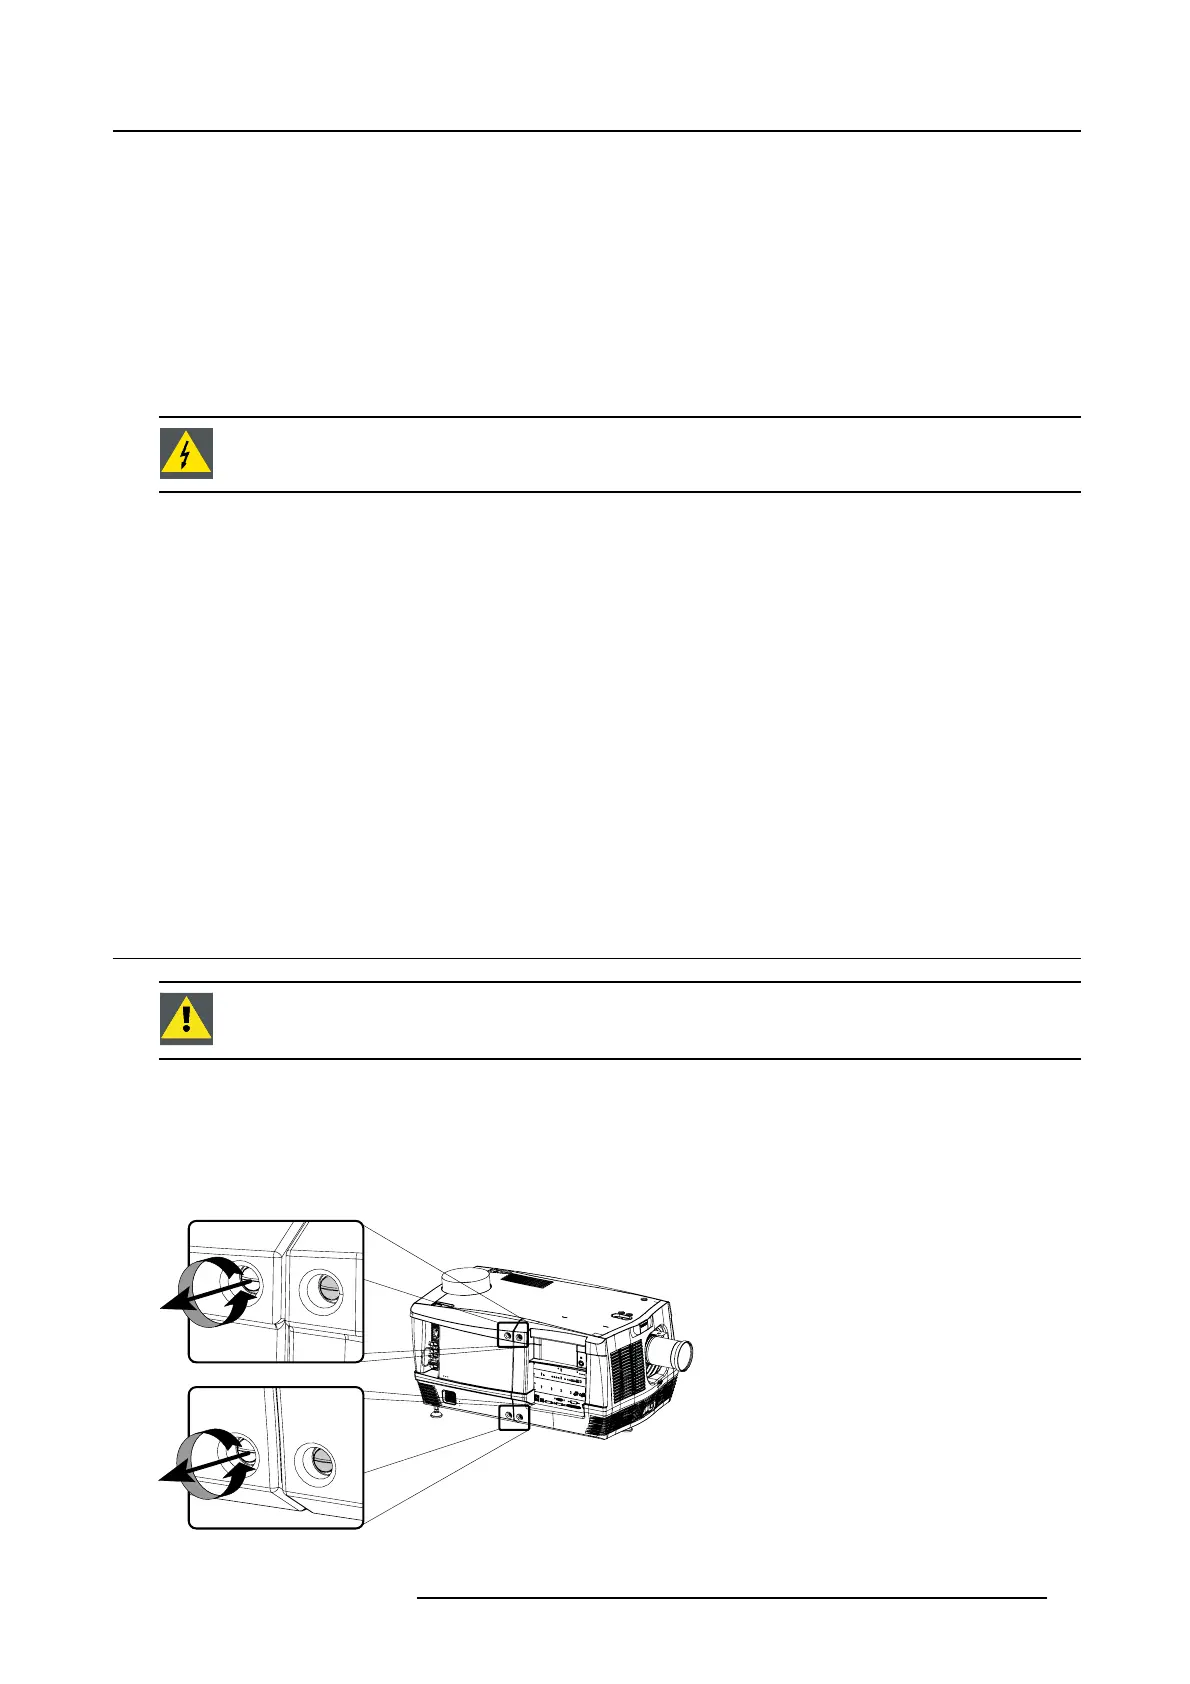
How to remove the lamp cover of t he projector?
1. Release the two captive screws at the right side, top and bottom , of the lamp cover, using a flat screw d rive r.
Image 10-1
Release lamp cover
R5905050 DP2K C-SERIES 10/07/2012 67
 Loading...


