10. Removal and installation of projector covers
Necessary tools
Flat screw driver.
How to install the front cover of the projector?
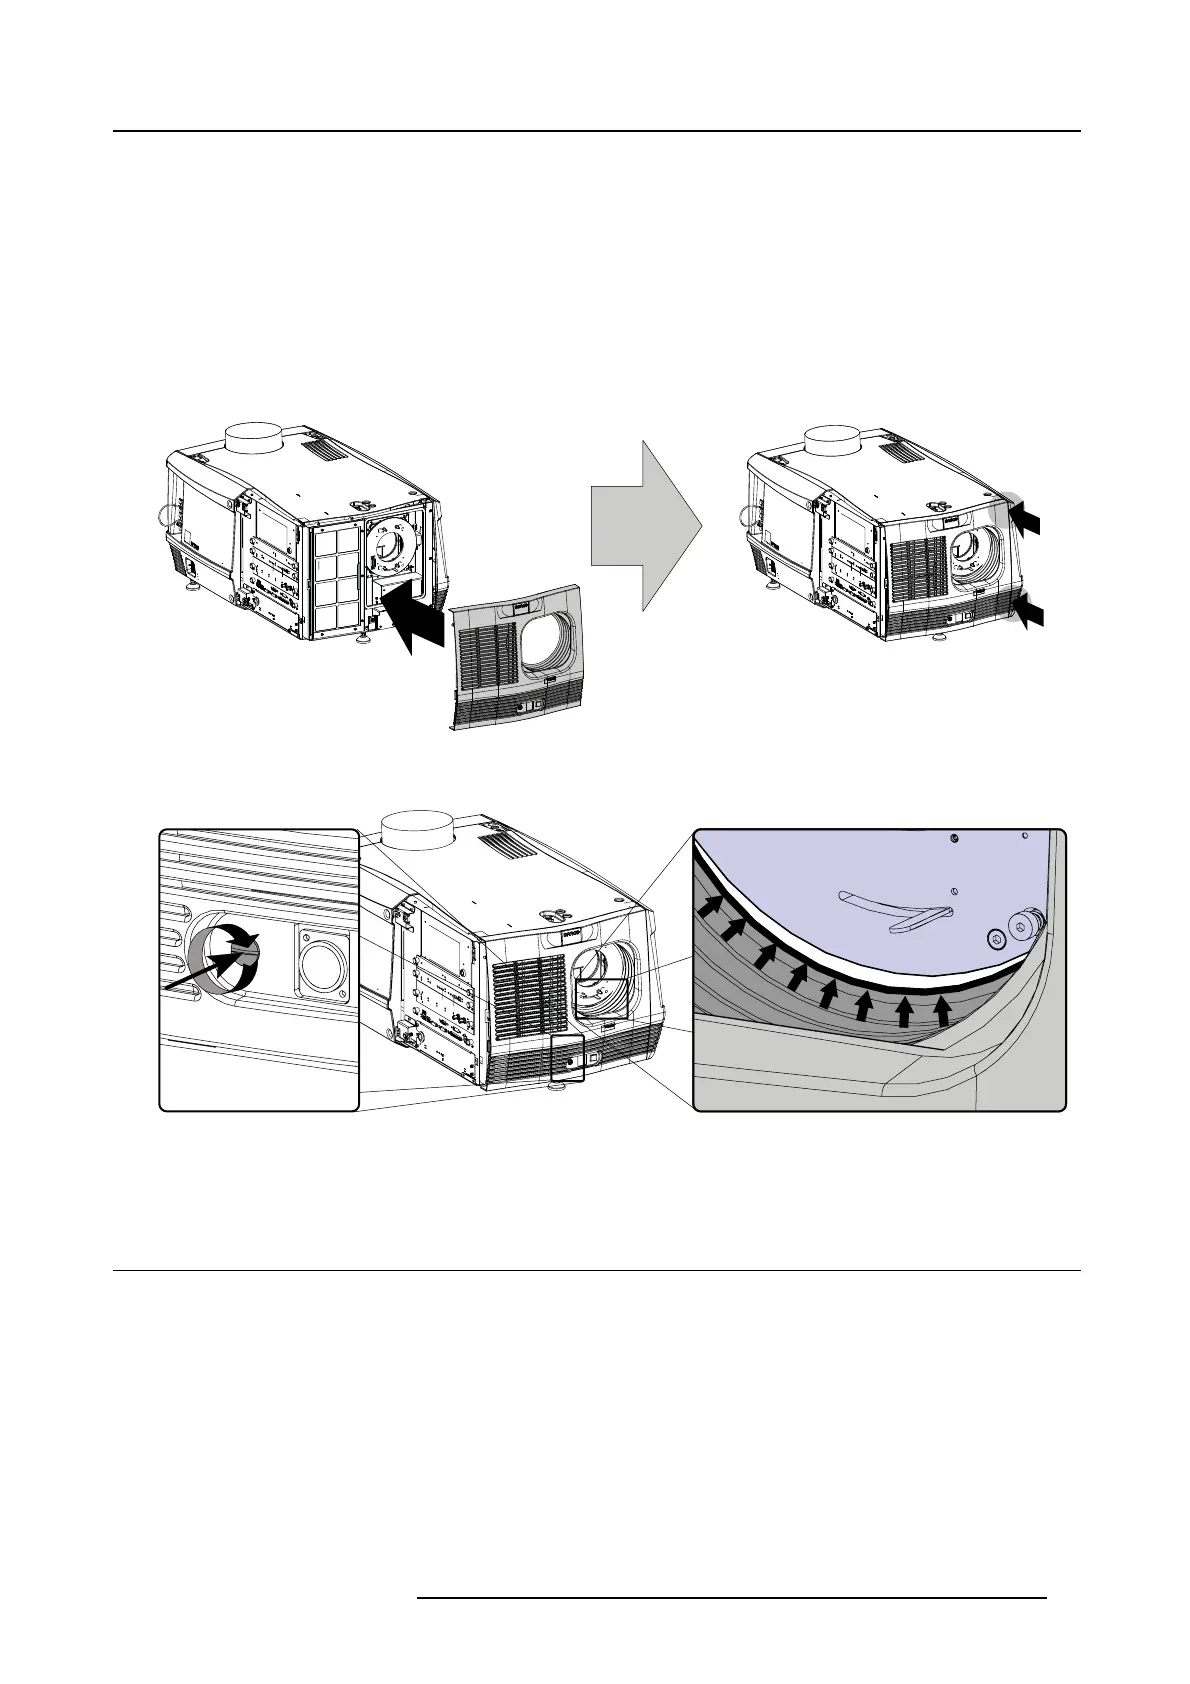
1. Check if the front filter is present.
2. Ensure that no lens is m ounted and that the input cover is not installed.
3. Install the front cov er of the pr ojector doing the following:
a) first hook in the side of the front cover at the front filter,
b) then gently push the other side of the front cover into position,
c) ensure that the locking studs in the corners click into their receivers.
B
C
A
Image 10-23
Install front cover
4. Secure the front cover by locking the captive screw in the middle at the bottom of the front cover.
Image 10-24
Fasten front cover
5. Reinstall the rubber dust ring around the lens holder. See detail at the right of image 10-24.
10.13 Installation of the input cover
Necessary tools
Flat screw driver.
How to install the input cover of the projector?
1. Install the input cover of the projector doing the following:
a) Bring the input cov er towards its final p osition (A),
b) then gently push the loc king s tud at the r ight top corner (B) into its receiver,
c) then gently push the locking stud at the r ight bottom corner (C) into its receiver.
R5905050 DP2K C-SERIES 10/07/2012
77
 Loading...


