147R5905752 /16 DP2K C
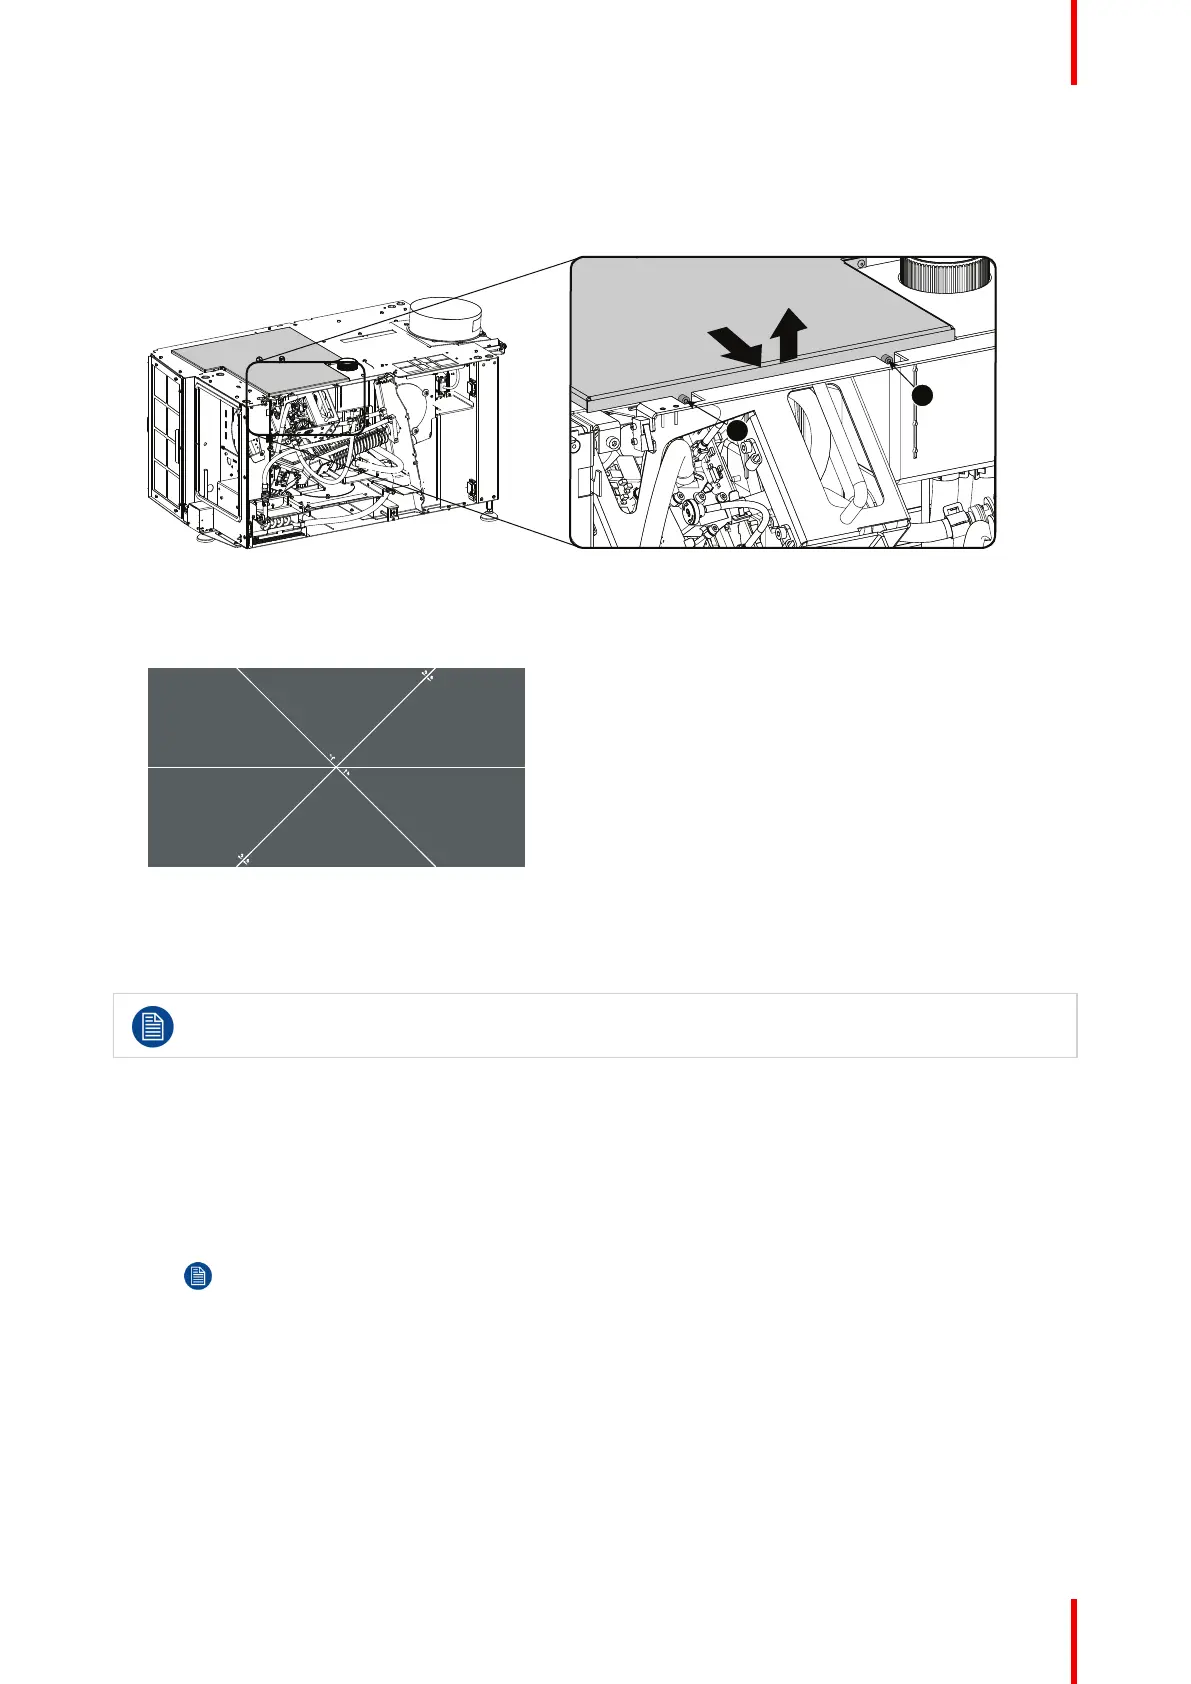
3. Remove the convergence cover plate as follow:
1. Loosen both screws (reference 1 and 2).
2. Slide the plate forwards until all hooks at both sides of the plate become free.
3. Take off the plate.
Image 12–4 Convergence cover plate
4. Reinstall the lens and start up the projector.
5. Use the Communicator software to activate the convergence test pattern.
Image 12–5 Convergence test pattern
12.3 Red on Blue convergence
This procedure can only be executed when all preparations are taken to converge the image.
Required tools
No tools required.
How to converge
1. Slightly turn the red colored control knob number 1 until the red pattern in the center of the projected
image converges with the blue pattern. Note that a turn of a few degrees corresponds with one full pixel.
Note: When start turning the knob, a little resistance can be felt. This resistance is part of the
internal locking mechanism of the adjustment.
Convergence
 Loading...


