268
Enlarging/Reducing Stitch Patterns
Enlarging/Reducing Stitch Patterns
Imported stitch patterns can be enlarged or reduced in Layout & Editing in the following three ways.
1 Stitch patterns can be simply enlarged/reduced.
2 Stitch patterns can be enlarged/reduced while the key is held down.
3 Using the Stitch to Block function, stitch patterns can be enlarged/reduced after being converted to a
manual punching pattern.
With method 1, the stitching will become more dense or light without the number of stitches sewn changing.
In other words, greatly enlarging or reducing the pattern changes the quality of the embroidery since the thread
density is adjusted. Use this method when only slightly enlarging/reducing the stitch pattern.
With method 2, the size of the pattern is changed while maintaining the thread density and needle drop point
pattern. However, if the original thread density and needle drop point pattern in the stitch pattern are not
uniform, the thread density and needle drop point pattern may not be maintained, even by using this method.
Enlarge/reduce the pattern while checking the preview. Do not use this method when only slightly enlarging/
reducing the stitch pattern.
With method 3, the thread density is maintained while the pattern is enlarged/reduced. However, the needle
drop point pattern is not entirely maintained. Use this method when you wish to change the stitching or shape.
Do not use this method when only slightly enlarging/reducing the stitch pattern.
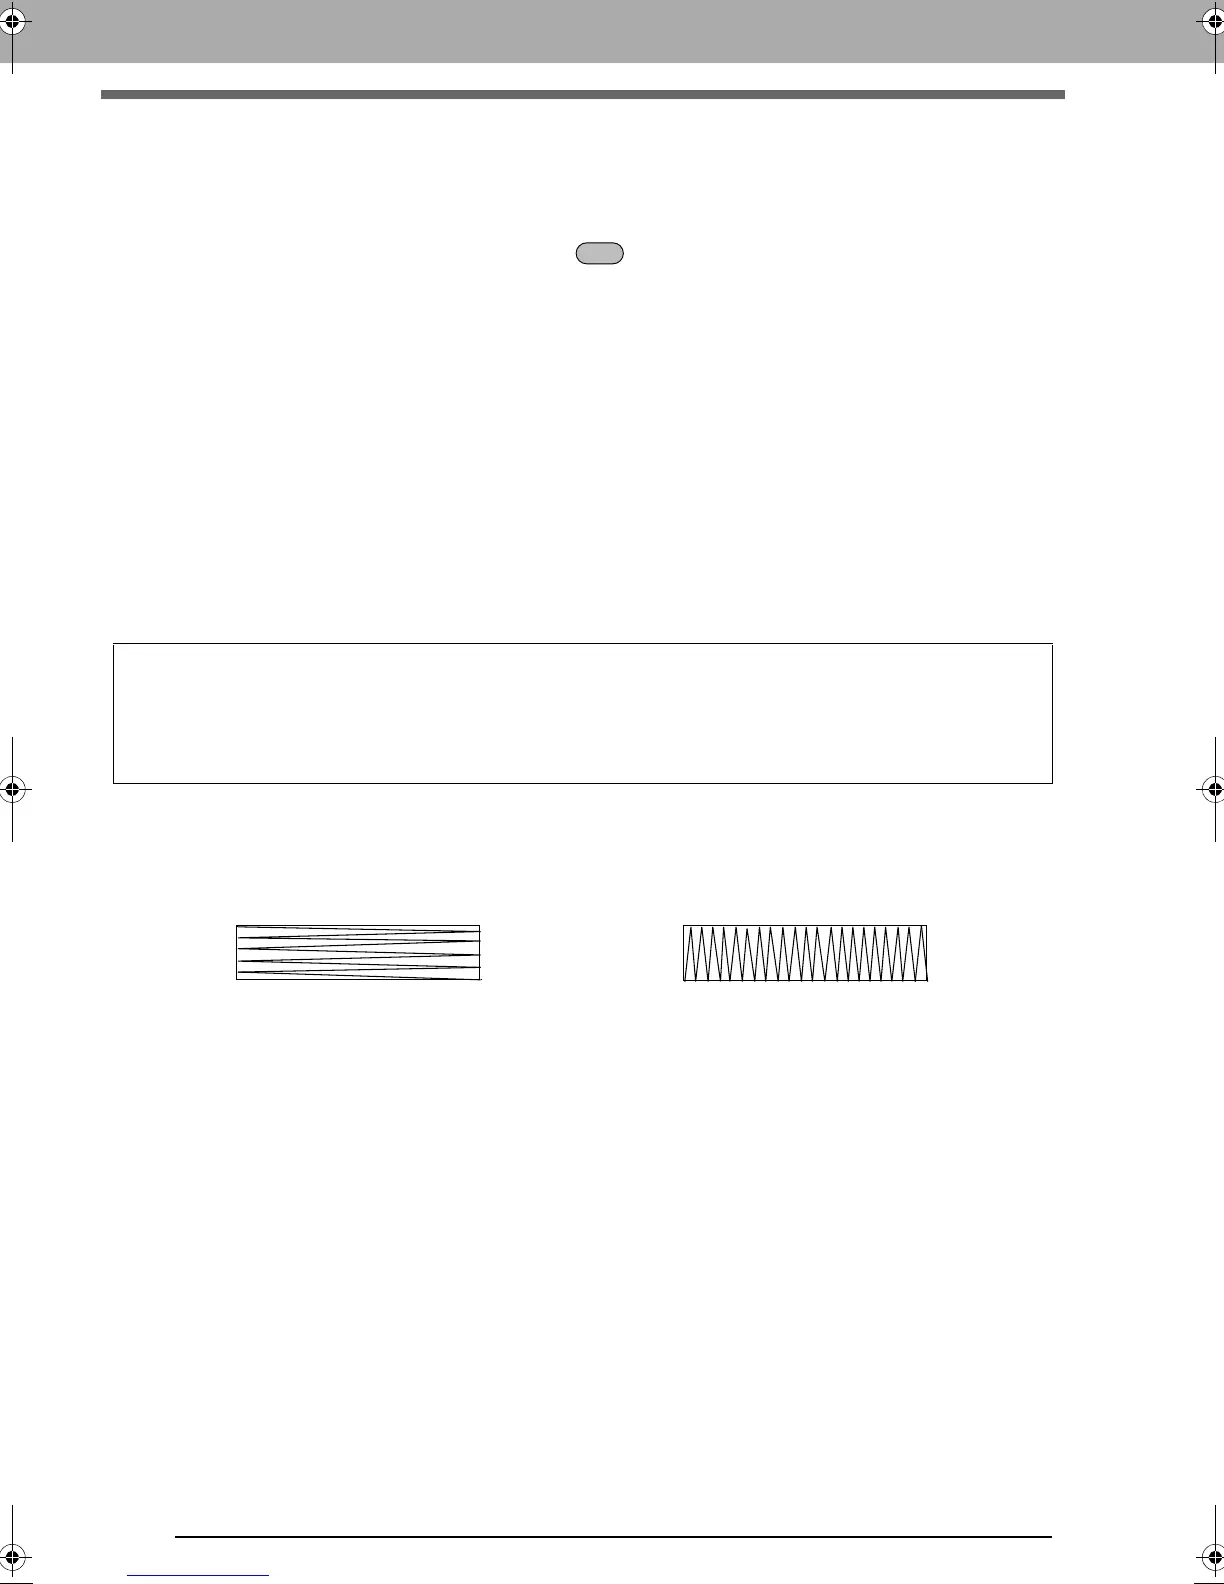
Sewing Direction
In order to limit pulling or puckering, select a stitch direction perpendicular to the larger edge of the area.
This software allows you to create a wide variety of embroidery patterns and supports wider ranges for the
setting of the sewing attributes (thread density, sewing pitch, etc.). However, the final result also depends
on your particular embroidery machine model. We recommend that you make a trial sewing sample with
your sewing data before sewing on the final material. Remember to sew your trial sample on the same
type of fabric as your final material and to use the same needle and the same machine embroidery thread.
Pulling or puckering more likely to occur Pulling or puckering less likely to occur
XE8656-001.book Page 268 Monday, May 24, 2010 5:44 PM
 Loading...