EasyManua.ls Logo

Brother SX-4000 User Manual

Brother SX-4000
52 pages
To Next Page IconTo Next Page
To Previous Page IconTo Previous Page
Page #2 background imageLoading...
Page #2 background image
Thank you for choosing a Brother electronic typewriter! This product is
designed to deliver years of reliable operation.
Yuui typewriter colnes with tl_e tullowing ite_ns.
cassette rJbbon model number 1030
cassette daisy wheel model number M411
correction tape model number 3010
Please make sure that all of these are included with this machine.
Please write the model number and the serial number of this typewriter in the
blank spaces below. These numbers can be found on the rear panel of the
typewriter,
I MODEL NO.: I SERIAL NO.:
Please keep these numbers for future reference.
Th iP°ber k°rfdt iheStm°raecdina m Partp?ec?t _
Compartment
The power switch is located on the left side _llllt "_t'
of the typewriter near the rear. i;_>_i__
Powo_ Cord
FCC NOTICE
This equipment has been tested and found to comply with the limits for a Class B
digital device, pursuant to Part 15of the FCC Rules. These limits are designed to
provide reasonable protection against harmful interference in a residential instal-
lation. This equipment generates, uses, and can radiate radio frequency energy
and, if not installed and used in accordance with the instructions, may cause
harmful interferenceto radio communications. However, there is noguarantee that
interference will not occur in a particular installation. If this equipment does cause
harmful interference to radio or television reception, which can be determined by
turning the equipment off and on, the user is encouraged to try to correct the
interference by one or more of the following measures:
Reorient or relocate the receiving antenna.
Increase the separation between the equipment and receiver.
Connect the equipment into an outlet on a circuit different from that
to which the receiver is connected.
Consult the dealer or an expenenced radioiTV technician for help.
Changes or modifications not expressly approved by Brother Industries, Ltd. could void
the user's authority to operate the equipment.
I DOC NOTICE
This digital apparatus does not exceed the Class B limits for radio noise
emissions from digital apparatus set out in the radio interference regula-
tions of the Canadian Department of Communications.
Question and Answer IconNeed help?

Do you have a question about the Brother SX-4000 and is the answer not in the manual?
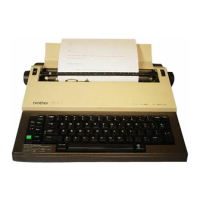
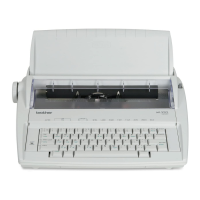
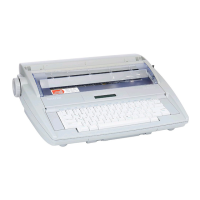
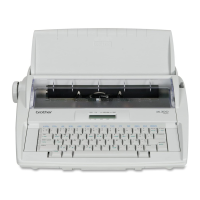
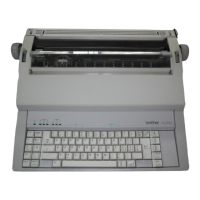
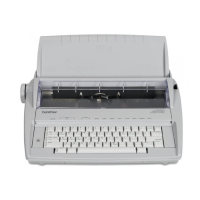
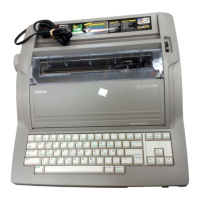
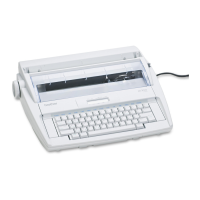
Brother SX-4000 Specifications

General IconGeneral
TypeElectronic Typewriter
KeyboardQWERTY
Printing MethodDaisy wheel
Print Speed12 characters per second
FeaturesAutomatic Centering, Underlining, Bold Printing
Pitch10, 12, 15
Characters Per Line80
Paper HandlingManual feed
Weight6.6 kg

Summary

User's Guide

Regulatory Notices

FCC Notice

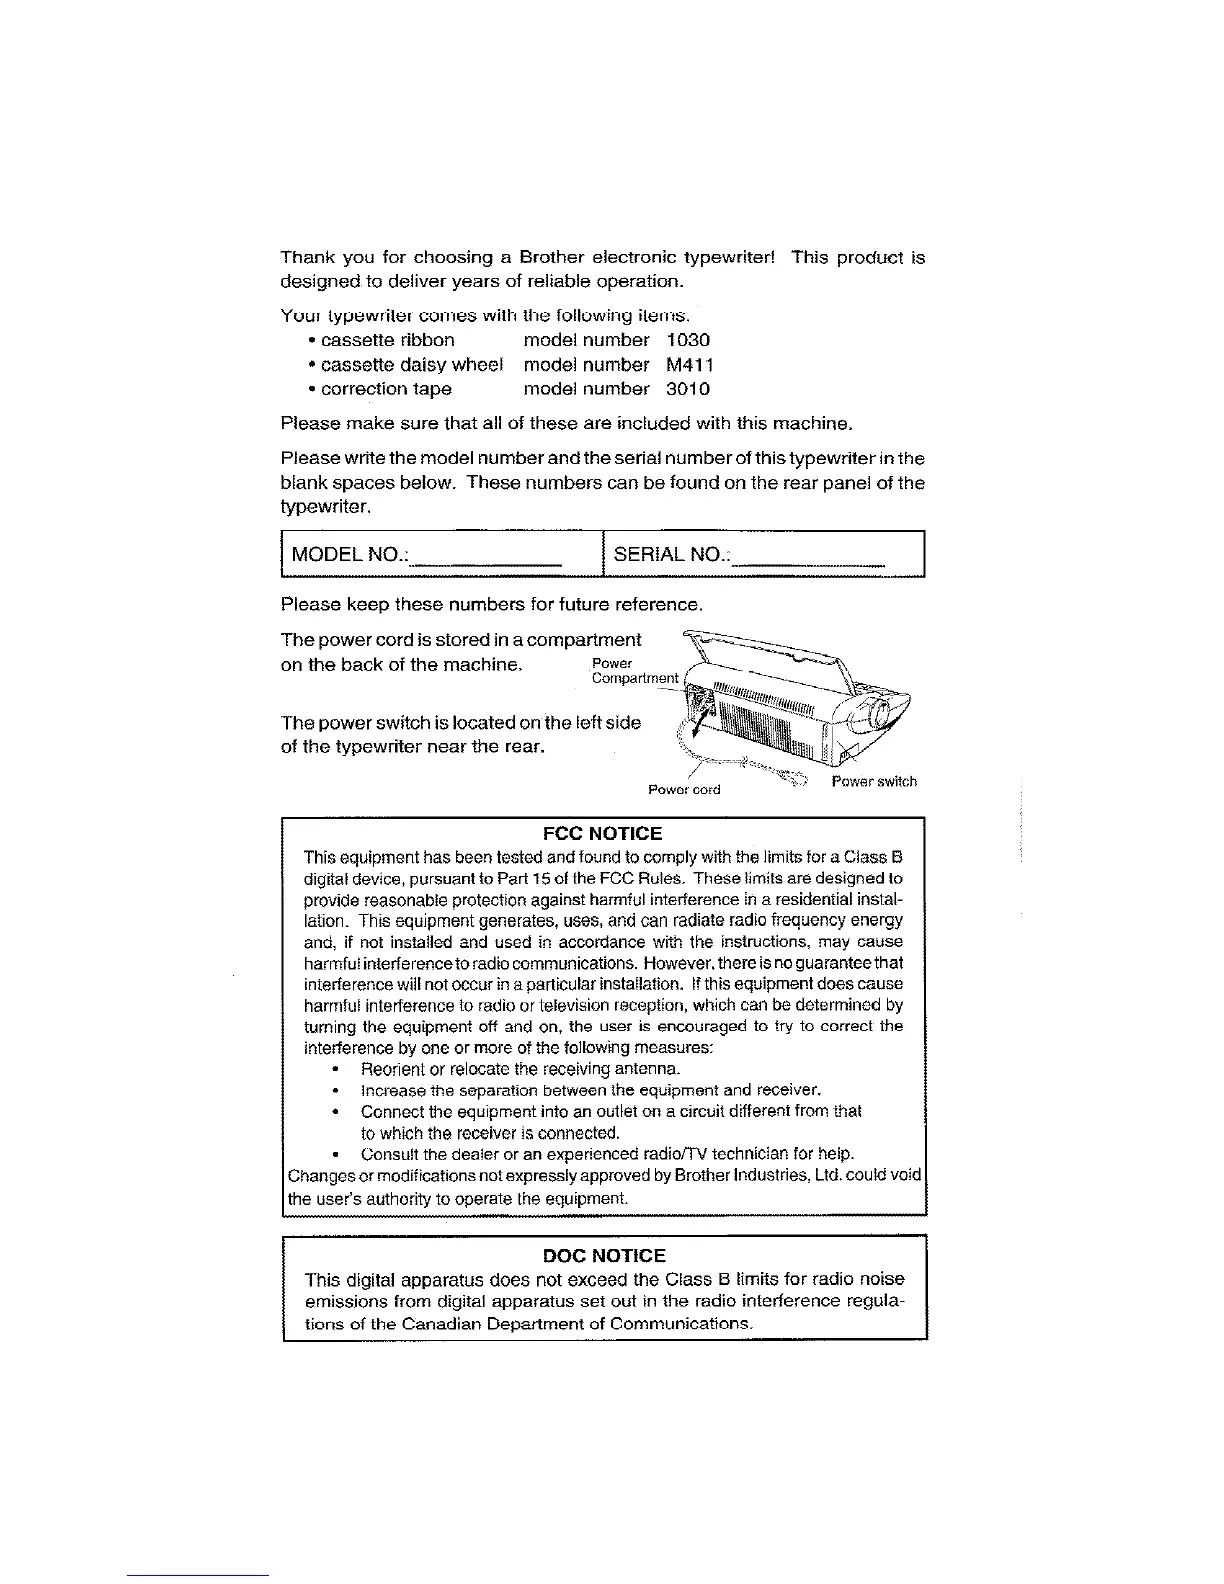
Details regulatory compliance for digital devices regarding radio frequency energy emissions.

DOC Notice

States digital apparatus compliance with Canadian radio noise emission regulations.

Keyboard Overview

Key Functions and Operations

Details how to activate functions using CODE/ALT keys and explains repeatable characters.

Typewriter Description

Paper Handling Features

Explains the operation of the paper release lever and the use of the keyboard cover as a paper supporter.

Typewriter Features

Typing Formatting Features

Illustrates various typing features like centering, boldface, margins, tabs, and underlining with examples.

Overview of Your Typewriter

Printing Mode

Describes the traditional typing method where characters print immediately on paper.

Status Indicators

Explains how status indicators on the display show machine settings and modes.

Display Mode and Line-by-Line Processing

Display Mode

Characters are shown on display before printing, allowing easy corrections.

Line-by-Line Function

Allows viewing text on display before printing, enabling easier correction and review.

Basic Typing Operations

Inserting Paper

Instructions for automatic paper insertion using the [CODE] + [PINS] function.

Index/Reverse Index

Function to move paper up or down by 1/12 inch for precise positioning.

View Mode

Automatically moves paper upward to easily view typed characters after typing stops.

Typing Adjustments

Selecting Line Spacing

Sets vertical separation between printed lines (1, 1 1/2, 2).

Selecting Pitch

Determines characters per inch (10, 12, 15) to match daisy wheel.

Setting Margins and Tabs

Setting Left Margin

Procedure for setting the left margin using the [ALT] + [L MAR] function.

Setting Right Margin

Procedure for setting the right margin using the [ALT] + [R MAR] function.

Setting Tabs

How to set tab stops for aligned columns using [ALT] + [T SET].

Tab Management and Decimal Alignment

Clearing Tabs

Instructions to clear individual tabs or all tabs using [ALT] + [T CLR].

Setting Decimal Tabs

Enables alignment of numbers by decimal point using [ALT] + [DT SET].

Advanced Typing Functions

Cancelling Decimal Tab Mode

Methods to exit decimal tab mode before or after entering characters.

Repeat Function

Allows typing characters repeatedly by holding down a key.

Typing Uppercase Characters

Carrier Return and Hot Zone

Hot Zone

Area before the right margin that triggers a warning beep for long words.

Returning the Carrier

Covers manual and automatic carrier return functions, including auto carrier return options.

Carrier Return Options and Backspacing

Returning the Carrier Manually

How to return the carrier to the left margin using the [RETURN] key.

Returning the Carrier Automatically

Explains automatic carrier return activated by space or hyphen in the hot zone.

Permanent Space and Hyphen

Using CODE + SPACE BAR or CODE + HYPHEN to prevent carrier return.

Backspacing

Moving the carrier backward along the typed line.

Backspace Functions

Simple Backspace

Moves the carrier back one space at a time or continuously.

Express Backspace

Quickly moves the carrier to the beginning of the typed data.

Half Backspace

Moves the carrier half a space left for fitting corrected words.

Memory Correction Functions

Correcting One Character

Procedure to replace a mistyped character using [CORRECT].

Relocation

Key to move to the end of the typing line rapidly.

Erasing Text with Memory Correction

Erasing One Word

How to erase a single word using the [W OUT] function.

Erasing the Entire Line

Procedure to delete an entire line using the [CODE] + [L OUT] function.

Manual Correction Method

Layout Functions

Superscript and Subscript

How to type characters above or below the baseline for scientific text.

Special Characters

Guide to typing special characters marked in green using the [CODE] key.

Automatic Underlining

Boldface Printing

Centering Text

Right Margin Flush

Display Mode Features

Line-by-Line Processing

Displays entire lines before printing, with auto carrier return always activated.

Display Mode Correction

Deleting Characters in Display Mode

How to delete characters, words, or entire lines while in display mode.

Deleting One Word in Display Mode

Using [W OUT] to delete a word while the text is displayed.

Deleting the Entire Line in Display Mode

Using [CODE] + [L OUT] to delete the entire displayed line.

Display Functions Requiring Special Display

Functions Triggering Line Printing

Spelling Checker Functionality

Rechecking Words with Spelling Checker

Technical Information: Replacing Consumables

Replacing the Cassette Ribbon

Step-by-step guide for removing and installing a new cassette ribbon.

Replacing the Correction Tape

Replacing the Cassette Daisy Wheel

Troubleshooting Common Problems

Care of Unit

Typewriter Specifications

Starter Kit Contents

Compatible Accessories

Starter Kit

Lists the contents of the SK-100 starter kit.

Cassette Ribbons and Correction Tapes

Details available cassette ribbons and correction tapes by item number and description.

Cassette Daisy Wheels

Lists available cassette daisy wheels with item number, type, and pitch.

Related product manuals