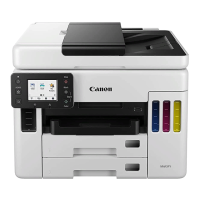
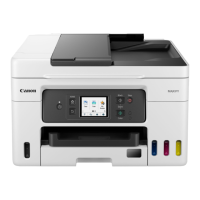
Adding Printer
Procedure for adding printer to your Mac is explained.
To re-add a printer that was deleted, open System Preferences -> Printers & Scanners, click + next to the
printer list, and then perform the procedure described below.
If your printer is connected via USB, and you connect the USB cable to a Mac, the printer is automatically
added. The below procedure is not necessary in this case.
1.
Check whether Default is selected in the displayed dialog
Note
•
It may take a little time for your printer to appear.
2.
Select the printer
Select the printer listed as Bonjour Multifunction.
Note
• Check the following if printer does not appear.
Printer is on
Firewall function of the security software is off
In case of Wi-Fi connection: Printer is either connected to the wireless router or directly
connected to the PC (Direct Connection)
In case of wired LAN connection: Printer is connected to the network device via LAN cable
3.
Select Secure AirPrint from Use
4.
Click Add
The printer is added to your Mac.
236

 Loading...
