1
2
3
4
5
7
8
9
6
TOP
Back Previous Next
3-20
Table of Contents
Index
Advanced Send
Features
Advanced Copy
Features
Network
Remote UI
System Monitor
System Manager
Settings
Reports and Lists
Troubleshooting
Appendix
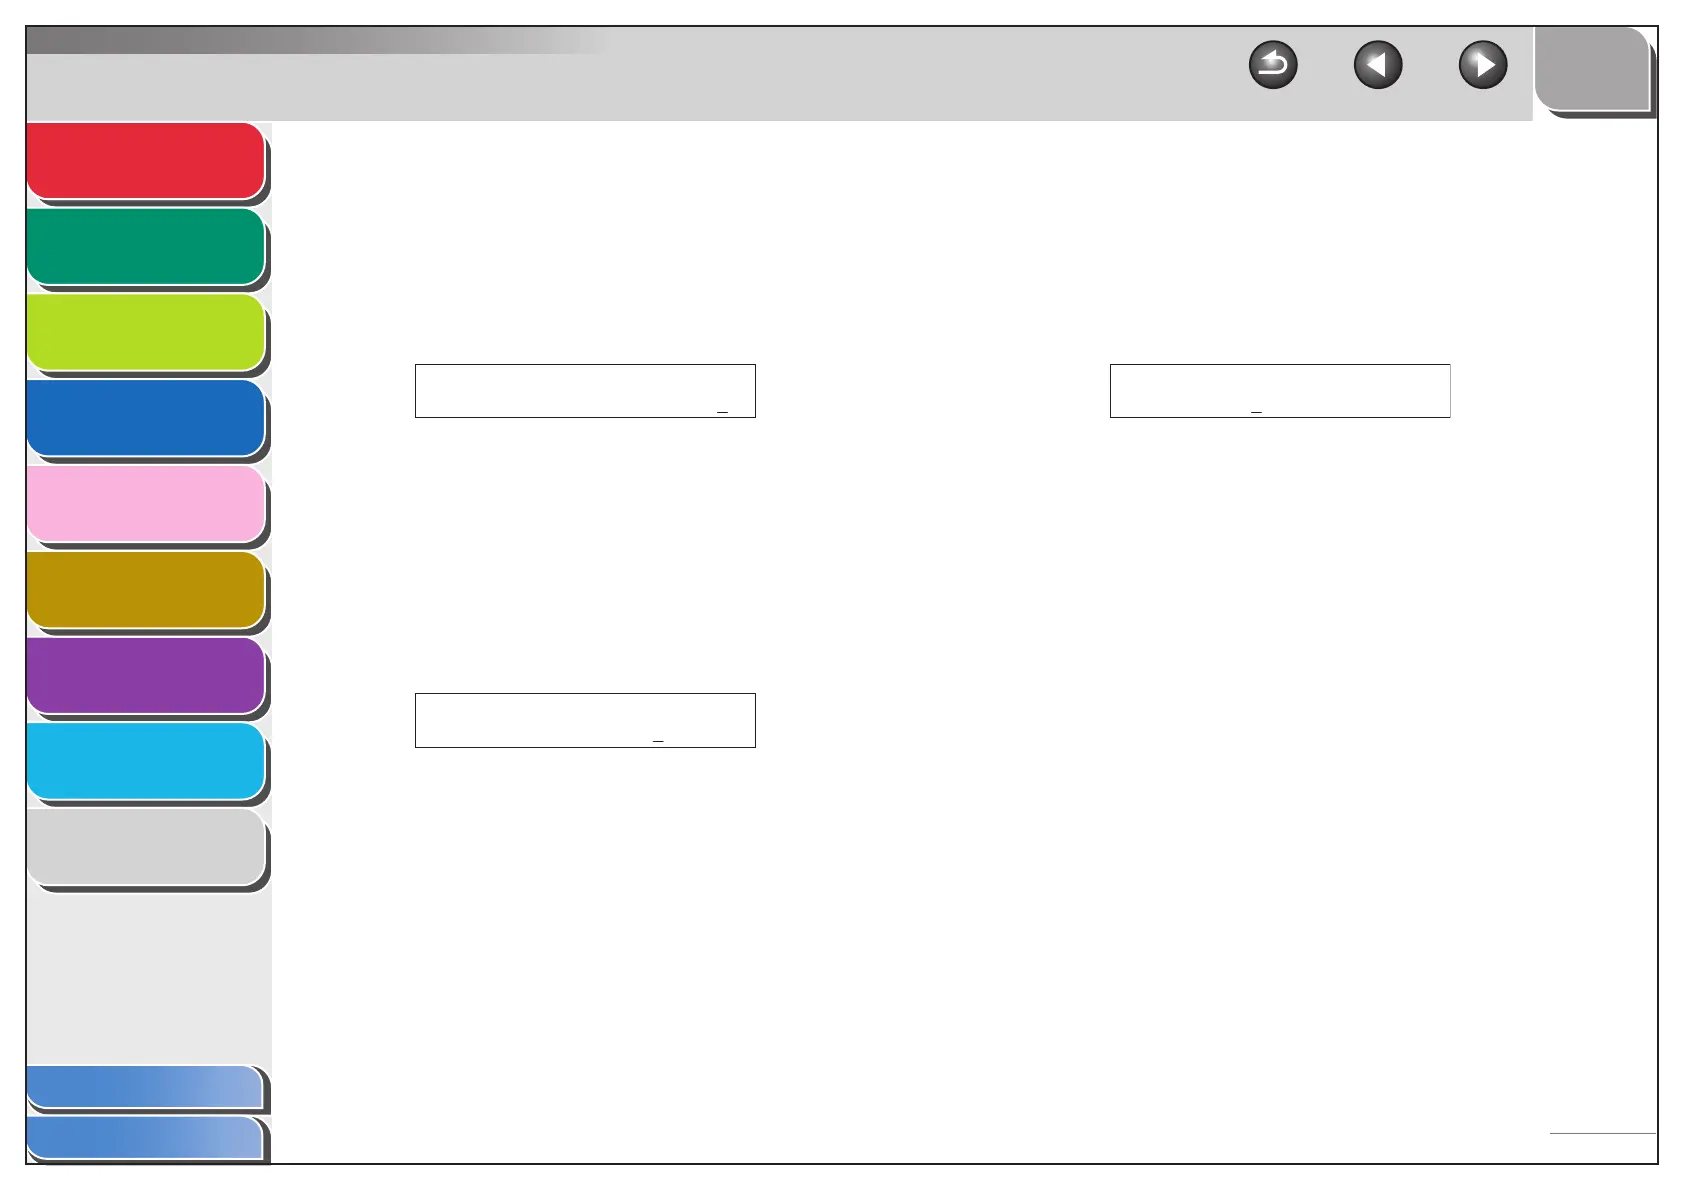
13.Confirm that <E-MAIL ADDRESS> is
displayed, then press [OK].
14.Use the numeric keys to enter the e-mail
address your machine will use, then press
[OK].
15.Confirm that <POP SERVER> is displayed,
then press [OK].
16.Use the numeric keys to enter the POP server
name, then press [OK].
– Enter the POP server name if the POP server name is
already registered in the DNS server.
– Enter the IP address of the POP server if the POP server
name is not registered in the DNS server.
17.Confirm that <POP ADDRESS> is displayed,
then press [OK].
18.Use the numeric keys to enter the login name
for access to the POP server, then press
[OK].
19.Confirm that <POP PASSWORD> is
displayed, then press [OK].
20.Use the numeric keys to enter the password
for access to the POP server, then press
[OK].
21.Confirm that <POP INTERVAL> is displayed,
then press [OK].
E-MAIL ADDRESS :a
cal@pop.company.com
Ex.
POP SERVER :a
pop.company.com
Ex.
POP ADDRESS :1
account1
Ex.
 Loading...