EasyManua.ls Logo

Carrier 59TP6B User Manual

Carrier 59TP6B
92 pages
To Next Page IconTo Next Page
To Previous Page IconTo Previous Page
Page #13 background imageLoading...
Page #13 background image
13
Remove relief tube from relief
port on condensate trap.
Remove the screw
that secures the trap
to the collector box and
remove trap.
Loosen clamp on inlet
to vent elbow.
Remove pressure switch tube from
front pressure switch and discard. A
new tube is shipped in the loose parts bag.
Remove tube from relief port.
Remove middle and bottom
plugs. DO NOT DISCARD.
Unconverted Factory Configuration as
Viewed in the Downflow Orientation
Install the two plugs
previously removed
on the open ports
of the collector box.
Connect relief tube
to port on collector
box.
Rotate elbow to
desired position and
tighten clamp to
15 lb.ïin.
Slide tube in standïoffs
to adjust length.
Connect the new pressure switch
tube from Loose Parts bag to
port on front pressure switch.
Route tube through inducer
standïoffs to adjust position
of the tube.
Trim excess tube.
Connect pressure switch
tube to port on collector
box.
Attach condensate trap
with screw to collector box.
Connect relief tube to
relief port on condensate
trap.
Align condensate trap
over middle and bottom
ports of collector box.
4
5
Downflow Trap Configuration
A11587
Fig. 9 -- Downflow Trap Configuration
(Appearance may vary)

Table of Contents

Question and Answer IconNeed help?

Do you have a question about the Carrier 59TP6B and is the answer not in the manual?
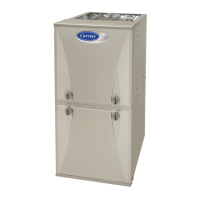
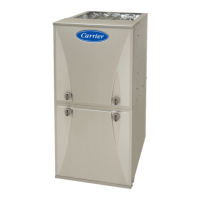
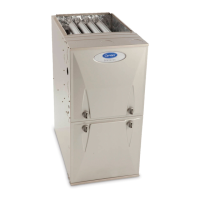
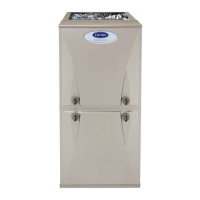
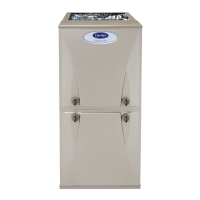
Carrier 59TP6B Specifications

General IconGeneral
StagesTwo-stage
Blower MotorVariable-speed
Energy Star CertifiedYes
Fuel TypeNatural gas
Heat ExchangerStainless Steel
Heating Capacity40, 000 - 120, 000 BTUh
Warranty10-year parts

Summary

Installation, Start-up, Operating and Service and Maintenance Instructions

IMPORTANT

SAFETY CONSIDERATIONS

INTRODUCTION

CODES AND STANDARDS

LOCATION

Multipoise Orientations

Garage Installation Safety Warnings

Warnings regarding fire, injury, or death hazard when installing in a garage.

Prohibited Installation Configurations Warning

Fire hazard warning about prohibited installation configurations.

AIR FOR COMBUSTION AND VENTILATION

Indoor Combustion Air NFPA & AGA Standard and Known-Air-Infiltration Rate Methods

Table 3 - Minimum Free Area Required for Each Combustion Air Opening or Duct to Outdoors

CONDENSATE TRAP

CONDENSATE DRAIN CONNECTION

INSTALLATION

Return Air Connections

Platform Furnace Support

Filter and Return Duct Sizing

Table 6 - Filter Media Pressure Drop (Clean) Versus Face Velocity- In. W.C. (Pa)

Table 8 - Opening Dimensions - In. (mm)

AIR DUCTS

Table 9 – Cooling⁴ and Heating Air Delivery - CFM (Bottom Return with Filter)

Table 9 - Cooling⁴ and Heating Air Delivery - CFM (Bottom Return with Filter) continued

GAS PIPING

ELECTRICAL CONNECTIONS

J-Box Installation

Power Cord Installation in Furnace J-Box

Table 11 - Electrical Data

NOTES FOR THERMOSTAT WIRING DIAGRAMS

VENTING

General guidelines and considerations for furnace venting systems.

WARNING

Table 12 - Approved Combustion-Air and Vent Pipe, Fitting and Cement Materials (USA Installations)

Venting Systems

Details requirements for venting systems.

Table 13 - Vent Termination Kit for Direct Vent (2-pipe) Systems

Ventilated Combustion Air

Configure the Furnace

NOTES FOR VENTING OPTIONS

Optional Installation of the Vent Pipe

Installing the Vent Termination

NOTE: Maximum Equivalent Vent Length (MEVL) includes standard and concentric vent termination and does NOT include elbows.

Table 16 - Maximum Equivalent Vent Length - Ft.

Provides maximum allowable vent lengths based on furnace size and altitude.

Venting System Length Calculations

START-UP, ADJUSTMENT, AND SAFETY CHECK

Adjustments

FIRE HAZARD

Fire hazard warning regarding gas valve regulator adjustment.

Check Inlet Gas Pressure

Adjust Manifold Pressure

Clocking the Meter

Procedure for verifying natural gas input rate by clocking the meter.

Adjust Blower Off Delay (Heat Mode)

Adjust Cooling Airflow – High-Speed and Low-Speed Cooling

Adjusting blower airflow for cooling modes.

Check Safety Controls

SERVICE

COMPONENT TEST

Procedure for testing furnace components.

Table 18 - Altitude Derate Multiplier for USA

Table 20 - Gas Rate (CU ft./hr)

Table 21 - Orifice Size and Manifold Pressure (In. W.C.) for Gas Input Rate (Continued)

SERVICE AND MAINTENANCE PROCEDURES

Care and Maintenance

Cleaning and/or Replacing Air Filter

WARNING

CO poisoning and fire hazard warning for filter operation.

Fig. 68 - Burner Assembly

Cleaning Burners and Flame Sensor

Procedure for cleaning burners and flame sensor.

Servicing Hot Surface Igniter

Flushing Collector Box and Drainage System

Procedure for flushing the collector box and drainage system.

Cleaning Heat Exchangers

WINTERIZATION

CAUTION

Caution regarding unit and property damage from freezing.

SEQUENCE OF OPERATION

1. Two-Stage Heating (Adaptive Mode) with Single-Stage Thermostat

Describes two-stage heating operation with a single-stage thermostat.

3. Cooling mode

4. Dehumidification Mode

5. Continuous Blower Mode

Explains the continuous blower mode and its selections.

Fig. 72 - Troubleshooting Guide

Troubleshooting Guide (Continued)

PARTS REPLACEMENT INFORMATION GUIDE

WARNING

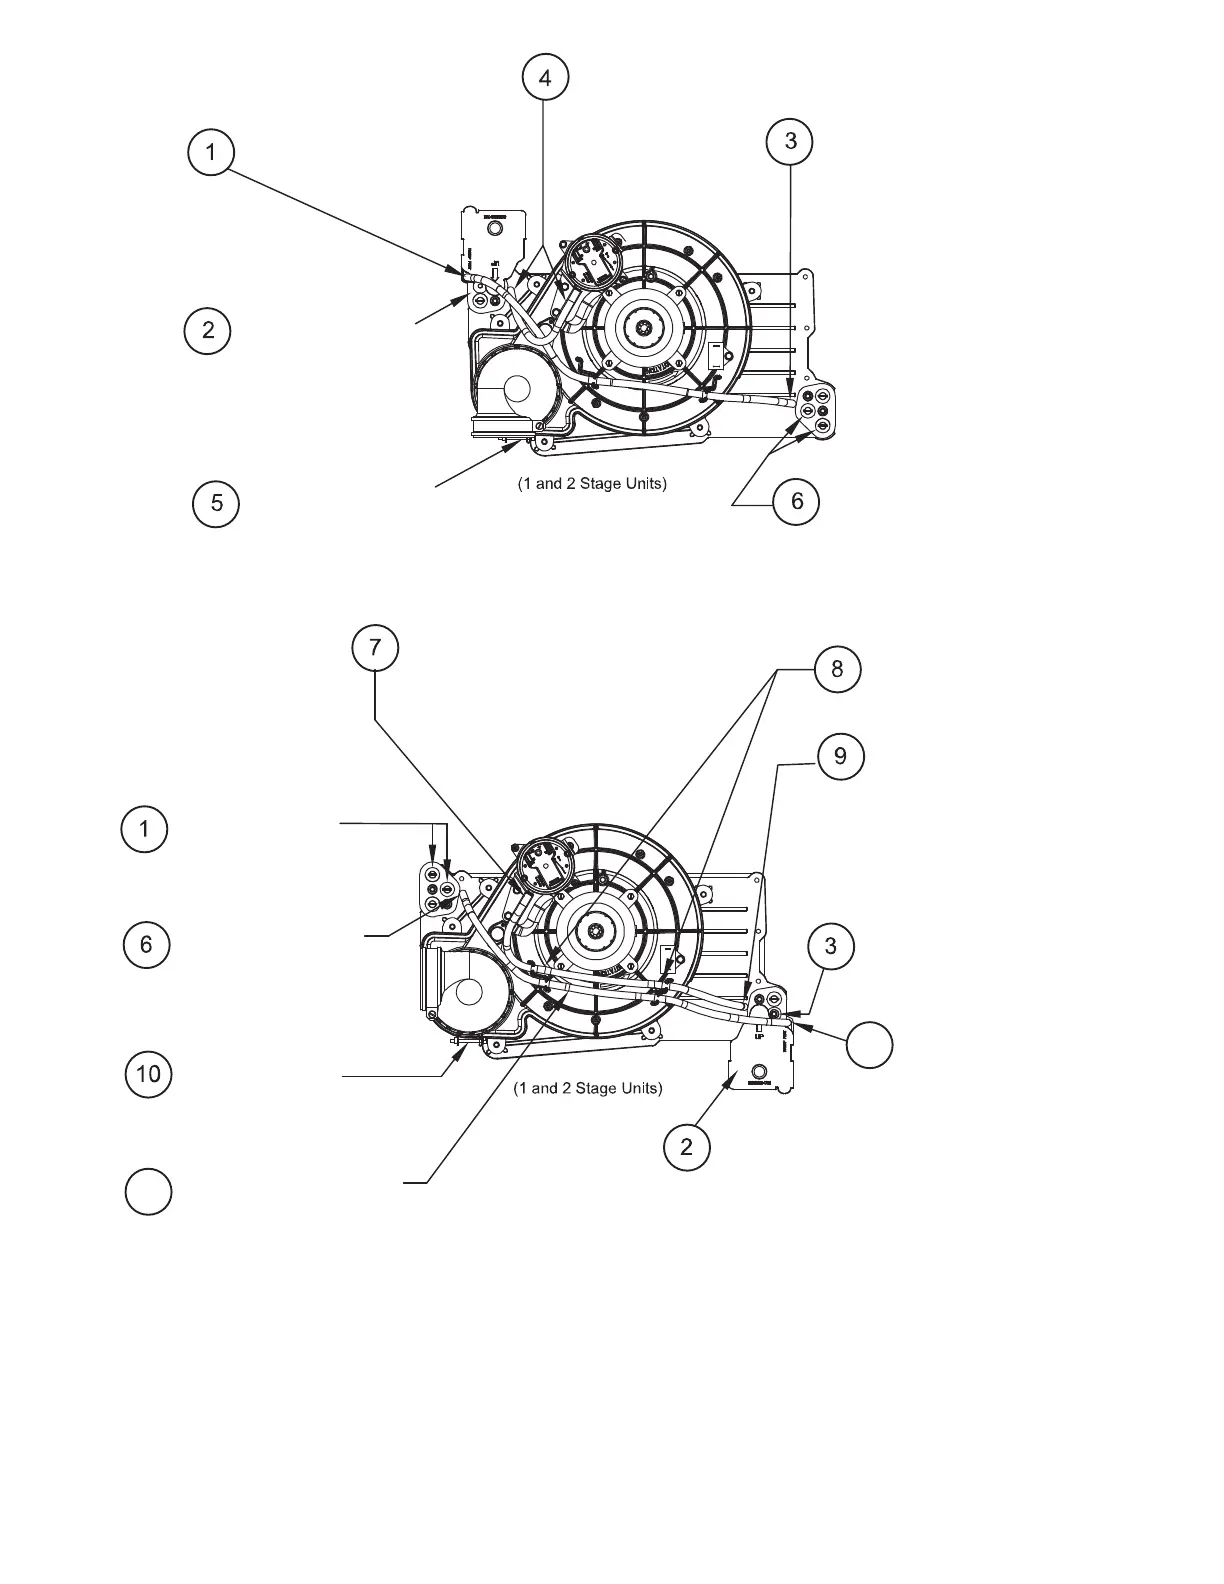
Warning about using only factory-authorized replacement parts.

Related product manuals