Attaching Brackets for IP-30 Compliance (Optional)
1. Insert the rubber plugs in the appropriate holes on both sides of the switch.
2. Use a screwdriver or pen to completely push in the rubber plugs.
3. Install the brackets on both sides of the switch.
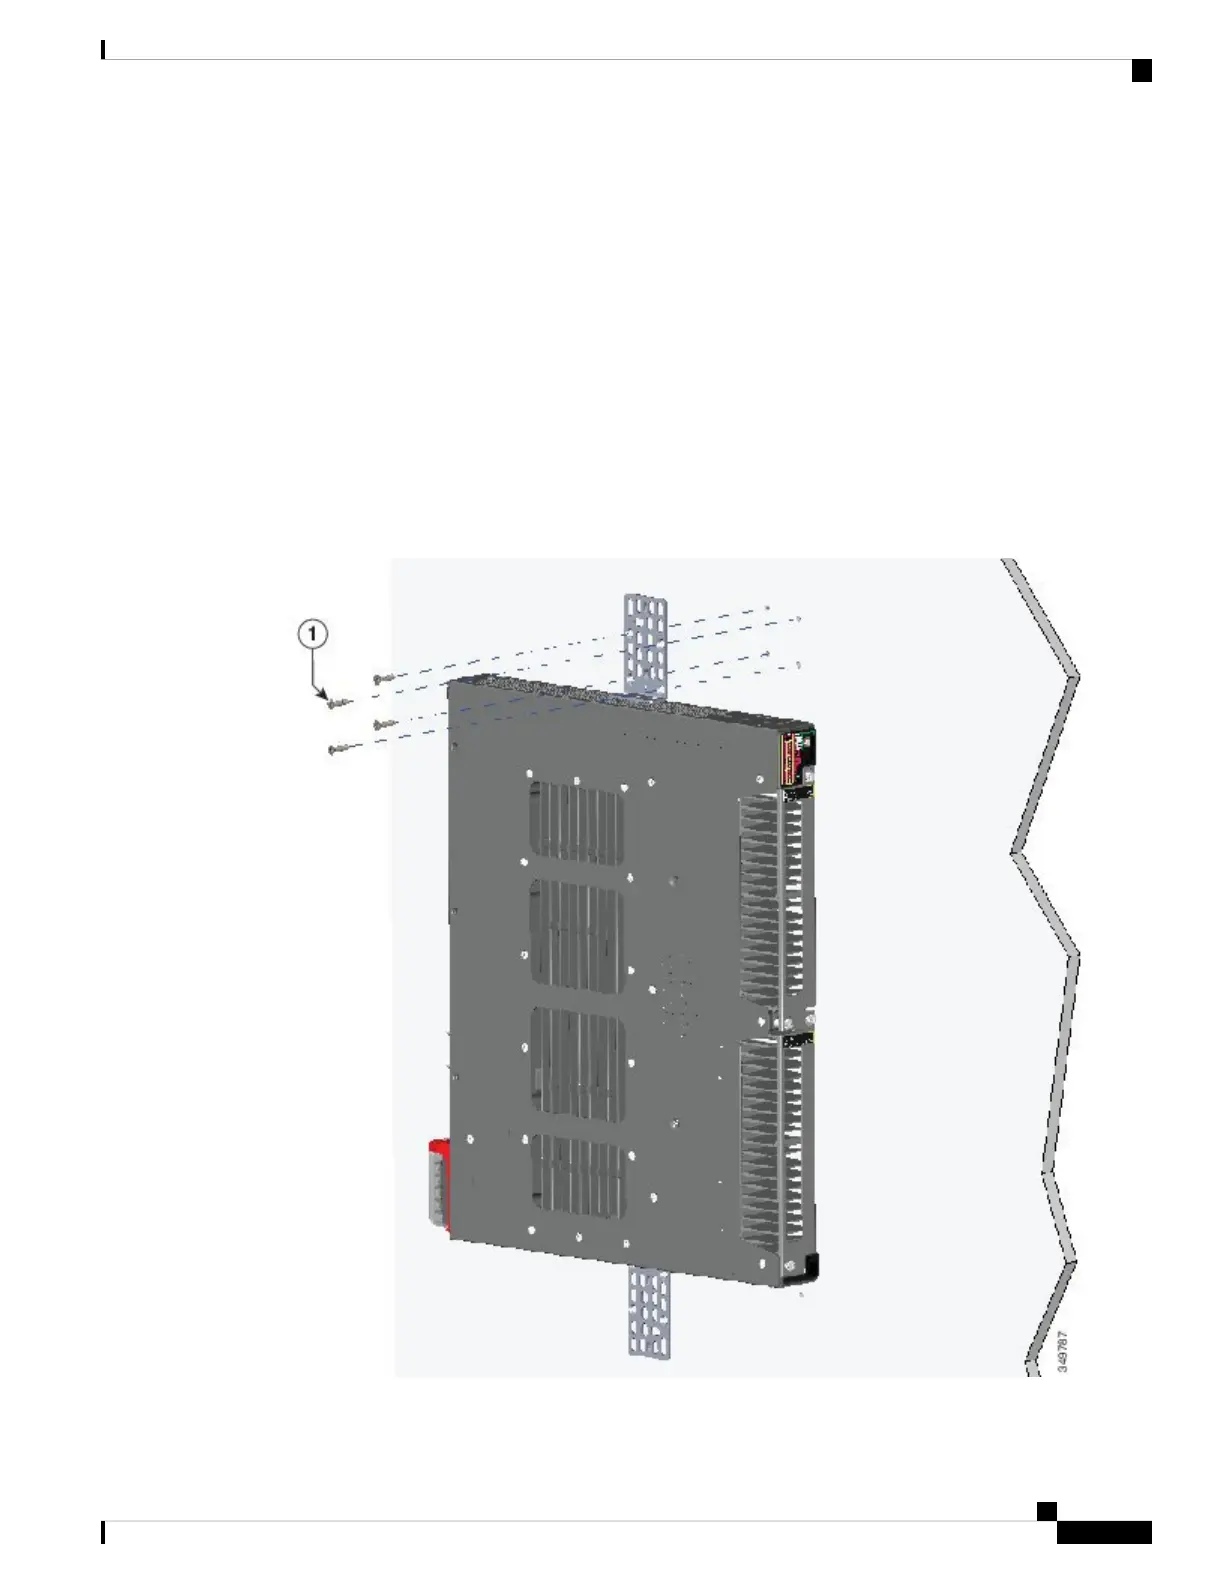
Wall-Mounting the Switch
For the best support of the switch and cables, ensure that the switch is attached securely to wall studs or to a
firmly attached plywood mounting backboard.
Orientation should exactly match the figure below, with power terminal down, the LEDs up, and the venting
and Cisco Logo facing away from the wall. See the following figure.
Figure 15: Wall-Mounting
Cisco IE 4010 Switch Hardware Installation Guide
27
Switch Installation
Attaching Brackets for IP-30 Compliance (Optional)
 Loading...