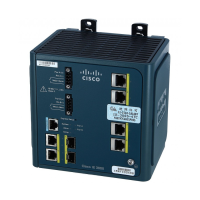
Step 2 Connect an USB cable to the PC USB port, and connect the other end of the cable to the switch mini-B (5-pin-connector)
USB console port.
Step 3 To identify the COM port assigned to the USB console port:
a) Choose Start > Control Panel > Systems
b) Click the Hardware tab and choose Device Manager.
c) Expand the Ports section.
The assigned COM port appears in parenthesis at the end of the line with this entry: Cisco USB System Management
Console.
Step 4 Start the terminal-emulation program on the PC or the terminal.
The program, frequently a PC application such as HyperTerminal or ProcommPlus, makes communication possible
between the switch and your PC or terminal.
Step 5 Configure the COM port.
Step 6 Configure the baud rate and character format of the PC or terminal to match the console port characteristics:
• 9600 baud
• 8 data bits
• 1 stop bit
• No parity
• None (flow control)
Step 7 Connect power to the switch as described in Wiring the Power Source, on page 44.
The PC or terminal displays the bootloader sequence.
Step 8 Press Enter to display the setup prompt.
Step 9 Follow the steps in Completing the Setup Program, on page 74.
Installing the Cisco Microsoft Windows XP, 2000, Vista, 7, 8, and 10 USB Device
Driver
A USB device driver must be installed the first time a Microsoft Windows-based PC is connected to the USB
console port on the switch. Use this procedure to install the USB driver on Windows XP, Windows 2000,
Windows Vista, Windows 7, Windows 8, and Windows 10.
1. Obtain the file Cisco_usbconsole_driver_3_1.zip from the Cisco.com website
https://software.cisco.com/download/release.html?mdfid=282979369&softwareid=282855122&release=3.1
The file details are as follows:
• Description: Cisco_usbconsole_driver_3_1.zip
• Release: 3.1
• Release Date: 27/Nov/2014
Cisco IE 4010 Switch Hardware Installation Guide
72
Configuring the Switch with the CLI Setup Program
Installing the Cisco Microsoft Windows XP, 2000, Vista, 7, 8, and 10 USB Device Driver
 Loading...


