Steps
1. Place the power supply on the chassis.
2. Align the screw holes on the power-supply unit with the screw holes on the chassis.
3. Replace the four screws (#6-32) that secure the power-supply unit to the chassis.
4. Lift and rotate the power-supply unit cage away from the chassis
5. Connect the processor-power cable and system-board power cable to the system board.
6. Connect the power cables to the hard drives.
7. Connect the power cables to the graphics card.
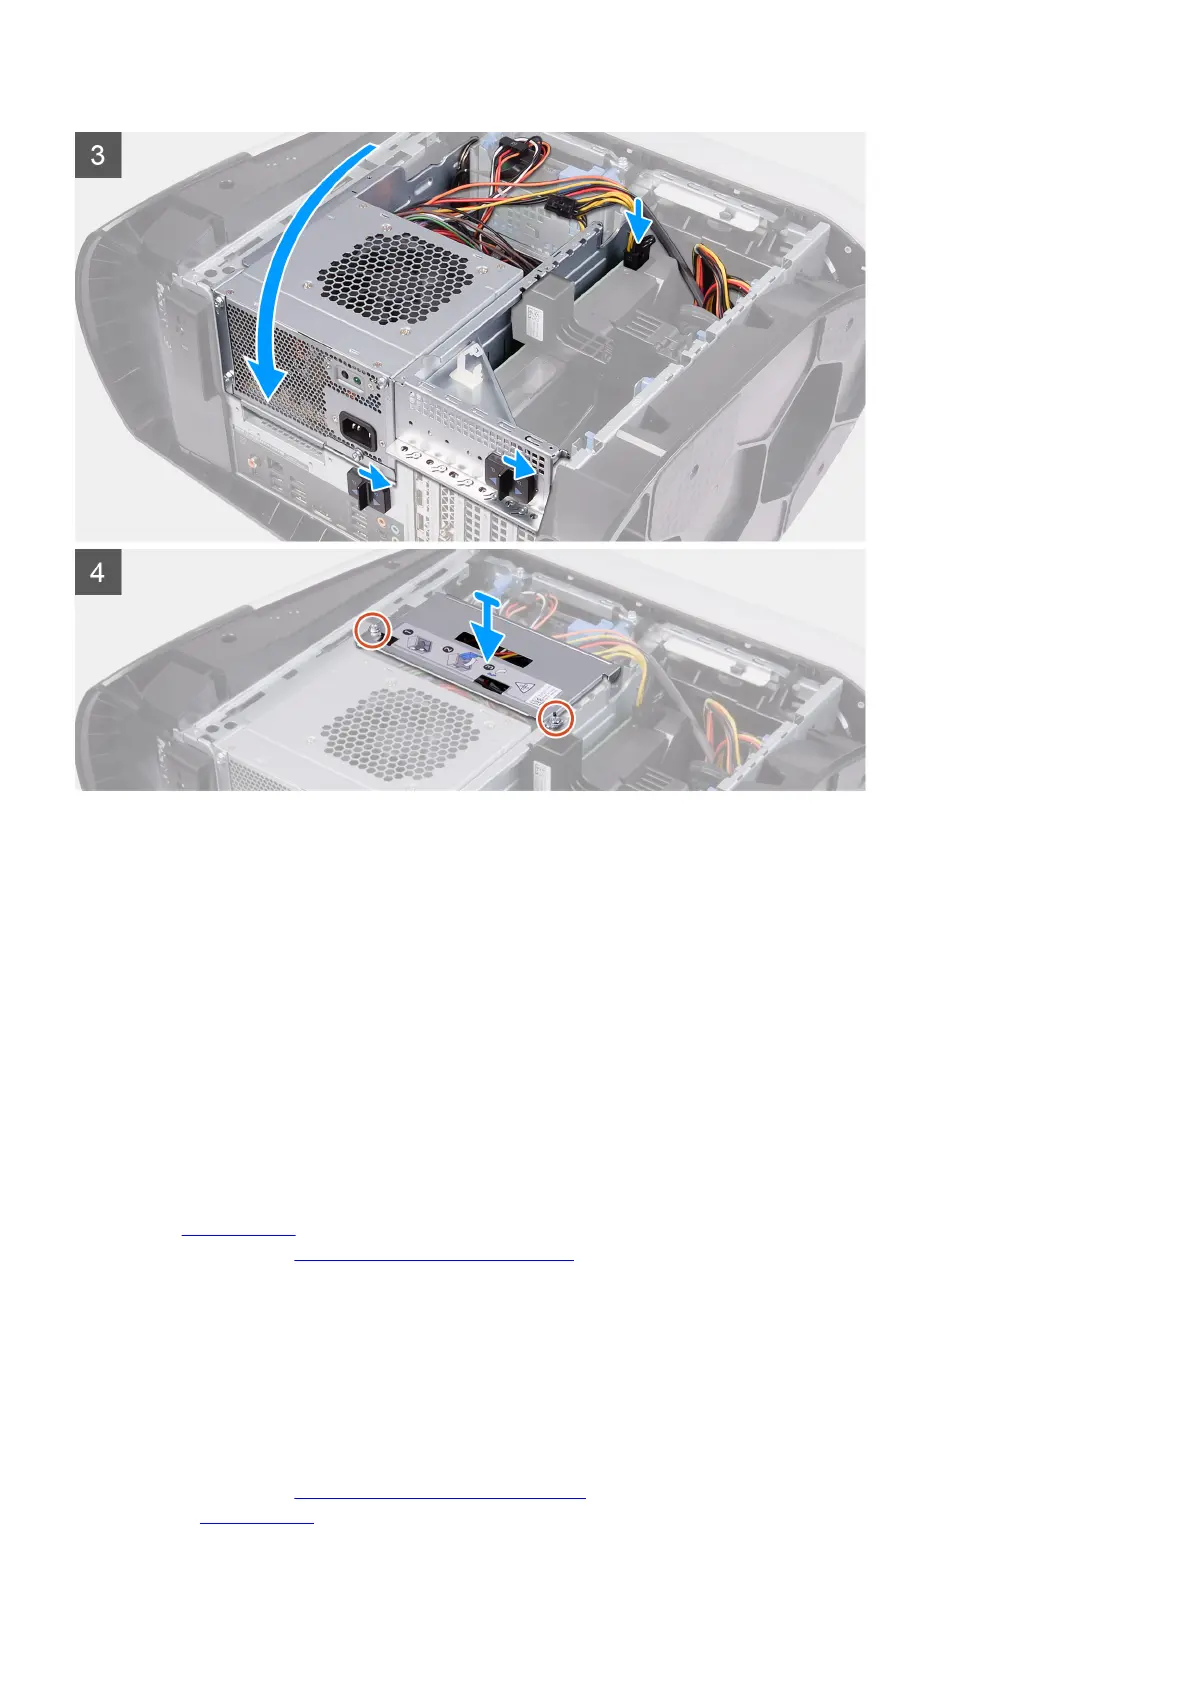
8. Rotate the power-supply unit cage towards the chassis
9. Slide the power-supply unit cage release latches towards the locked position.
10.Align the screw holes on the power-supply unit bracket with the screw holes on the power-supply unit cage.
11. Replace the two screws (#6-32) that secure the power-supply unit bracket to the power-supply unit cage.
Next steps
1. Install the
left-side cover.
2. Follow the procedure in After working inside your computer.
850 W Power-supply unit
Removing the 850 W power-supply unit
Prerequisites
1. Follow the procedure in Before working inside your computer.
2. Remove the left-side cover.
32
 Loading...