Electrical Quick Disconnect 6–4
7. Slip the Extreme Series EQD housing with new compression tting installed over the
cable. Do not use pipe sealant on the compression tting threads — damage
will result!
8. Trim the outer jacket back by 2 1/4 inches. Strip the six individual wire leads 1/4 inch
to 3/8 inch. These stripped lengths must be followed closely to ensure the proper
installation.
9. Install the water block grommet over the six conductors, inserting the wires into the
numbered side (Fig. 6-4).
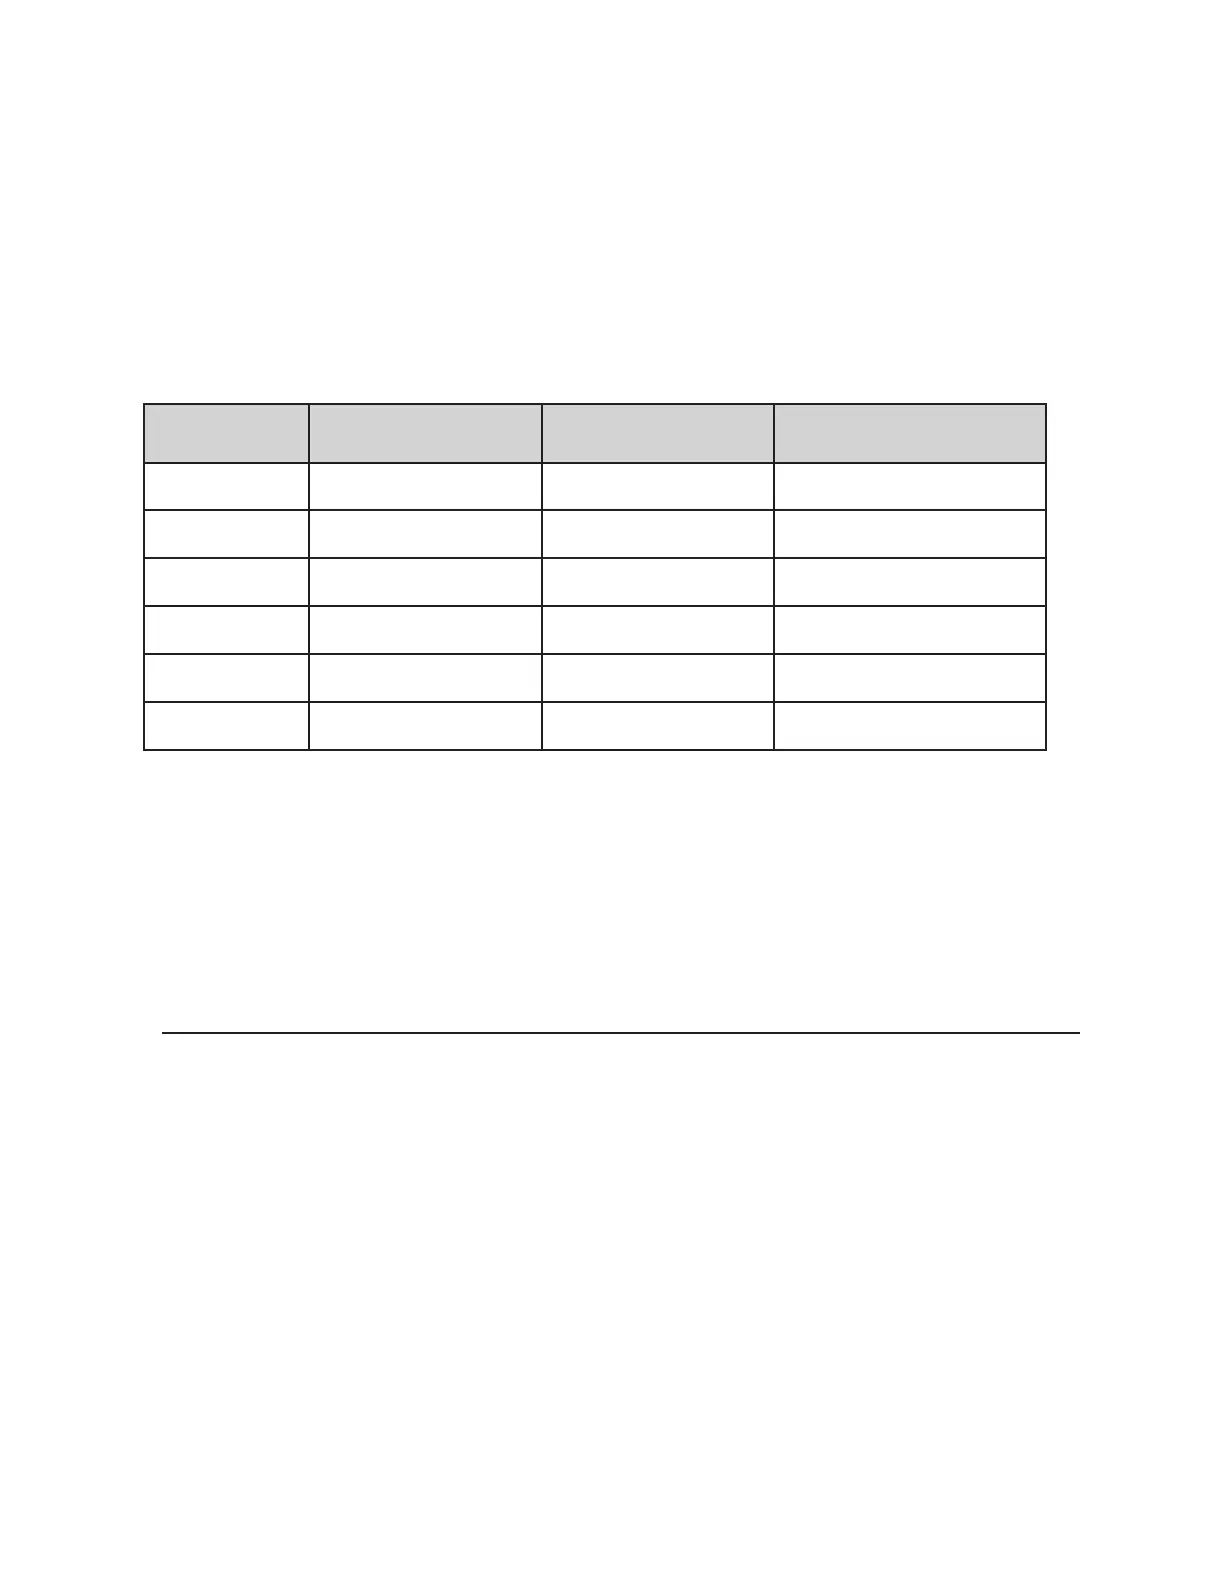
10. Connect the individual wires to the electrical insert as indicated:
11. Tighten the set screws.
12. Slip the EQD housing down to the electrical insert.
13. Tighten the four corner screws, compressing the water block grommet into housing
(Fig. 6-5). Be sure to start each screw before tightening completely.
14. Tighten the compression tting packing nut (Fig. 6-6).
EQD Retrot: 200 Series to Extreme Series
Order the permanent conversion kit (ND0059G01) and follow the enclosed instructions.
EQD Pin #
2000 Series
Wire Color
Extreme Series
Wire Color
Function
1 Red Brown Manual run
2 Black Red L1
3 White Black L2 (240V) or Neutral (120V)
4 Green Green w/ yellow stripe Ground
5 Orange Yellow Alarm power feed
6 Blue Blue Alarm power return
Table 6–2
 Loading...