Motor Cavity 10–1
Chapter 10 — Motor Cavity
A defective or shorted motor; worn seal or bearings; or ooded motor require major repair.
Major repairs must be performed in a shop that is equipped with the correct tools and clean
facilities for proper repair and testing. Any time a pump is rebuilt, all seals, O-rings, gaskets,
bearings, pump stator and pump liner should be replaced. Clean the core thoroughly before
performing any major repair.
Core and Motor Disassembly
1. Remove the top housing, level sensors and controls as described in Chapter 7 – Top
Housing; Chapter 8 – Level Sensor; and Chapter 9 – Control Cavity, respectively.
2. Remove the anti-siphon valve by removing the four bolts and lifting it off the
discharge elbow.
3. Disassemble the pump end as described in Chapter 5 – Pump End. Leave the rotor
installed.
4. Use a 1/2-inch deep-well socket and a 1/2-inch wrench to remove the four bolts that
hold the motor housing to the motor head.
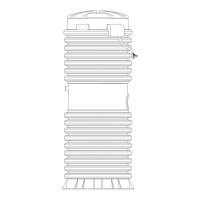
5. Turn the pump assembly upside down on a bench. Take care not to pinch the motor
wires between the motor casting and the work surface.
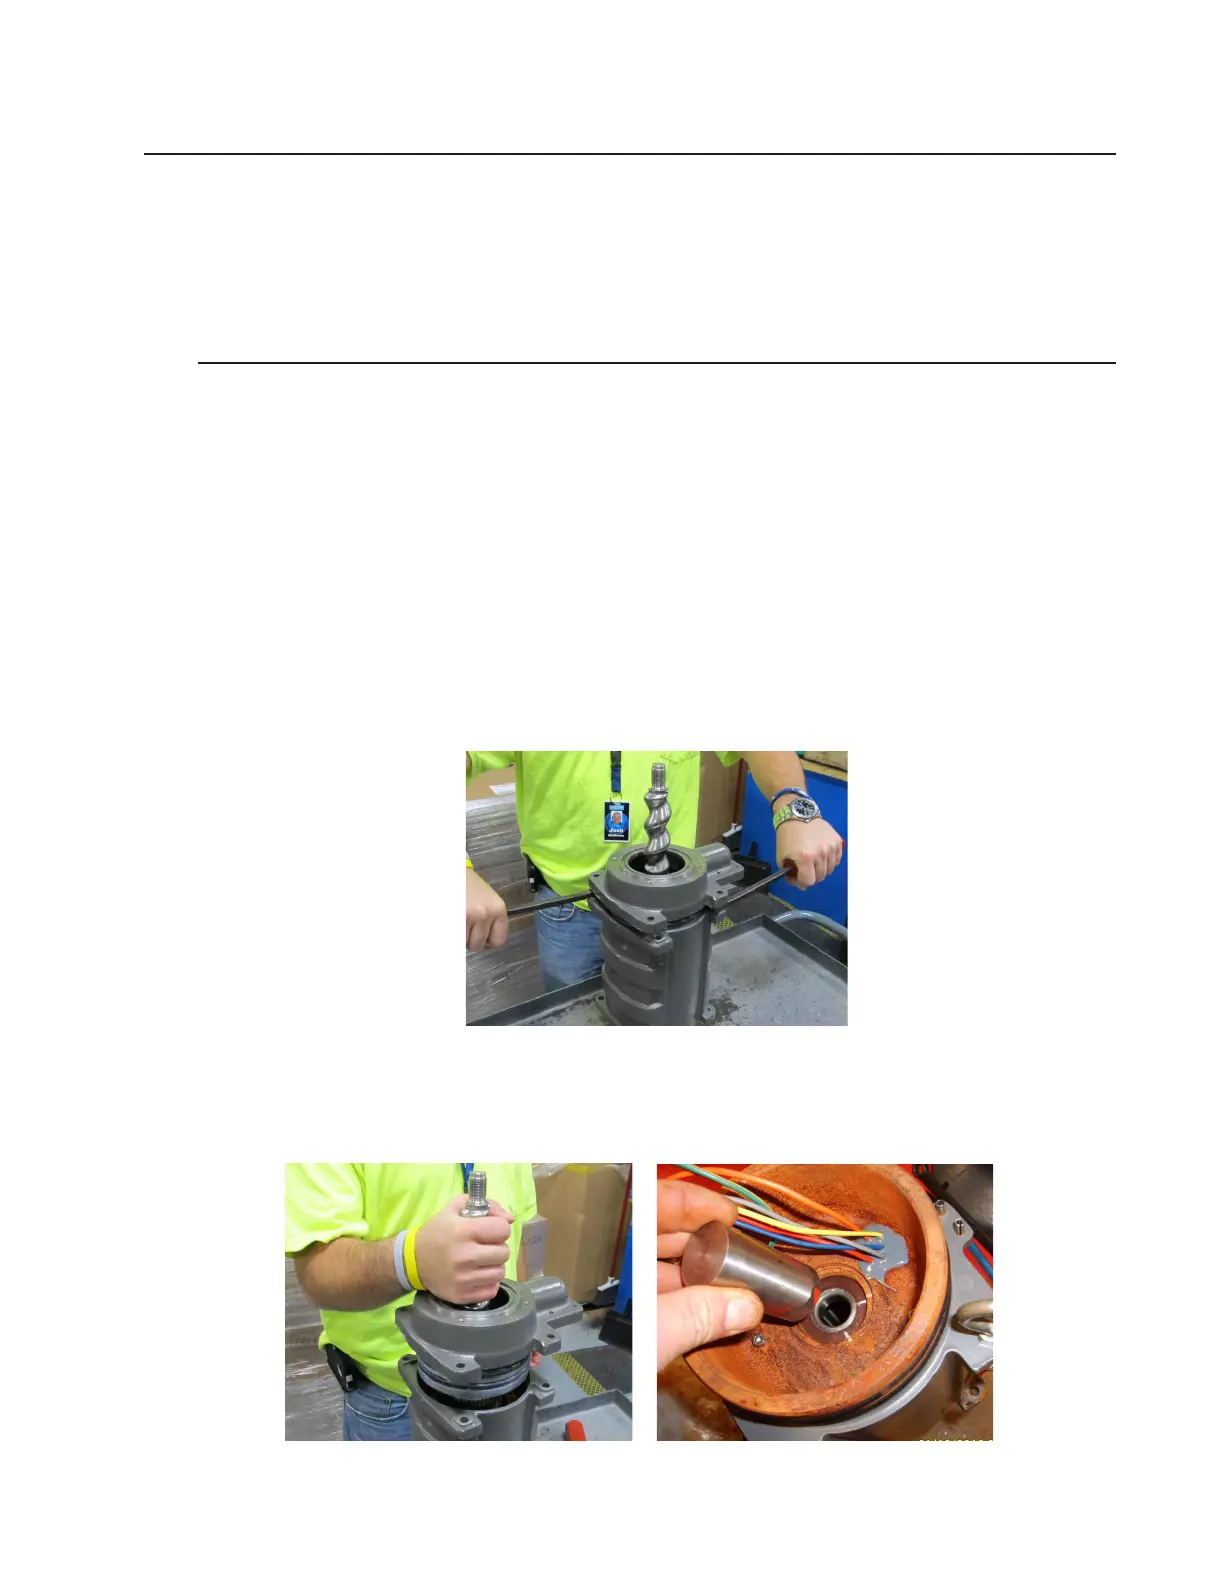
6. Use two pry bars to remove the motor head from the motor housing.
7. After the two castings separate, lift the motor head assembly out of the motor by the
shaft.
Figure 10-2 Figure 10-3
Figure 10-1
 Loading...