EMS 5000 FIREPOINT
ENGINEERS OPERATING GUIDE, ISSUE 3.0 – 16/08/10
24
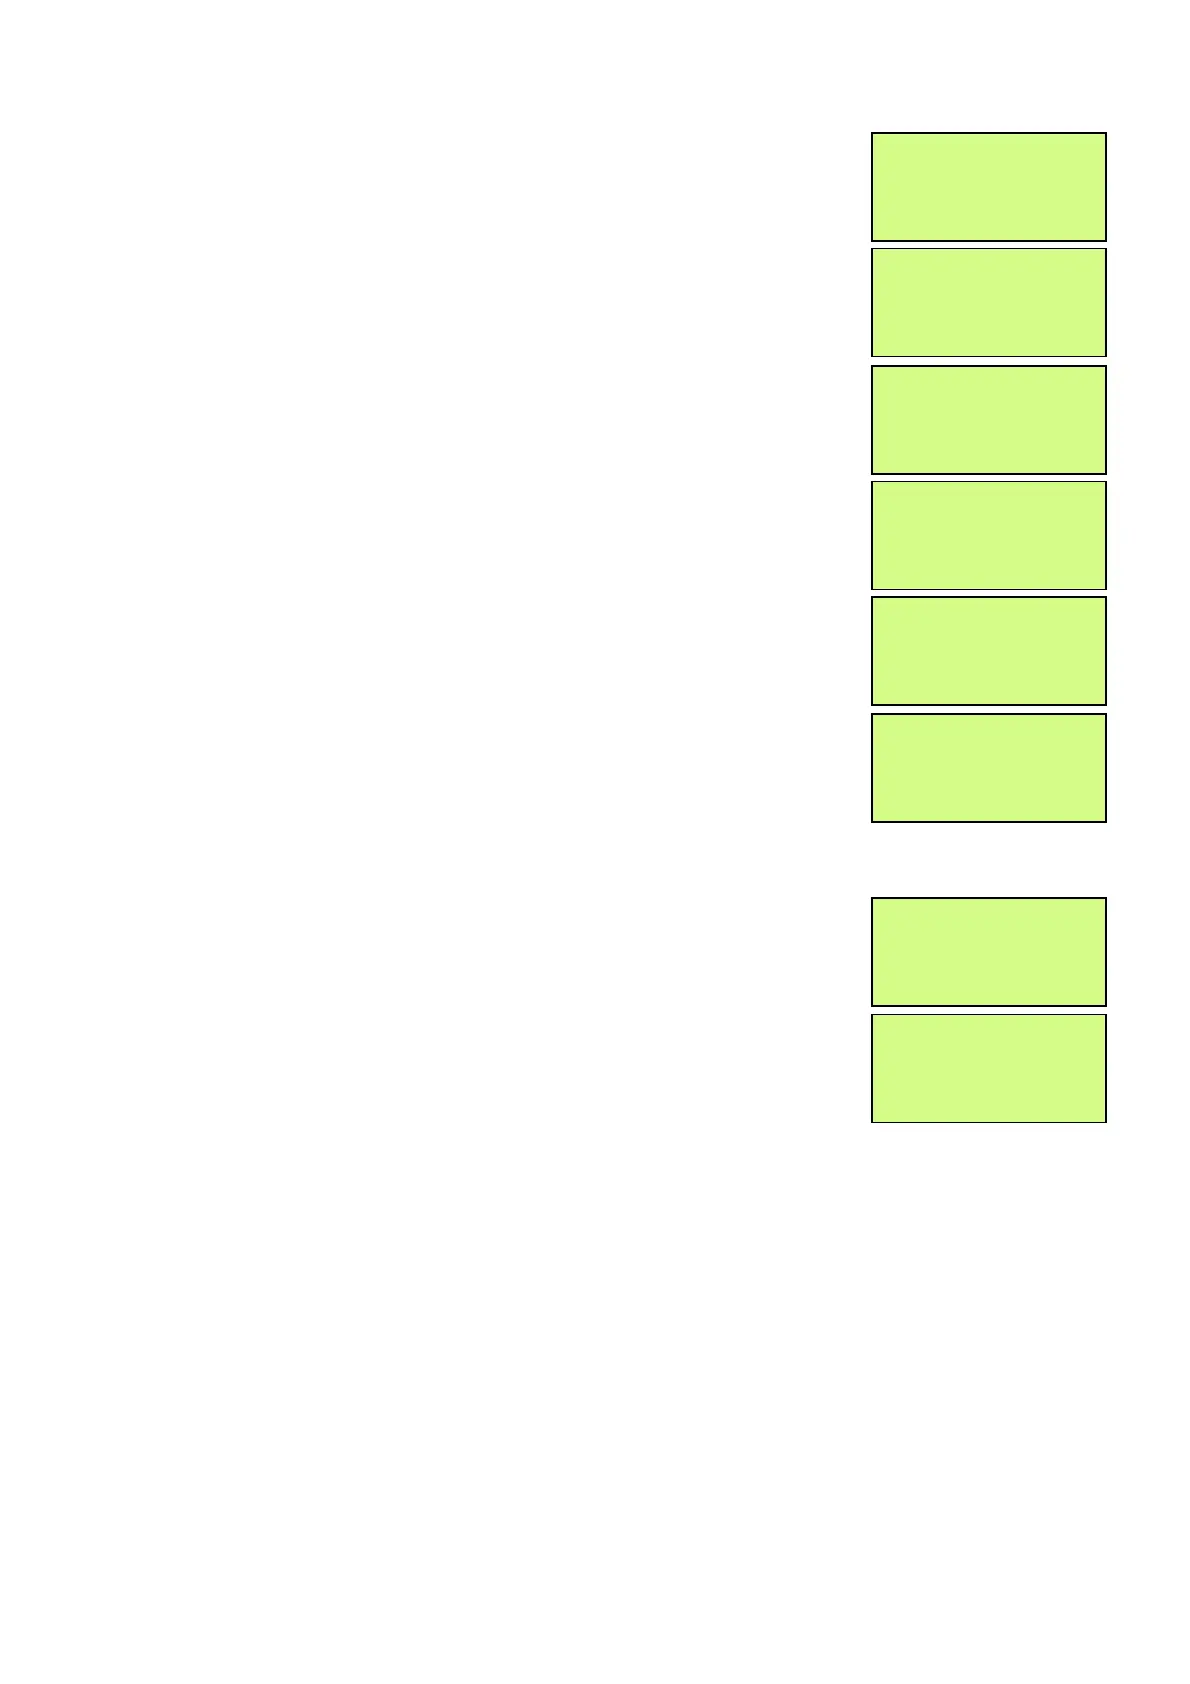
11 Press the “∇” key and the screen will now
display: (Make note of the status the zones is in
e.g. ACTIVE, the status will need to be changed
back Later)
12 Press the “YES” key twice and the screen will
now display: (notice as the “YES” key is pressed
the status changes)
13 Press the “∆” key until the screen displays:
14 Press the “YES” key and the screen will now
display:
15 Press the “∇” key until the screen displays:
16 Press the “YES” key and the screen
will now display: (notice as the “YES”
key is pressed the status changes)
This needs to be repeated until all the Detector Zones are in test, then
continue to step 18
17 Press the “NO” key three times and the screen
will now display:
18 Turn the control key to the “OFF”
position. The screen will now display:
The devices are now ready to be activated, this includes smoking
detectors and triggering call points. When a device is activated the 5000
FirePoint will go into fire, the display will show TEST ALARM and display
the device number and text description. The Sounders/Relays will not
activate.
NOTE: When smoking detectors their LEDs stay on for 20 minutes.
NOTE: For multi panel installations all zones on ALL panels must be put
into test before testing is started.
Panel in Access
Status Normal
> Status : ACTIVE <
|^^^^^^^^^^^^^^^^ |
Yes= Select Time
> Status : Test <
|^^^^^^^^^^^^^^^^|
Yes= Select Time
| ** Zone Status ** |
> Zone is: 01 <
| Status : Test |
Yes= Select Time
| ** Zone Status ** |
> Zone is: 02 <
| Status : ACTIVE |
Yes= Select Time
> Status : ACTIVE <
|^^^^^^^^^^^^^^^^ |
Yes= Select Time
> Status : Test <
|^^^^^^^^^^^^^^^^ |
Yes= Select Time
 Loading...
