Basic Operations
24
Starting and Ending Projection
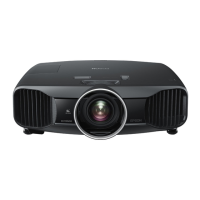
Turning on the Projector and Projecting
a
Connect the power cable.
Connect using the power cable supplied.
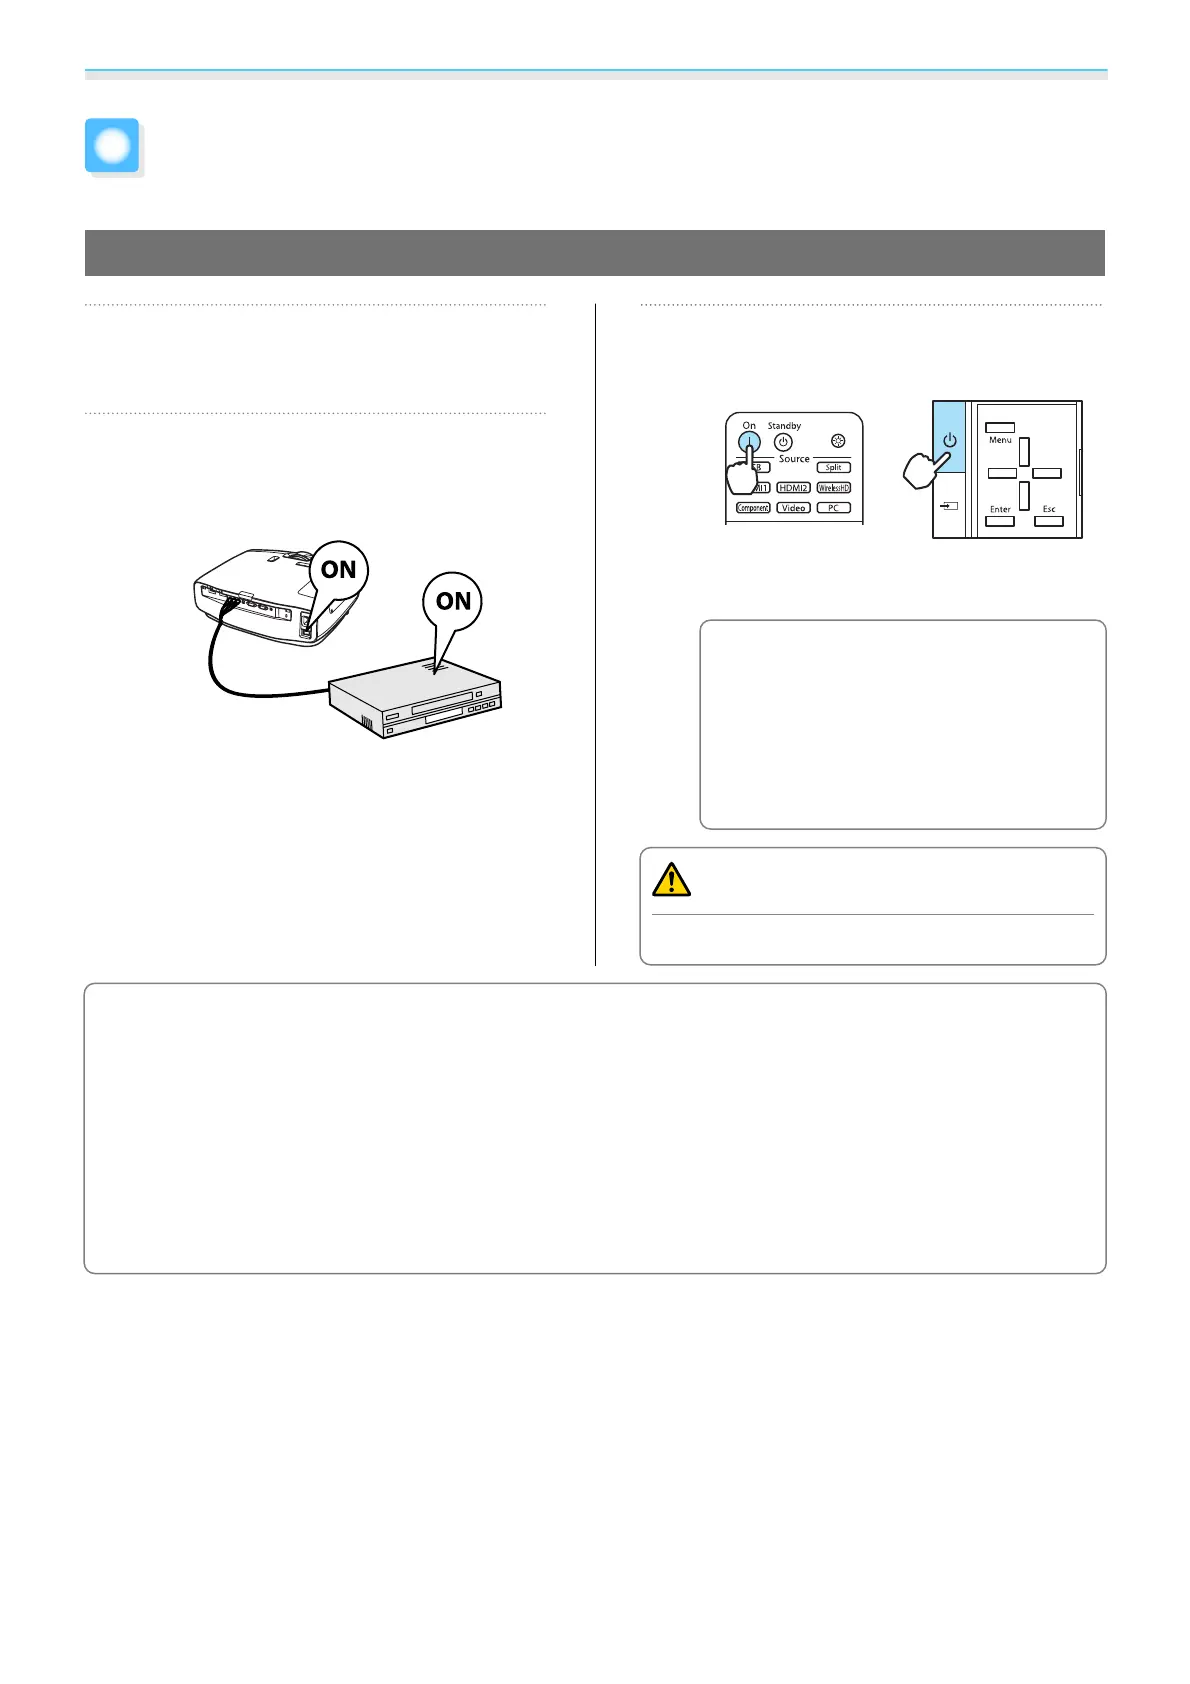
b
Turn on the connected device, and
then turn on the projector's main
power switch.
c
Turn the power on.
Remote control Control panel
The lens shutter opens, and projection
starts.
c
When Direct Power On is set to
On, you can start projecting by
simply turning on the main power
switch without having to press any
buttons.
s
Extended -
Operation - Direct Power
On p.75
Warning
Do not look into the lens during projection.
c
•
This projector provides a Child Lock function to prevent children from accidentally turning the power
on and a Control Panel Lock function to prevent accidental operations and so on.
s Settings - Child
Lock/Control Panel Lock p.73
•
When using at an altitude of 1500 m or more, set High Altitude Mode to On. s Extended - Operation -
High Altitude Mode p.75
•
This projector provides an Auto Setup function to automatically select the optimum settings when the
input signal for the connected computer image changes.
s Signal - Auto Setup p.70
•
This projector comes with a Trigger out port to communicate the current status of the projector's power
(on/off) to external devices. When using this function, set Trigger Out.
s Extended - Operation -
Trigger Out p.75
 Loading...