4 Fax
194
Fax
4
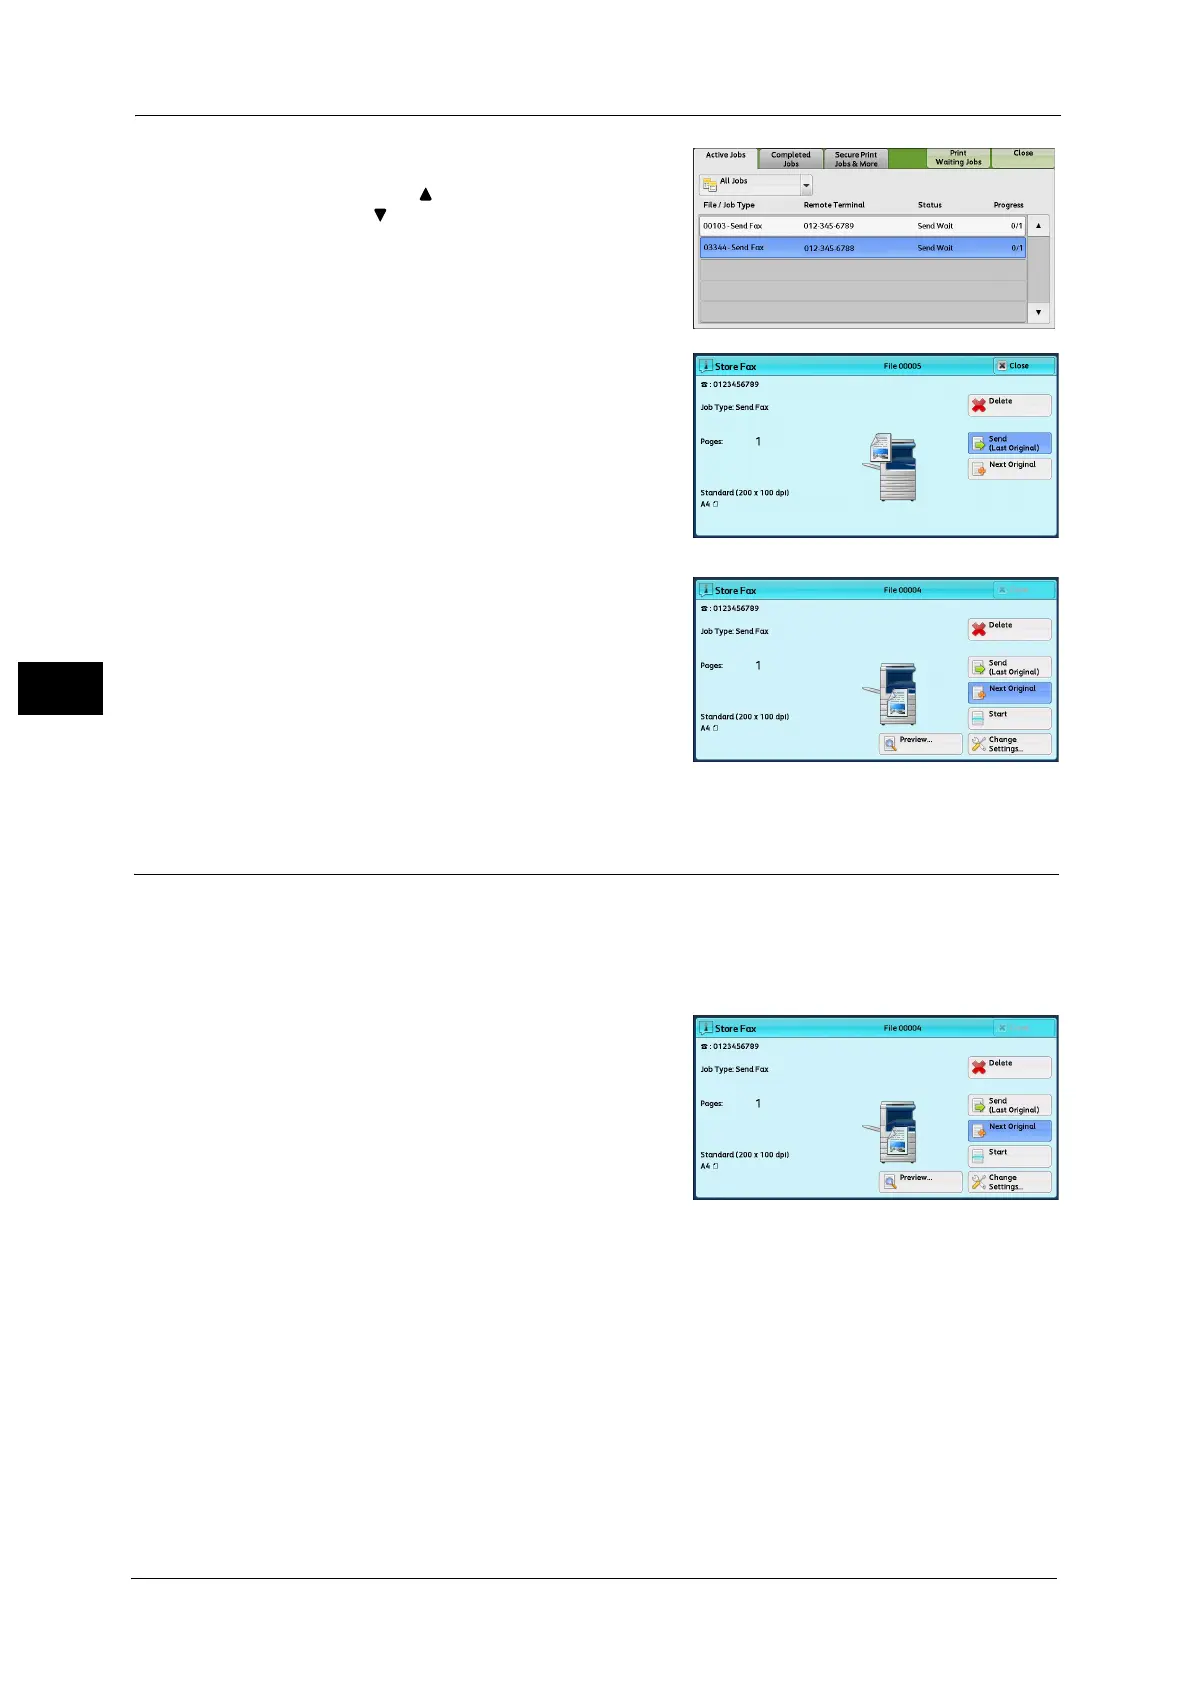
2 Select the job to cancel.
Note • Select [ ] to return to the previous screen or
[ ] to move to the next screen.
• Scroll the list by drag or flick operation to
switch the screen to be displayed. For
information on how to drag or flick, refer to
"Touch Screen" (P.97).
3 Select [Delete].
4 Select [Delete].
Previewing the Read Images during a Fax Job
Before sending a fax, you can preview the read images while reading the next document.
Note • A previewed image cannot be rotated.
• When [Pages per Side] is [On], the document cannot be previewed. For the Pages per Side feature,
refer to "Pages per Side (Combining Multiple Pages into One Sheet)" (P.250).
1 When a document starts to be read with
[Preview] is checked on the [Simple Fax] or
[Fax/Internet Fax] screen, the screen on the
right is displayed. After the document is read,
select [Preview]. A preview screen is displayed
and the first page of the lastly read document
is displayed.
Note • To send a job, select [Send (Last Original)] or select [Send] on the preview screen. Selecting [Start]
does not send the current job.
• When [Store for Free Polling] or [Store for Secure Polling] is selected, [Save (Last Original)] is
displayed instead of [Send (Last Original)].
• Depending on the setting of Skip Blank Pages, [Preview] cannot be selected and the first page of the
last read document is not displayed. for Skip Blank Pages, refer to "5 Tools" > "Fax Service settings" >
"Fax Control" > "Skip Blank Pages" in the Administrator Guide.
• When this screen or the preview screen is displayed and the time of [Auto Clear] lapsed without any
operation, you can set whether or not to continue the job. For more information, refer to "5 Tools" >
"Common Service Settings" > "Other Settings" > "Paused Job Handling" in the Administrator Guide.
For more information on Auto Clear, refer to "5 Tools" > "Common Service Settings" > "Machine Clock/Timers" > "Auto Clear"
in the Administrator Guide.
 Loading...

