5 Scan
336
Scan
5
Store to Folder
This section describes the procedure to select features on the [Store to Folder] screen. You
can scan documents and save the scanned data in a folder of the machine.
The following describes features available on the [Store to Folder] tab.
Note • When [Store to Folder] is selected, [File Format] is disabled.
• When you use CentreWare Internet Services to retrieve a file from a folder, you can set [Searchable
Text] if all scanned images of the file in the folder are set as follows:
- Image Size: 15 x 15 mm to 309 x 432 mm
- Color Scanning: Auto Detect, Color, Grayscale, Black & White
- Original Type: Photo & Text, Text
-Color Space: sRGB
- Resolution: 200dpi, 300dpi
- Reduce/Enlarge: 100%
You need to create a folder in advance. For more information on how to create a folder, refer to "5 Tools" > "Setup" > "Create
Folder" in the Administrator Guide.
You can customize the layout of the features displayed on the [Store to Folder] screen. For more information, refer to "5
Tools" > "Scan Service Settings" > "Screen Defaults" > "1st Tab - Features Allocation" in the Administrator Guide.
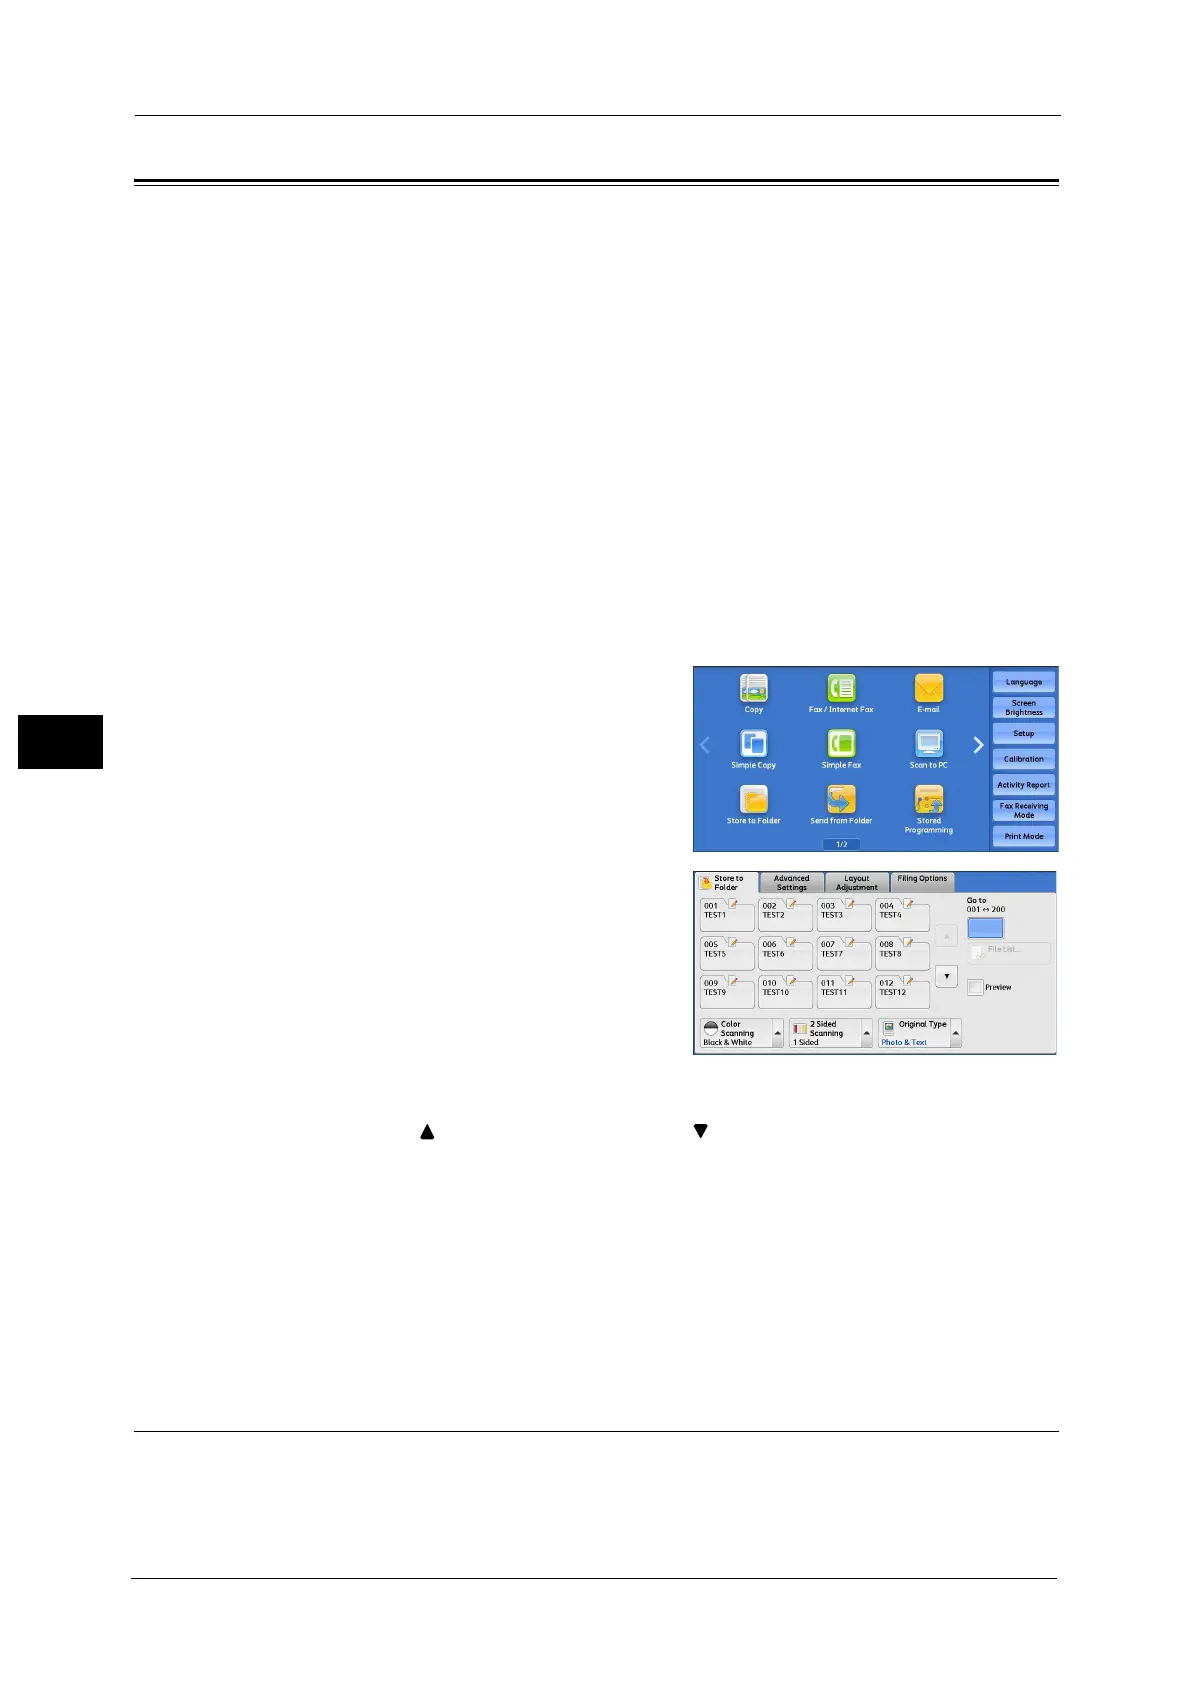
1 Select [Store to Folder] on the Services Home
screen.
2 Select a feature on the [Store to Folder] screen.
Note • If a passcode is set for the folder, the
passcode entry screen may appear. Enter the
passcode and select [Confirm]. If you have
forgotten the passcode, set the folder
passcode in the System Administration mode
again.
Folder
Select a folder to save the scanned data in.
Note • Select [ ] to return to the previous screen or [ ] to move to the next screen.
Go to
Use the numeric keypad to enter a 3-digit folder number. The folder then appears at the top
of the list.
File List
Select a folder and then select this button to display the [File List] screen. You can confirm
or delete files stored in the folder.
Color Scanning (Selecting an Output Color)
You can specify the output color to scan a document.
For more information, refer to "Color Scanning (Selecting an Output Color)" (P.308).
 Loading...

