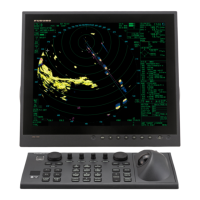
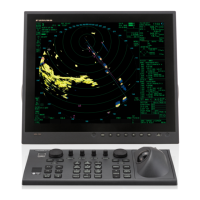
1. OPERATIONAL OVERVIEW
1-2
6 1, HL OFF key • With the menu open: Select menu item "1".
• Press and hold to hide the heading line, range rings and OS
symbol. Release to re-show the hidden items. See
section 1.43.1.
2, EBL OFFSET key • With the menu open: Select menu item "2".
• Sets the positive/negative value to “+”. See section 1.14 and
section 1.10.
• Offset or reset the EBL. See section 1.34.
3, MODE key • With the menu open: Select menu item "3".
• Change the orientation mode. See section 1.30.
4, OFF CENTER key • With the menu open: Select menu item "4".
• Enable or disable off-center. See section 1.36.
5, CU/TM RESET key • With the menu open: Select menu item "5".
• Course Up mode: Reset the heading line to 000°. See
section 1.30.
• True Motion mode: Move Own Ship position 75% of the radius
in opposite direction of the current heading. See section 1.30.
6, INDEX LINE key • With the menu open: Select menu item "6".
• Short press: Select a PI line. See section 1.40.
• Long press: Show or hide the selected PI line. See section 1.40.
7, VECTOR TIME key • With the menu open: Select menu item "7".
• Change the vector time. See section 3.12.2.
8, VECTOR MODE key • With the menu open: Select menu item "8".
• Sets the positive/negative value to “-”. See section 1.14 and
section 1.10.
• Toggle between true and relative vectors. See section 3.12.
9, TARGET LIST key • With the menu open: Select menu item "9".
• Show or hide the TT/AIS object list. See section 3.10.3.
CANCEL TRAILS key
Without the menu open (see section 1.37.2
):
• Short press: Change the trail display time.
• Long press: Erase displayed trails.
With the menu open (see section 1.5
):
• Go back one level in the menu. Closes the menu if the top level
is displayed.
• Cancel changes made to a menu setting.
0, BRILL key • With the menu open: Select menu item "0".
• Change the color scheme. See section 1.45.
ENTER MARK key Inside the Operational Display Area (ODA):
Inscribe a mark. See section 1.43.
With the menu open:
Confirm changes, open the selected menu. See section 1.5
7 MENU key Open or close the menu the menu. See section 1.5.
Note: The MENU key will not open/close the menu in the following
situations:
• VRM or EBL is being set.
• DROP MARK or MARK is being inscribed.
• Alarm Zone (AZ) or TARGET ALARM is being set.
RANGE controls Increase or decrease the range. See section 1.31.
ACQ key • Manually acquire the cursor-highlighted target for Target Track-
ing (TT).
TARGET DATA key • Show the information for the cursor-highlighted TT/AIS object.
• Change the selected TT target’s symbol (B/W-types only).
• Activate a sleeping AIS target. See section 3.2.
No. Control Name Description
 Loading...