1. MOUNTING
1-4
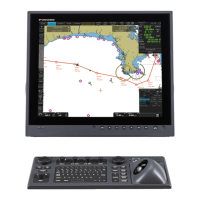
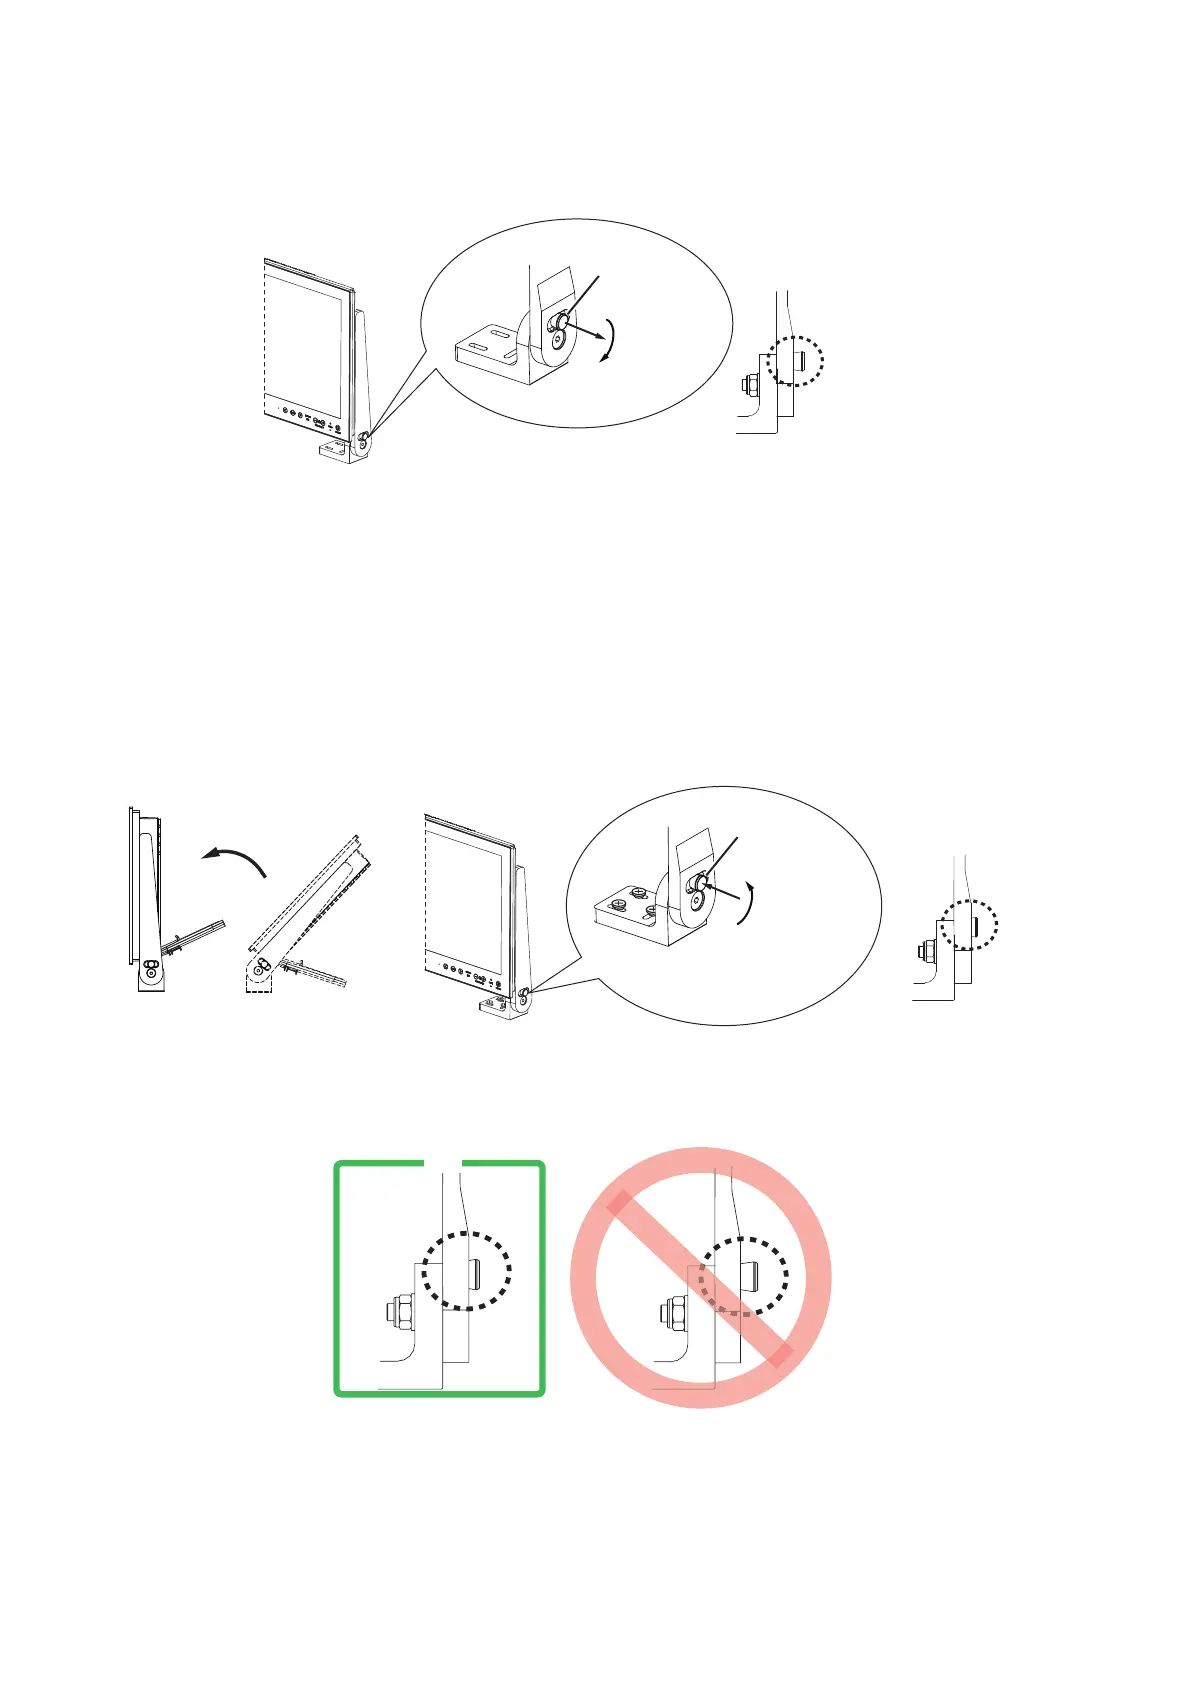
5. Referring to the figure below, tilt the PCU 90° rearwards by unlocking the
brackets. Hold the unit in place, then pull and turn the locking pins clockwise, one
at a time, to set the pin in the unlock position.
6. After tilting the PCU turn the locking pin counter clockwise to lock the bracket in
place.
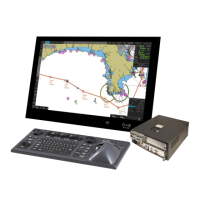
7. Attach the footings of the brackets in place at the mounting location using the
self-tapping screws (630, 6 pcs.) included in the mounting kit.
8. Hold the unit in place, then pull and turn the locking pins, one at a time, clockwise
to set the pins in the unlock position.
9. Referring to the figure below, set the PCU upright at a comfortable viewing angle,
then turn the locking pin coutnerclockwise to lock the brackets in place.
Note: Be sure that the brackets are locked in place securely with the locking pins,
to prevent bodily injury or damage to the equipment.
Locking pin
Pull and turn
clockwise
Unlocked and free to move
Locked in place
Locking pin
Turn counterclockwise
Unlock, tilt and lock
Unlocked and free to move
Locked in place
㪦㪢
 Loading...