1. MOUNTING
1-2
1.1.1 Flush mounting
Items to prepare for the flush mounting procedure:
• Torx screwdriver: T10, T25.
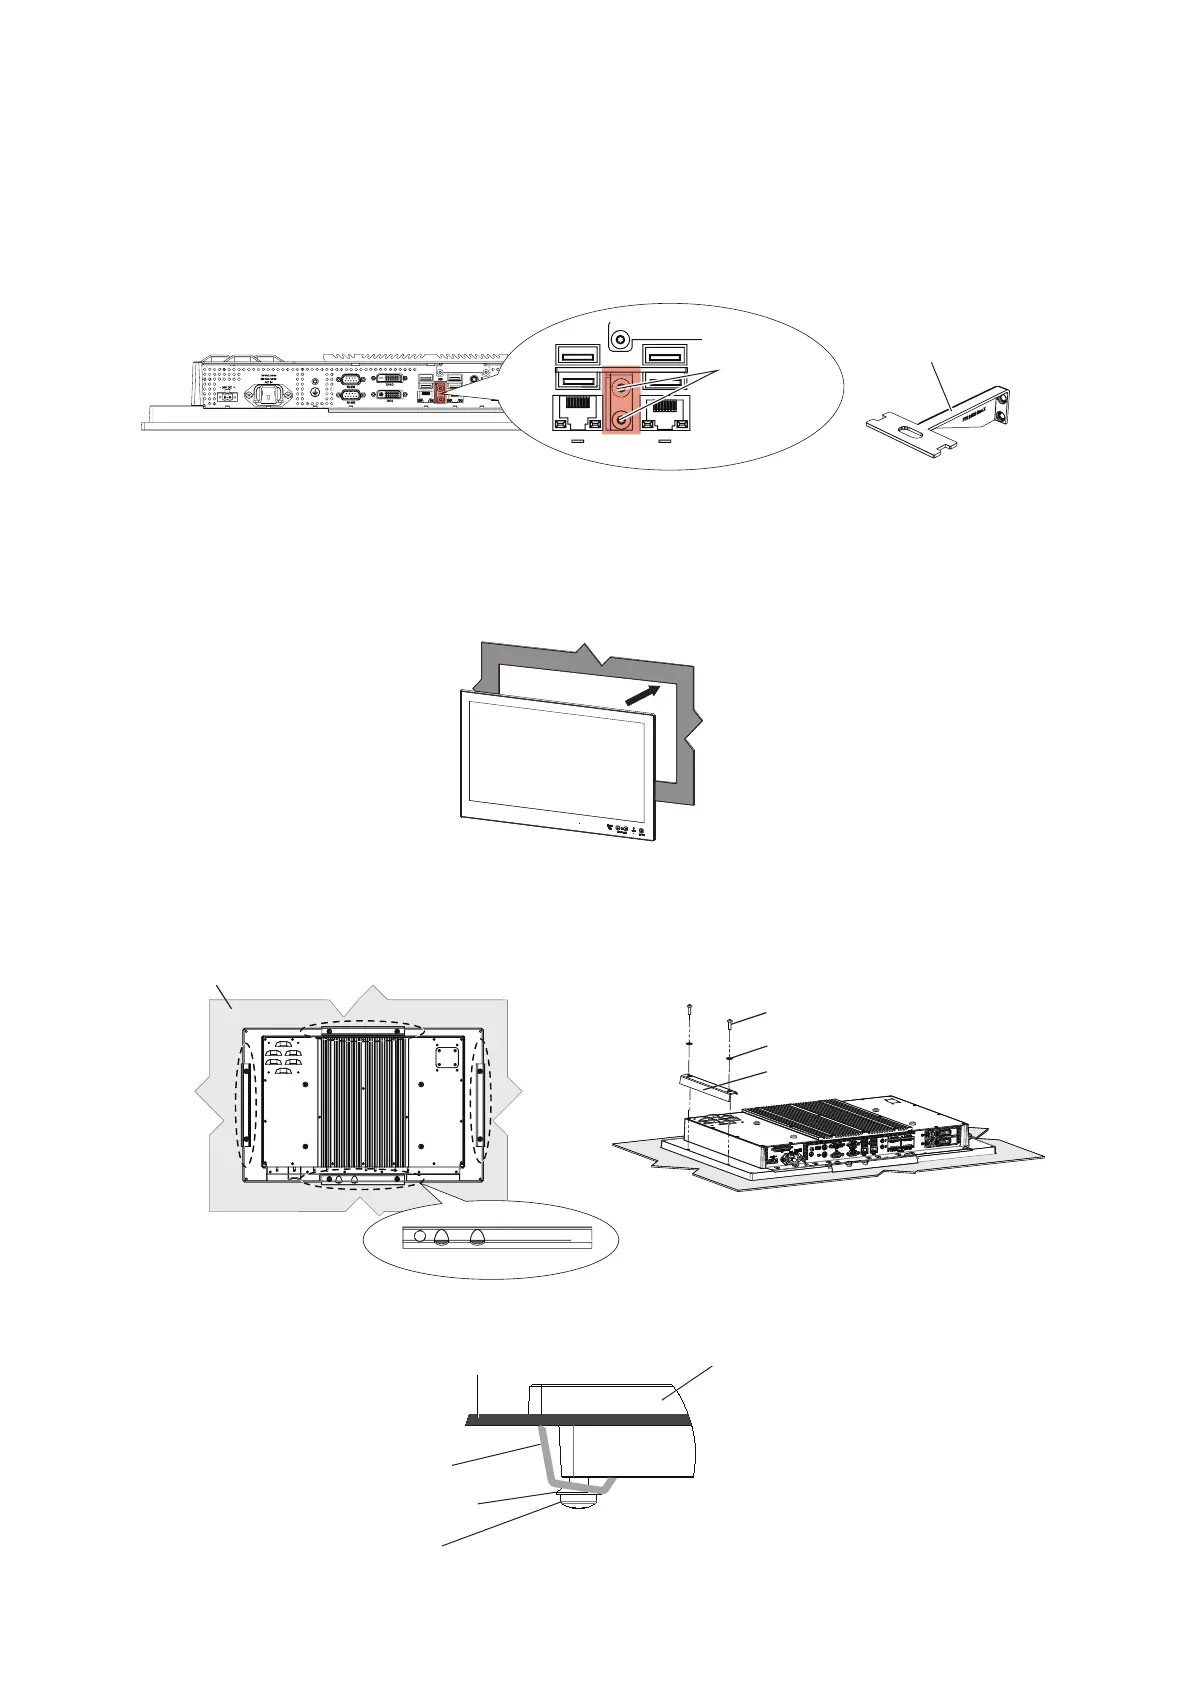
1. Attach the USB cable clamp to the PCU using the torx screws (M34, 2 pcs,
included).
2. Make a cutout where the PCU is to be located, referring to the outline drawings at
the back of this manual.
3. Connect all cables to their appropriate slot on the PCU. Take care to leave enough
slack in the cables to allow access for maintenance and repair.
4. Slide the unit into the cutout. Take care to not to bend or squash any cabling.
Note: User controls and ports should be facing downwards.
5. Taking care not to confuse the bracket types (see figure below), screw each back-
et into place, using M5x16 screws and C-washers.
6. Ensure all four sides are equally tight, taking care not to over-tighten the screws.
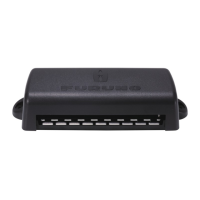
USB cable clamp
LAN2 LAN1
USB2
USB1
USB4
USB3
C1
C2
C3
C4
IEC61162-1/2
Attach the
USB cable
clamp here
LAN2
LAN1
USB1
USB2
USB3
USB4
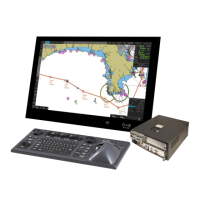
Panel PC
Mounting hole
Lower bracket is different from others
Mounting location/console
Screw
Washer
Bracket
Bracket
Panel PC
Mounting location/console
Screw
C-washer