System maintenance
LOGIQ V2/LOGIQ V1 – Basic Service Manual 10-15
5610739-100 English Rev.10
Cleaning
Physical inspection
NOTE: These features may not be present on all Ultrasound systems.
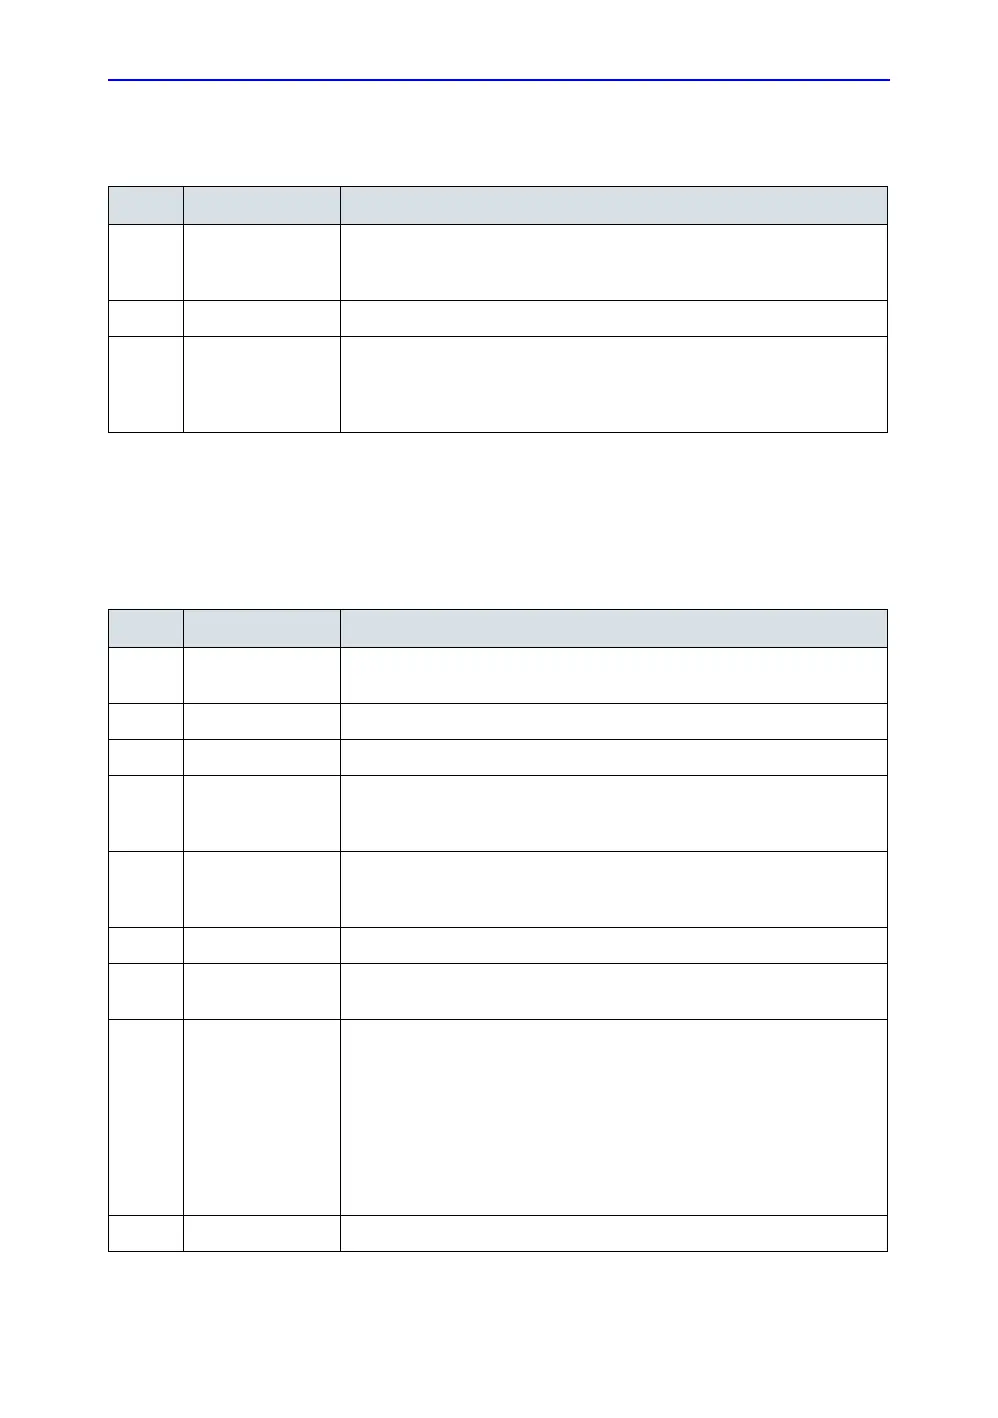
Table 10-9: General Cleaning
Step Item Description
1. Console Remove the battery. Use a fluid detergent in warm water on a soft, damp
cloth to carefully wipe the entire system. Be careful not to get the cloth too
wet so that moisture does not enter the console.
2. Probe Holder Clean probe holders. (they may need to be soaked to remove excess gel).
3. LCD Use a soft, non-abrasive folder cloth. Gently wipe the LCD face. DO NOT
use a glass cleaner that has a hydrocarbon base (such as Benzene,
Methy Alcohol or Methy Ethyl Ketone) on LCD with the filter (anti-glare
shield).
Table 10-10: Physical checks
Step Item Description
1. Labeling Verify that all Ultrasound system labeling is present and in readable
condition.
2. Scratches & Dents Inspect the exterior for dents, scratches or cracks.
3. Input Power Refer to: ‘Mains cable inspection’ on page 10-14.
4. Cables &
Connectors
Check all internal cable harnesses and connectors for wear and secure
connector seating. Pay special attention to footswitch assembly and probe
strain or bend reliefs.
5. Shielding &
Covers
Check to ensure that all EMI shielding, internal covers, air flow panels and
screws are in place. Missing covers and hardware could cause EMI/RFI
problems while scanning.
6. Control Panel Inspect keyboard and control panel. Note any damaged or missing items.
7. Control Panel
Lighting
Check for proper operation of all operator panel and Freeze Key light.
8. LCD Inspect the LCD Display for scratches and bad pixels.
Verify proper operation of Contrast and Brightness controls.
Where applicable, confirm that the LCD arm allows:
• swivelling the screen to the left and to the right
• folding the screen to the locked position
• release and adjustment backwards and forwards
• can be adjusted in the up/down positions.
Note: LCD Arm movement may vary and is not applicable to all Ultrasound
systems.
9. External I/O Check all connectors for damage.

 Loading...


