GE
D
IRECTION GB091046, REVISION 2 VIVID E9 / VIVID E7 BT’13 SERVICE MANUAL
Chapter 8 - Replacement procedures 8 - 283
8-14-1-2 DVD R/W drive removal procedure
Follow these steps to remove the DVD R/W drive:
1.) Raise the console height to the highest level.
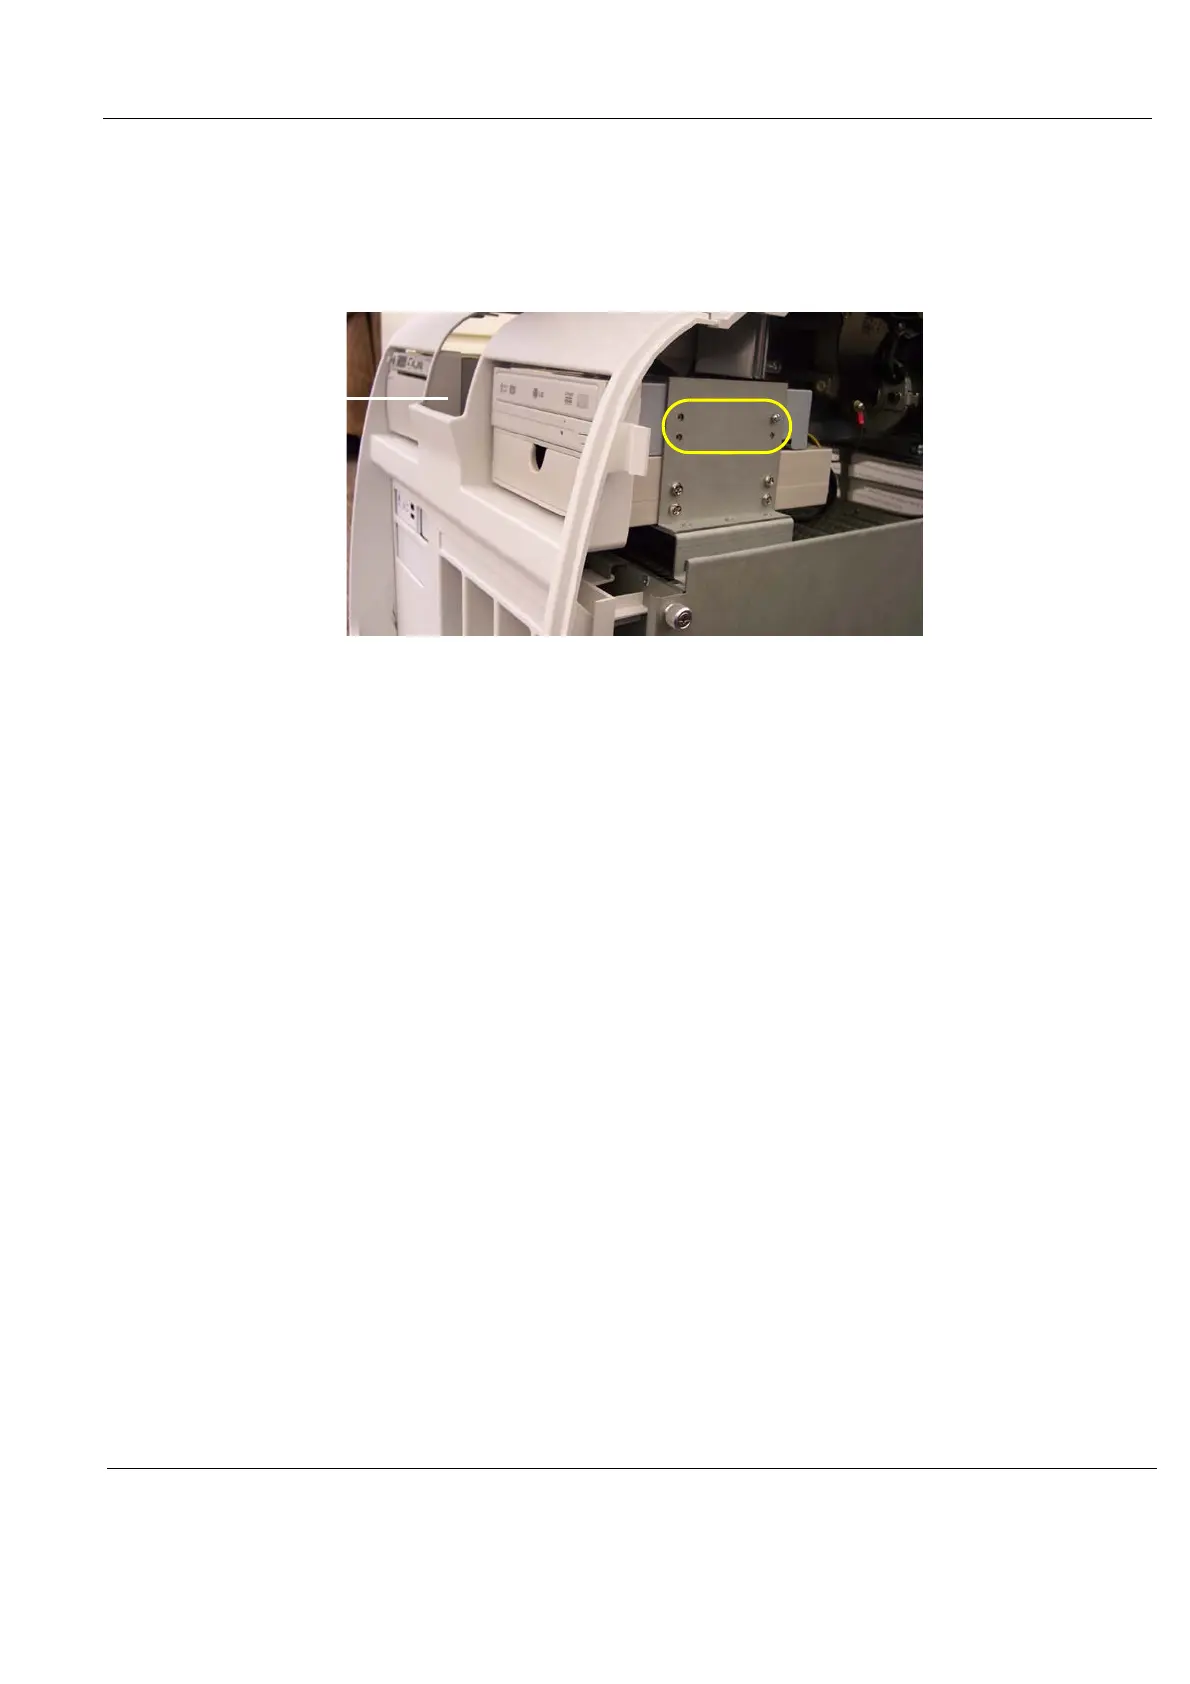
2.) Remove the 4 screws securing the right side of the DVD R/W drive.
3.) Tilt the Front Cover forward just until the Column Cover stop tabs clear.
4.) Raise the Column Cover to access and remove the 4 screws securing the left side of the DVD R/W
drive.
5.) Disconnect the cables to the DVD R/W drive.
6.) Slide the DVD R/W drive out the front of the VIVID E9 / VIVID E7.
7.) If Power Connection is different on new and old DVD R/W drive: Move the DVD Interface Board,
Part Number 5301204, from the old DVD R/W drive that you removed, to the new DVD R/W drive.
8-14-1-3 DVD R/W drive installation procedure
Follow these steps to install the DVD R/W drive:
1.) Slide the DVD R/W drive into position.
2.) Install the 8 screws to secure the DVD R/W drive.
3.) Connect the cables to the DVD R/W drive.
4.) Install the Covers.
Figure 8-204 Screw placement for right side of DVD R/W drive
 Loading...


